


Working With GIS
151
Right-click the layer and click Classify.
The Classify Layer dialog box opens.
5. From the Classification drop-down list, select the classification you want to
rename.
6. Click the Manage button and then click Rename.
The Classification text box opens for editing.
7. Edit the classification name and then press the ENTER key on your keyboard.
8. Click OK to close the Classify Layer dialog box.
Deleting a Classification
This Help topic describes features that are available in XMap
GIS Editor and XMap GIS Enterprise.
Because all completed classifications are retained, you may want to delete an
existing classification that you no longer need.
To Delete a Classification
Use the following steps to delete an existing classification.
1. Click the GIS tab.
2. Click the Workspace subtab if it is not selected.
3. Click the layer that contains the classification that you want to delete.
4. Click the Tools button and then click Classify.
The Classify Layer dialog box opens.
OR
Right-click the layer and click Classify.
The Classify Layer dialog box opens.
5. From the Classification drop-down list, select the classification you want to
delete.
6. Click the Manage button and then click Delete.
7. Click OK.
Symbolizing and Labeling
Symbolizing and Labeling Overview
You can symbolize your layer so that you have complete control of how the layer
displays on the map. The symbolize options vary based on the type of layer—point,
polygon, or line—you are modifying. With the Symbolize Layer dialog box, you can
make line changes, color changes, symbol changes, and font changes (for labels).
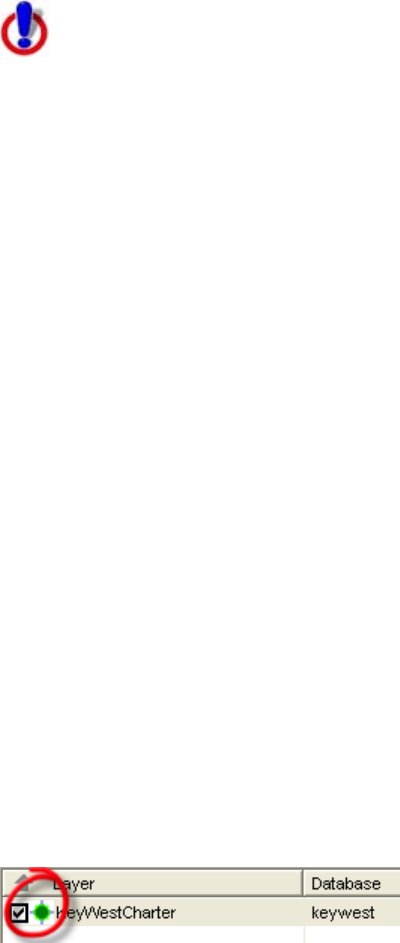
Tip Click the icon next to the layer name to quickly open the Symbolize Layer dialog
box.