


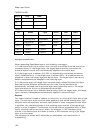
XMap User Guide
126
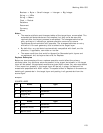
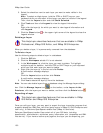
5. From the Source Layer drop-down list, select the layer you want to copy.
The layer you selected in step 3 displays in the Layer Name text box. To
change the layer name, type a new name in the box.
6. From the Target Database drop-down list, select the database where you
want to store the new layer. If the database is not listed, select Other from
the drop-down list and attach the existing database. If you want to create a
new database, select New.
7. Click OK.
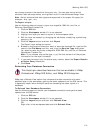
To Create a New Layer From Current Geometry Selections
This option is activated when geometries in the selected layer in the workspace have
been selected with a GIS tool or within the Attributes Datasheet View. Only one layer
can have active selections at a time.
Use the following steps to create a new layer from current geometry selections.
1. Click the GIS tab.
2. Click the Workspace subtab if it is not selected.
3. Click the Layers button, point to Create, and then click Layer from
Selection.
The Create Layer from Selection dialog box opens.
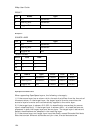
4. To change the layer name, type a new name in the Name text box.
5. From the Target Database drop-down list, select the database where you
want to store the new layer. If the database is not listed, select Other from
the drop-down list and attach the existing database. If you want to create a
new database, select New.
6. Click OK.
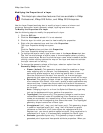
To Create a New Layer From Query Results
This option is available only when there is an active query for the selected layer in
the workspace.
Use the following steps to create a new layer using query results.
1. Click the GIS tab.
2. Click the Workspace subtab if it is not selected.
3.
C
lick the Layers button, point to Create, and then click Layer from Query
Results.
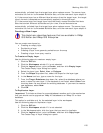
The Create Layer from Query Results dialog box opens. The name of the
active query displays in the Active Query text box and the number of query
results display.
Note To change the active query, click Cancel to exit the Layer from Query
Results dialog, click the Query subtab, and select the query you want to
make active from the Query drop-down list. To proceed, repeat steps 2–4.
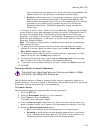
4. To change the layer name, type a new name in the Name text box.
5. From the Target Database drop-down list, select the database where you
want to store the new layer. If the database is not listed, select Other from
the drop-down list and attach the existing database. If you want to create a
new database, select New.
6. Click OK.