


Chapter 15 Menus and Dialog Boxes 243
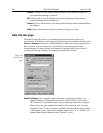
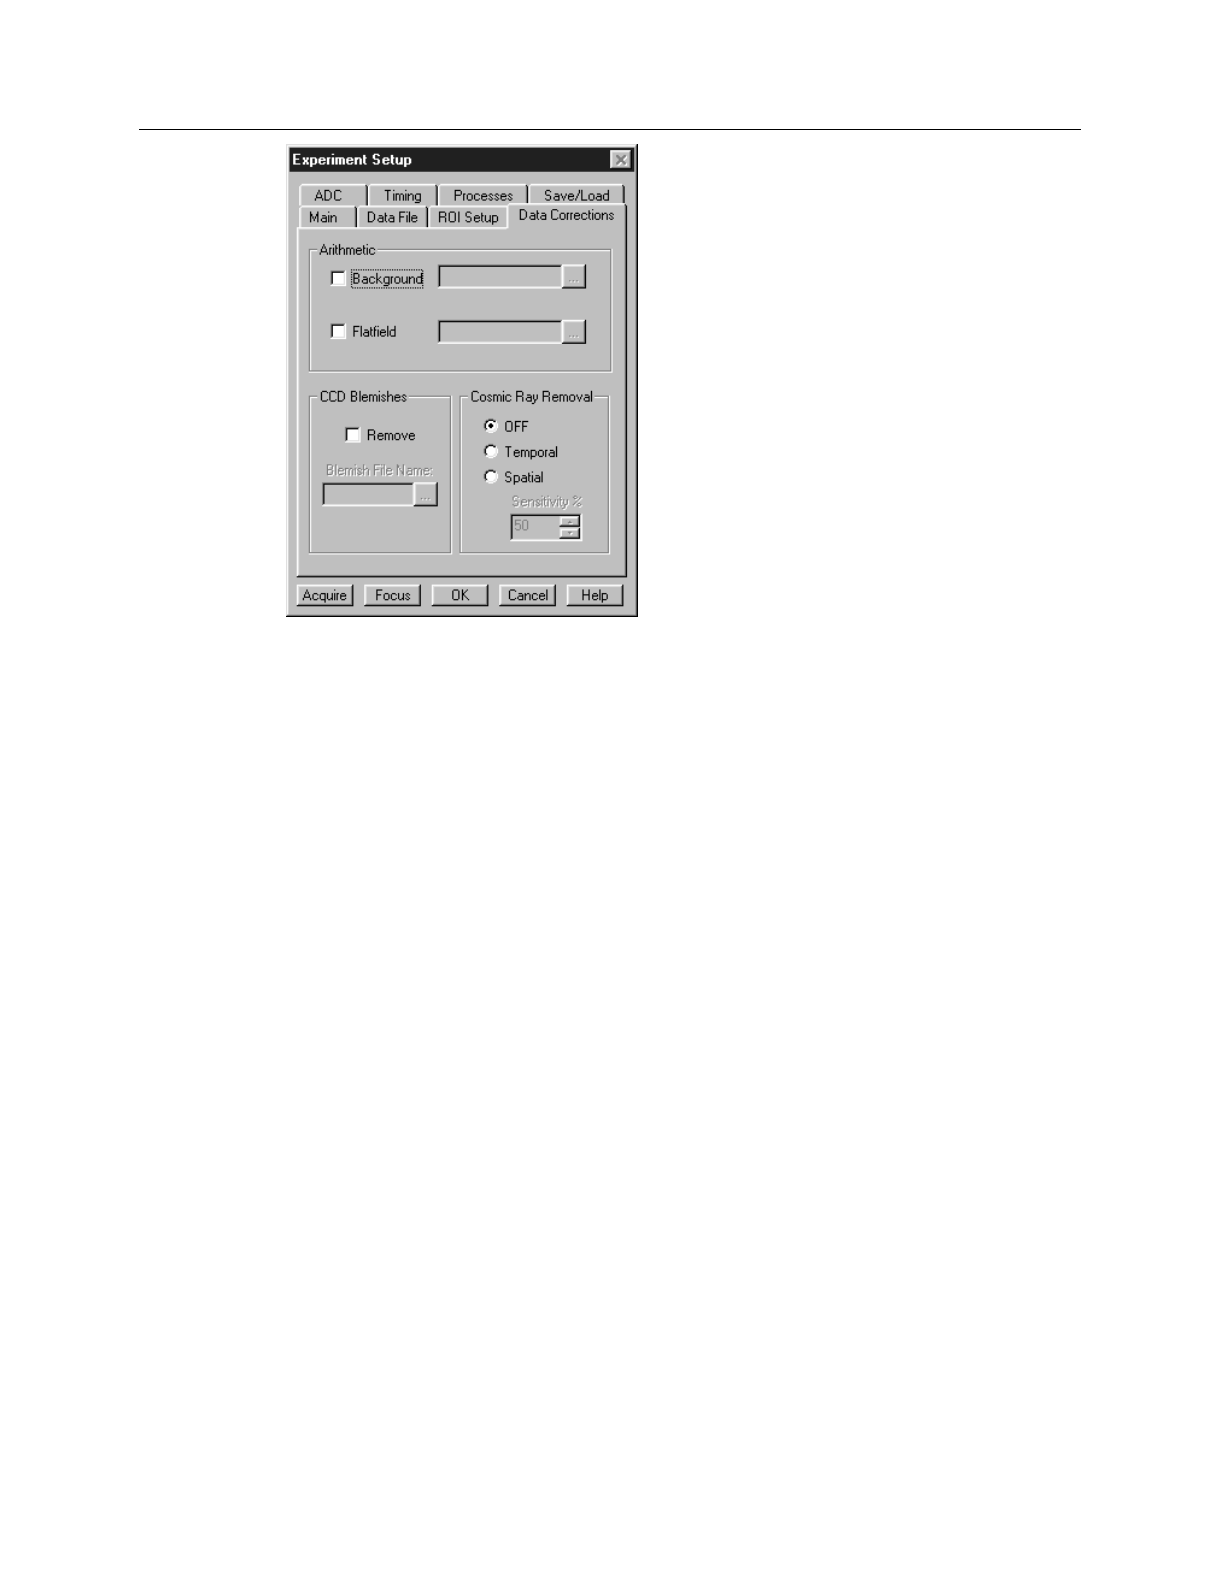
Flatfield:
If the checkbox is selected, the data will be divided point-by-point by the
selected flatfield correction file as the data is collected. The selected filename
appears in the textbox. Clicking on the button at the right of the box opens a
browse dialog box to facilitate file selection. Note that for flatfield correction to
be performed, a flatfield correction file must have been collected. See Chapter 8
for detailed information.
CCD Blemishes:
If checked, the columns specified as bad in the blemish removal file
will be replaced by interpolated data as the data is collected. The selected
blemish pattern file appears in the textbox. Clicking on the button at the right of
the box opens a browse dialog box to facilitate file selection. Note that blemish
removal requires that a proper blemish pattern file be available. The blemish
removal pattern is defined by the user and can be specified for any device. This
feature not implemented in early releases of the software.
Cosmic Ray Removal:
Causes highly localized spikes, such as would be caused by
cosmic rays interacting with the silicon of the CCD, to be removed from the data
after it is acquired but before it is stored. Two different techniques (in addition
to OFF) can be selected. The spatial technique compares the data with the set
threshold level. The temporal technique compares a series of spectra and
requires no user parameters. Radio buttons allow you to select Off, Temporal,
and Spatial. If Spatial is selected, the Threshold setting determines how large a
data spike must be to be identified as a cosmic ray effect. A setting of 50 will
give good results in most situations. Cosmic ray data is replaced by interpolated
before-and-after data.
Control Buttons:
Acquire:
Clicking on Acquire initiates a data-collection run in which all data
frames are stored.
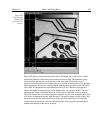
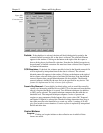
Figure 209.
Data
Corrections tab
page.