


178 WinView/32 Manual Version 2.4.M
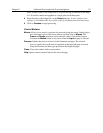
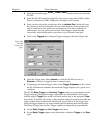
➧ Select the number of copies and pages (if a file contains multiple frames, each will
be printed as a separate page).
➧ Click on OK to initiate the print.
Notes:
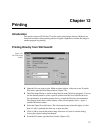
Once the Print Setup is properly configured, you can print the active window simply by
selecting Print from the File menu (shortcut Alt, F, P) or by clicking on the print icon in
the standard toolbar.
Color mapping to the printer may differ from that shown on the screen. To obtain the
desired output color mapping, you may wish to do a screen capture and then paste the
image into a graphics program for final adjusting before printing.
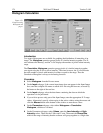
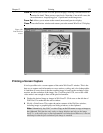
Print Preview
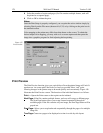
The Print Preview function gives you a quick idea of how the printed image will look. It
produces an “on-screen print” that looks as closely as possible like a “real” print,
allowing changes in the printer setup to be made quickly and conveniently. Figure 156
illustrates the Print Preview screen. The function of the individual buttons is as follows.
Print…:
Opens the Print screen so that a print can be initiated.
Next Page:
If the file contains multiple frames, each one will occupy a different page.
The Next Page button allows you to step forward sequentially through all
available pages. If the file contains only one image, the Next Page button will be
grayed out.
Prev Page:
Allows you to step backwards sequentially through the pages of a multiple
image file.
Two Page:
Causes two pages to be displayed at a time in a side-by-side layout.
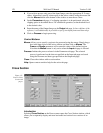
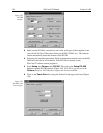
Figure 155.
Print window.