


114 WinView/32 Manual Version 2.4.M
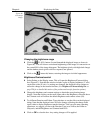
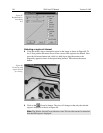
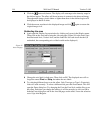
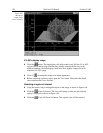
➧ Click the (Autoscale) button. The display will autorange to the intensity range in
the defined region. The effect will be an increase in contrast in the observed image.
Throughout the image, pixels darker or lighter than those in the defined region will
be displayed as black or white.
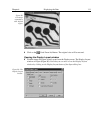
➧ Click the mouse anywhere in the displayed image and click
again to restore the
original image view.
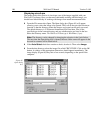
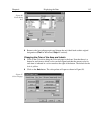
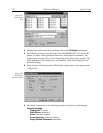
Relabeling the axes
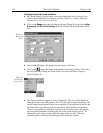
➧ Again open the Display Layout window by clicking on Layout in the Display menu.
Then click on the Axes tab to bring the Axes tab page (Figure 95) to the front. Note
that Horizontal Axis, Vertical Axis, and the Label box for each are all checked (If
unchecked, the corresponding axis or label would not be displayed.)
➧ Change the axis label for both axes. Then click on OK. The displayed axes will no
longer be named
Pixel
and
Strip
, but rather the new labels.
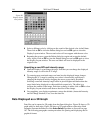
➧ Try selecting different fonts to see the effect. Only True-type or Type 1 (Postscript)
fonts will work correctly. To select a different font, press the Fonts button. This will
open the Fonts dialog box. Try changing the Font, the Font Style, and the Size to see
the effect. Each time you change the settings, it will be necessary to click on OK in
both the Fonts dialog box and in the Axes tab page see the effect. Leave the selection
set to 10 pt Arial Regular.
Figure 95.
Axes tab page.