5-42 ENGINE TOP END
Cylinder and Piston
Piston Ring, Piston Ring Groove Wear
•
Check for uneven groove wear by inspecting the ring seat-
ing.
The rings should fit perfectly parallel to groove surfaces.
If not, replace the piston and all the piston rings.
•
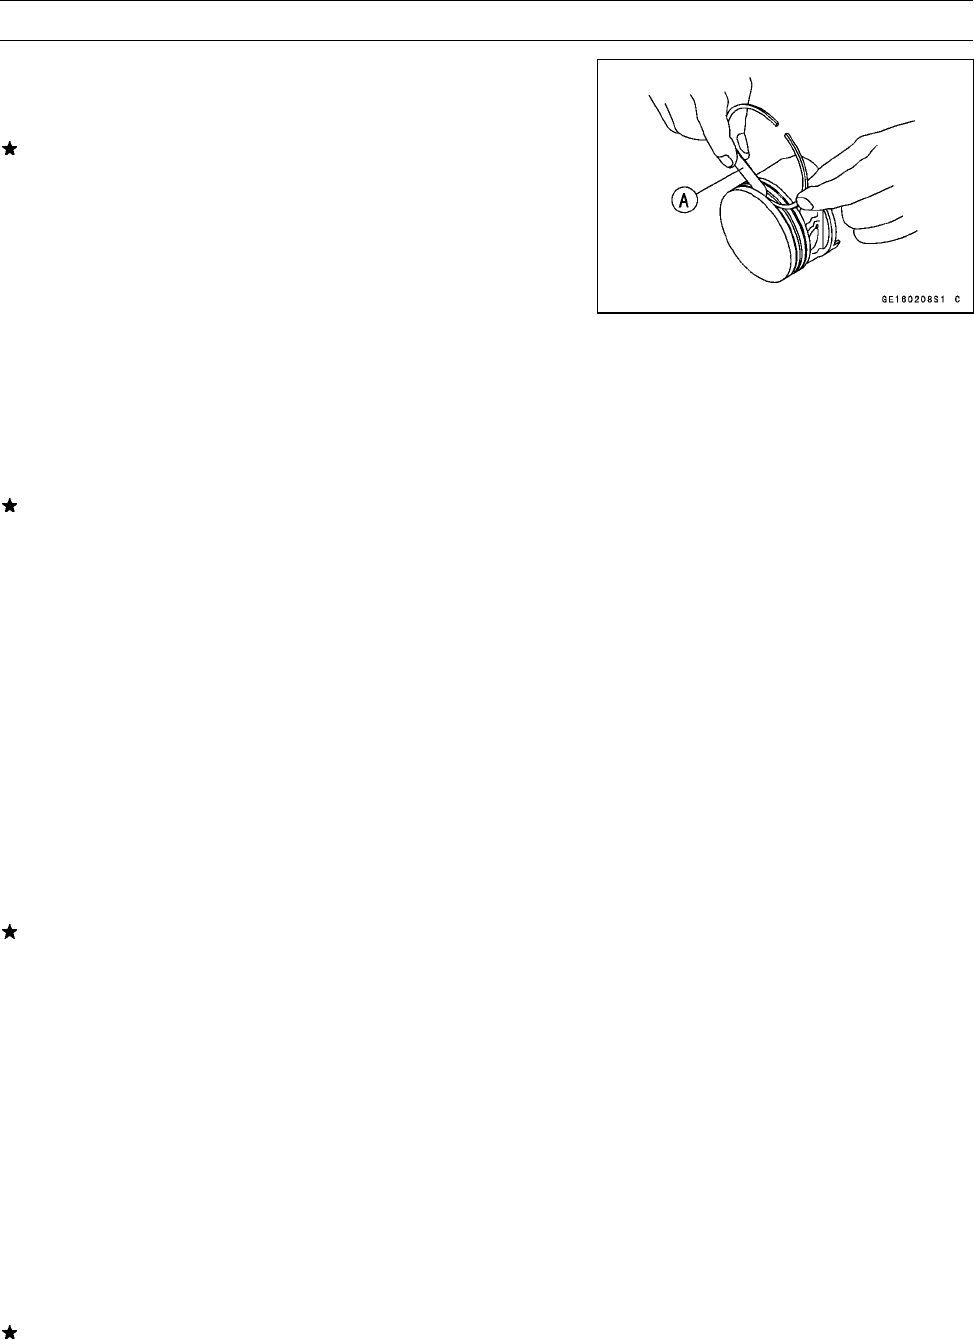
With the piston rings in their grooves, make several mea-
surements with a thickness gauge [A] to determine piston
ring/groove clearance.
Piston Ring/Groove Clearance
Standard:
Top 0.04 ∼ 0.08 mm (0.0016 ∼ 0.0032 in.)
Second 0.03 ∼ 0.07 mm (0.0012 ∼ 0.0028 in.)
Service Limit:
Top
0.18 mm (0.0071 in.)
Second 0.17 mm (0.0067 in.)
If the piston ring groove clearance is greater than the ser-
vice limit, measure the ring thickness and groove width as
follows to decide whether to replace the rings, the piston
or both.
Piston Ring Groove Width
•
Measure the piston ring groove width.
○
Use a vernier caliper at several points around the piston.
Piston Ring Groove Width
Standard:
Top 1.03 ∼ 1.05 mm (0.0405 ∼ 0.0413 in.)
Second 1.02 ∼ 1.04 mm (0.0402 ∼ 0.0409 in.)
Service Limit:
Top
1.13 mm (0.0445 in.)
Second 1.12 mm (0.0441 in.)
If the width of any of the two grooves is wider than the
service limit at any point, replace the piston.
Piston Ring Thickness
•
Measure the piston ring thickness.
○
Use a micrometer to measure at several points around
the ring.
Piston Ring Thickness
Standard:
Top 0.97 ∼ 0.99 mm (0.0382 ∼ 0.0390 in.)
Second 0.97 ∼ 0.99 mm (0.0382 ∼ 0.0390 in.)
Service Limit:
Top
0.90 mm (0.035 in.)
Second 0.90 mm (0.035 in.)
If any of the measurements is less than the service limit
on either of the rings, replace all the rings.
NOTE
○
When using new rings in a used piston, check for un-
even groove wear. The rings should fit perfectly parallel
to the groove sides. I f not, replace the piston.


