3·64
ENGINE
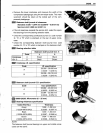
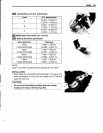
CONROD BIG END SIDE CLEARANCE
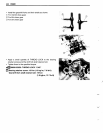
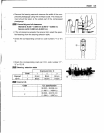
• Inspect the conrad side clearance by using a thickness
gauge.
• If the clearance exceeds the limit, remove the conrad and
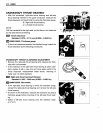
inspect the conrad big end width and the crank pin width.
• If the width exceed the limit, replace conrad or crankshaft.
_ Conrod big
end
side clearance:
Service
Limit:
0.30 mm (0.012 in)
IT'OOti
09900-20803:
Thickness
gauge
_ Conrod
big
end
width:
Standard: 19.95 - 20.00 mm (0.7854 - 0.7874 in)
lroot,
09900-20205: Micrometer (0 - 25 mm)
_ Crank pin
width:
Standard: 20.10 - 20.15 mm (0.7913 - 0.7933 in)
IT'OOt,
09900-20605: Dial calipers (1/100 mm, 10 - 34 mm)
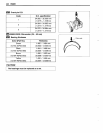
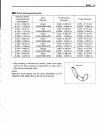
CONROD-BIG END BEARING INSPECTION
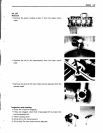
• Inspect the bearing surfaces for any sign of fusion, pitting,
burn, or flaws. If any, replace them with a specified set of
bearings.
Ilmil~
111111I1i11~
CONROD-BIG END BEARING SELECTION
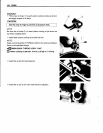
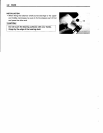
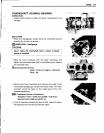
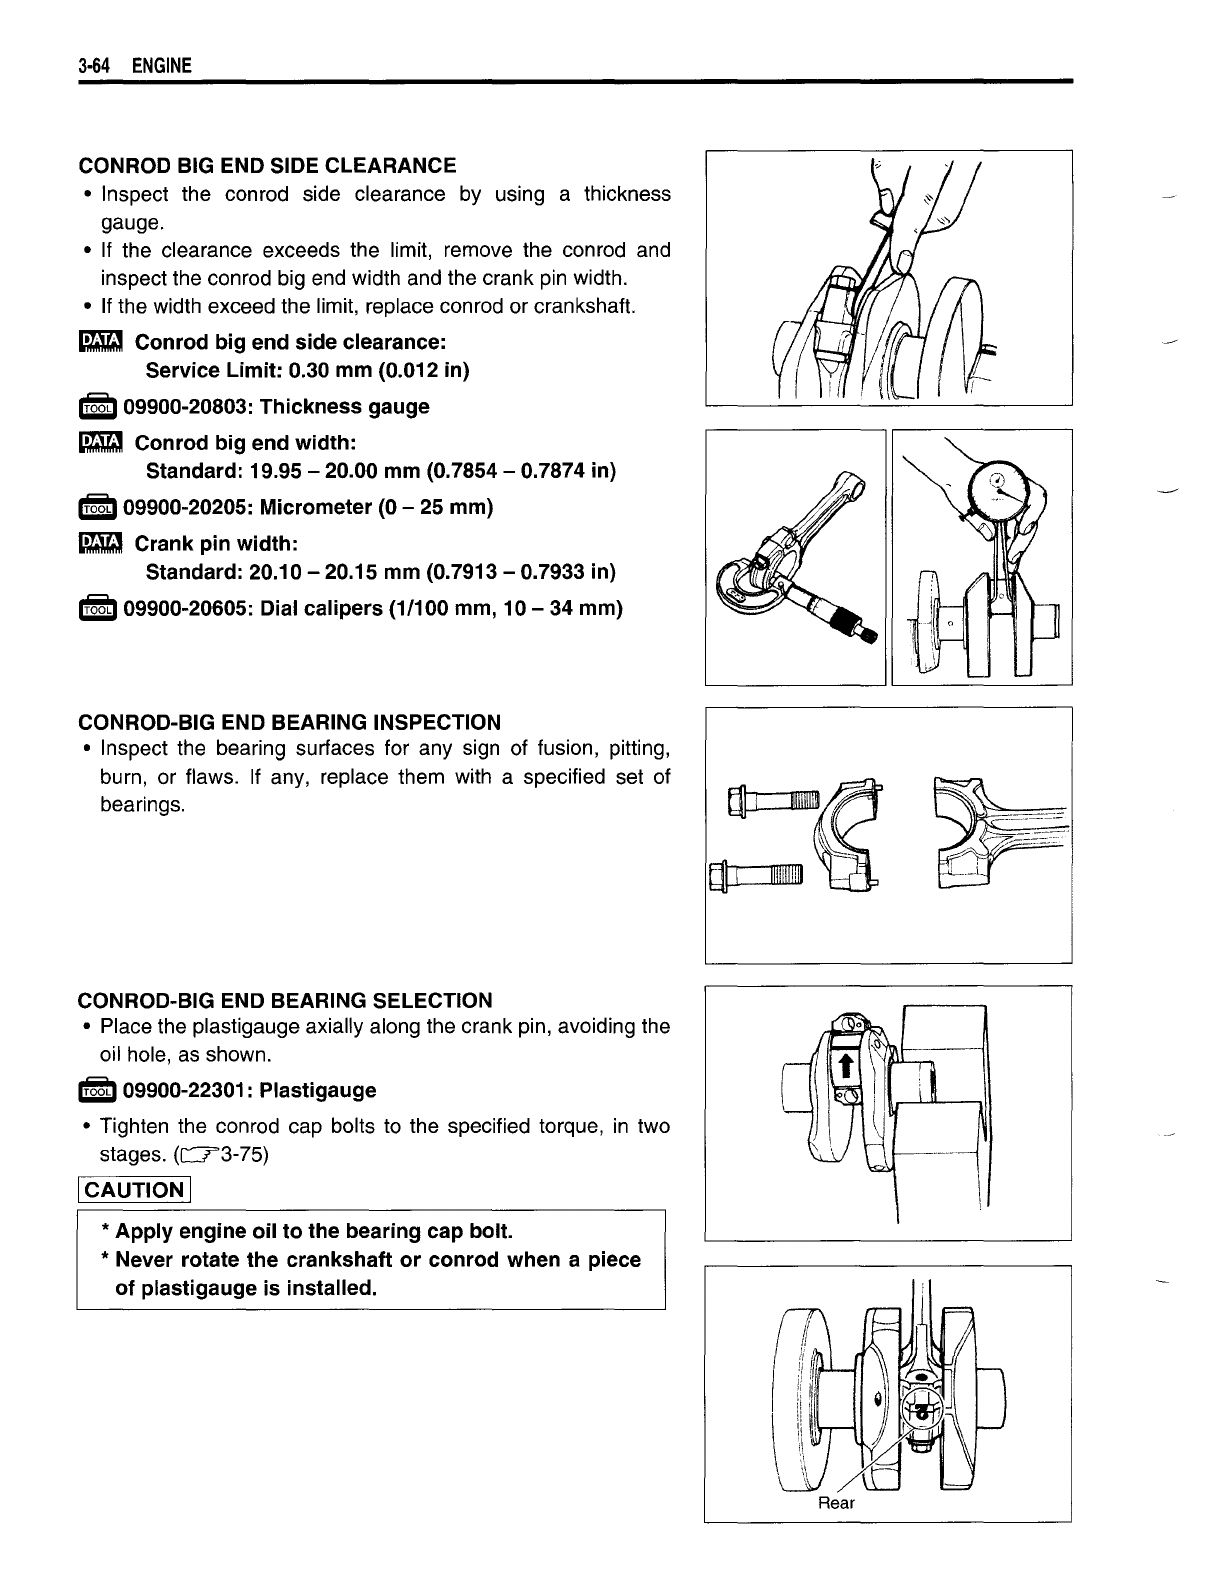
• Place the plastigauge axially along the crank pin, avoiding the
oil hole, as shown.
l';!OOti
09900-22301: Plastigauge
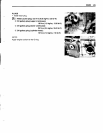
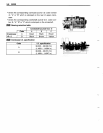
• Tighten the conrad cap bolts to the specified torque, in two
stages.
(CT'3-75)
ICAUTION I
*
Apply
engine
oil
to
the
bearing
cap
bolt.
* Never rotate
the
crankshaft
or
conrod
when a piece
of
plastigauge is installed.
Rear


