3·52
ENGINE
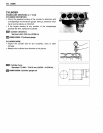
PISTON RING TO GROOVE CLEARANCE
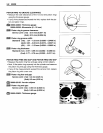
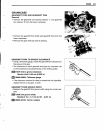
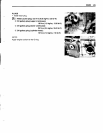
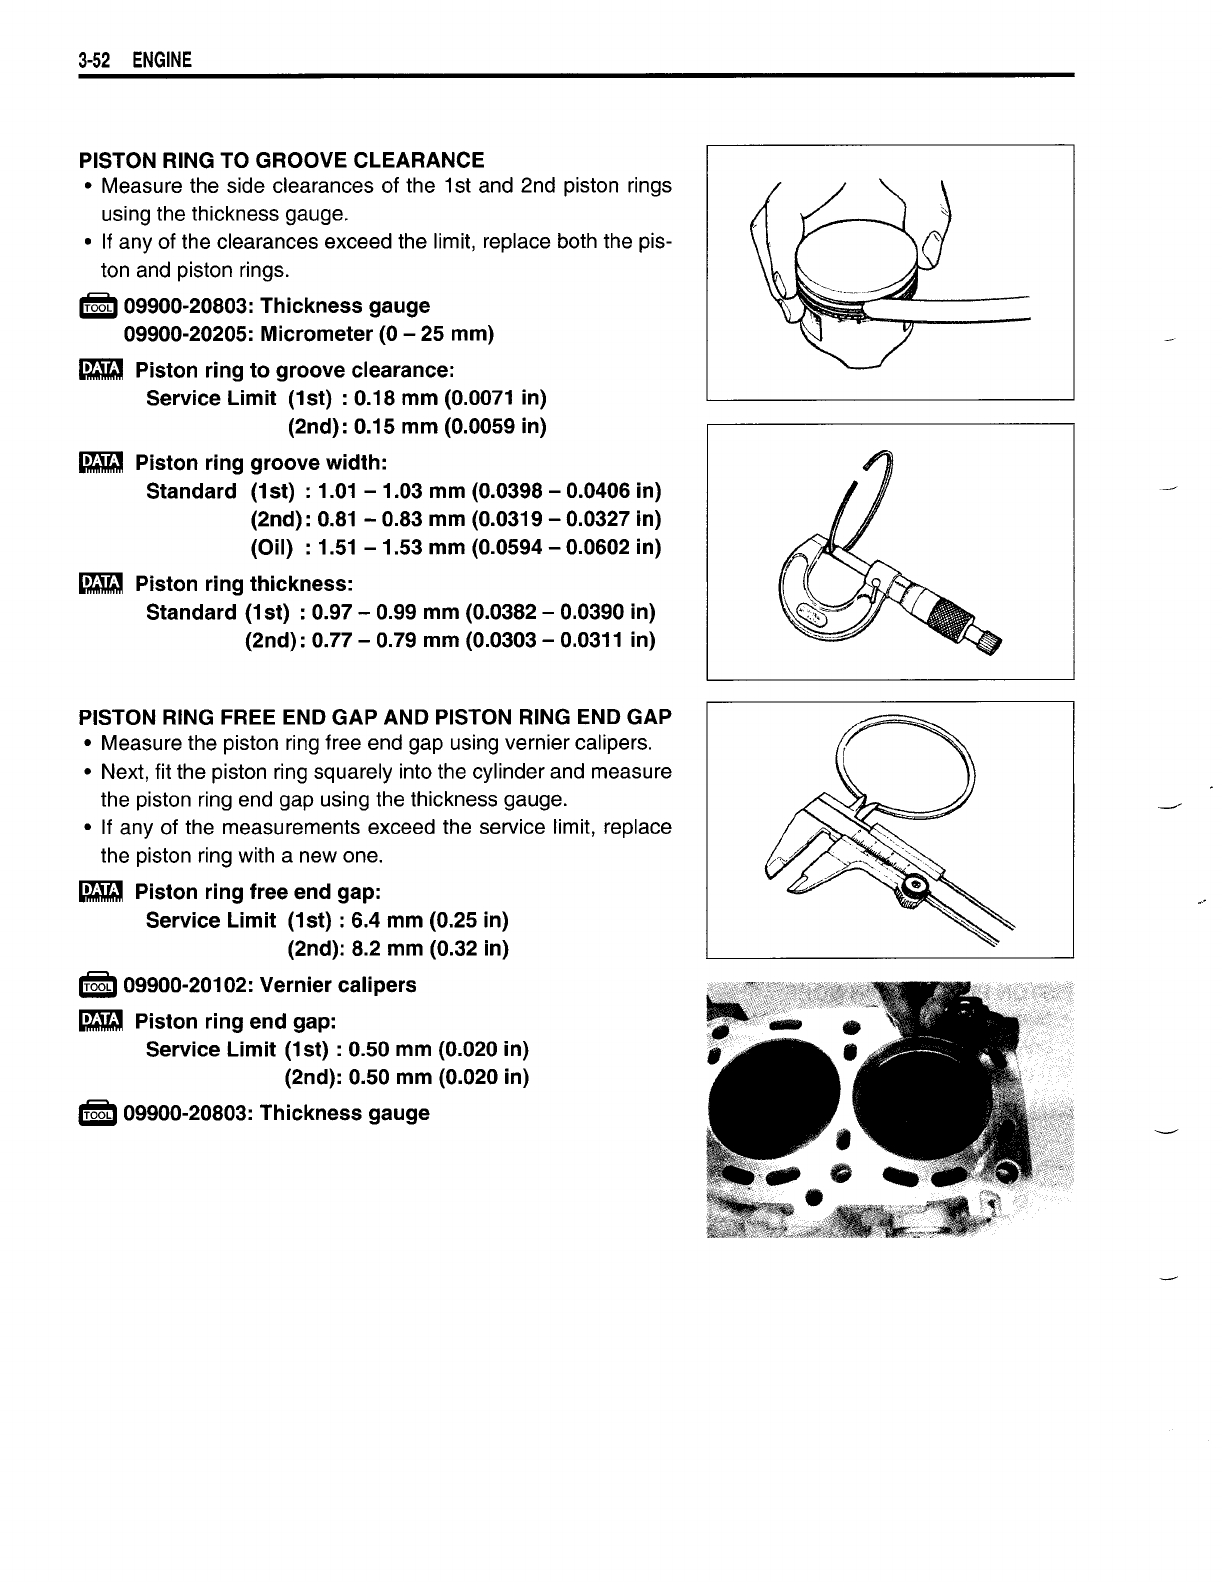
• Measure the side clearances of the 1st and 2nd piston rings
using the thickness gauge.
• If any of the clearances exceed the limit, replace both the pis-
ton and piston rings.
1.:&1.09900-20803: Thickness gauge
09900-20205: Micrometer (0 - 25 mm)
_ Piston ring
to
groove
clearance:
Service
Limit
(1st) : 0.18 mm (0.0071 in)
(2nd): 0.15 mm (0.0059 in)
_ Piston ring
groove
width:
Standard (1st) : 1.01 - 1.03 mm (0.0398 - 0.0406 in)
(2nd): 0.81 - 0.83 mm (0.0319 - 0.0327 in)
(Oil) : 1.51 - 1.53 mm (0.0594 - 0.0602 in)
_ Piston ring
thickness:
Standard (1st) : 0.97 - 0.99 mm (0.0382 - 0.0390 in)
(2nd): 0.77 - 0.79 mm (0.0303 - 0.0311 in)
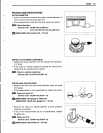
PISTON RING FREE END
GAP
AND PISTON RING END
GAP
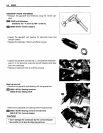
• Measure the piston ring free end gap using vernier calipers.
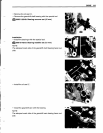
• Next, fit the piston ring squarely into the cylinder and measure
the piston ring end gap using the thickness gauge.
• If any of the measurements exceed the service limit, replace
the piston ring with a new one.
_ Piston ring free end gap:
Service
Limit
(1st) : 6.4 mm (0.25 in)
(2nd): 8.2 mm (0.32 in)
ITUti
09900-20102: Vernier calipers
_ Piston ring end gap:
Service
Limit
(1st) : 0.50 mm (0.020 in)
(2nd): 0.50 mm (0.020 in)
IMgtl
09900-20803: Thickness gauge
-'


