PERIODIC MAINTENANCE 2-13
OIL FILTER REPLACEMENT
• Drain the engine oil as described in the engine oil replace-
ment procedure.
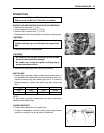
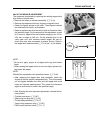
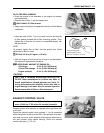
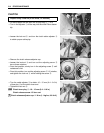
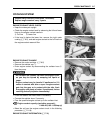
• Remove the oil filter 1 with the special tool.
09915-40610: Oil filter wrench
• Apply engine oil lightly to the gasket of the new oil filter before
installation.
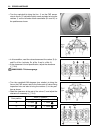
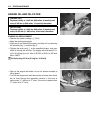
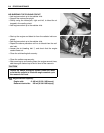
• Install the new oil filter. Turn it by hand until you feel that the
oil filter gasket contacts the oil filter mounting surface. Then,
tighten the oil filter two full turns (or to specified torque) with
the special tool.
NOTE:
To properly tighten the oil filter, use the special tool. Never
tighten the oil filter by hand.
Oil filter: 20 N·m (2.0 kgf-m, 14.5 lb-ft)
• Add new engine oil and check the oil level is as described in
the engine oil replacement procedure.
NECESSARY AMOUNT OF ENGINE OIL:
Oil change : 2.2 L (2.3/1.9 US/Imp qt)
Oil and filter change : 2.5 L (2.6/2.2 US/Imp qt)
Engine overhaul : 2.9 L (3.1/2.6 US/Imp qt)
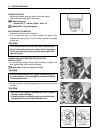
EXHAUST CONTROL VALVE
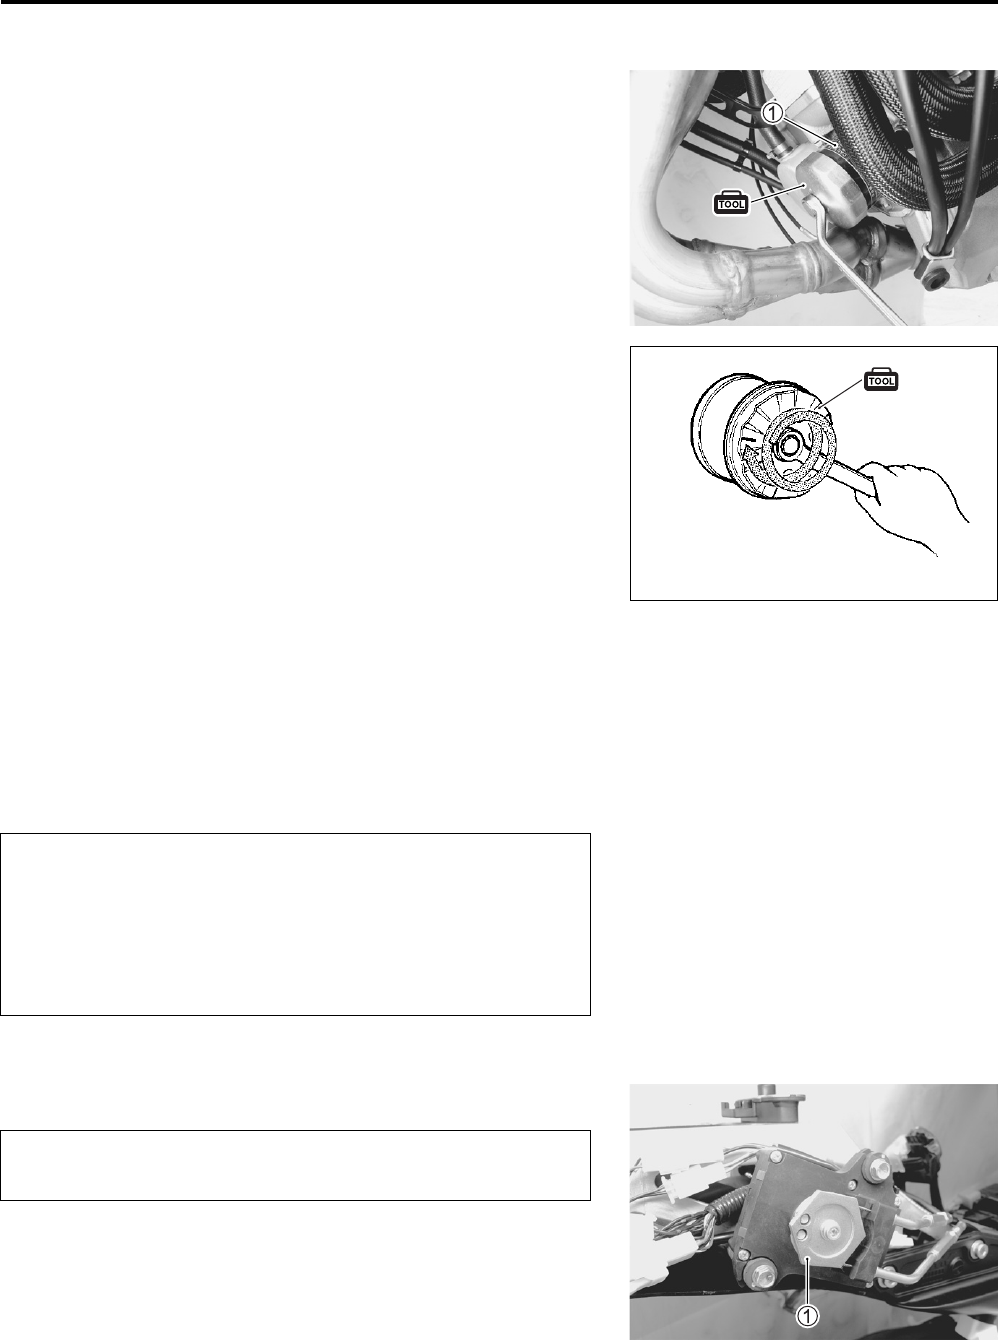
Exhaust control valve actuator is installed in the right-hand side
in tail cowl.
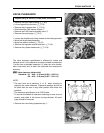
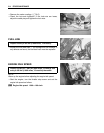
Check the exhaust control valve actuator 1 for its movement
when the ignition switch is turned ON. If the exhaust valve actu-
ator does not move, check exhaust valve actuator electrical cir-
cuit and exhaust valve carbon sticking. Check the exhaust
control cable play. (6-14)
After contacting the
gasket, tighten 2 turns.
(20 N·m, 2.0 kgf-m, 14.5 lb-ft)
ONLY USE A GENUINE SUZUKI MOTORCYCLE OIL
FILTER. Other manufacturer’s oil filters may differ in
thread specifications (thread diameter and pitch), fil-
tering performance and durability which may lead to
engine damage or oil leaks. Also, do not use a genuine
Suzuki automobile oil filter on this motorcycle.
Inspect initially at 1 000 km (600 miles, 2 months) and
every 12 000 km (7 500 miles, 24 months) thereafter.


