ENGINE 3-61
CRANKSHAFT AND CONROD
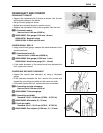
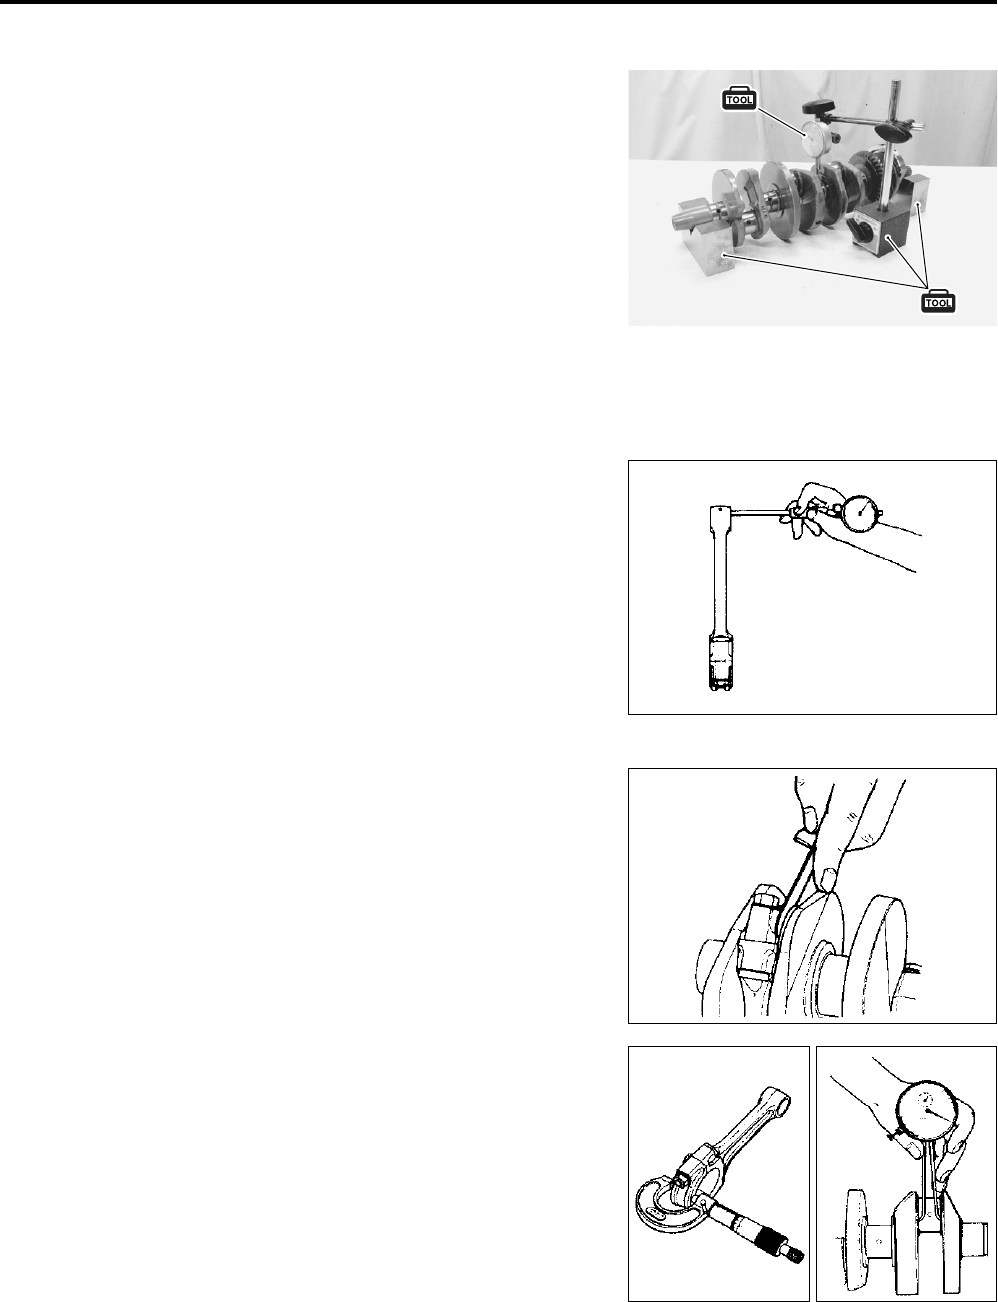
CRANKSHAFT RUNOUT
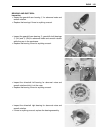
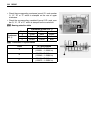
• Support the crankshaft with V-blocks as shown, with the two
end journals resting on the blocks.
• Set up the dial gauge, as shown.
• Rotate the crankshaft slowly to read the runout.
• Replace the crankshaft if the runout is greater than the limit.
Crankshaft runout:
Service Limit: 0.05 mm (0.002 in)
09900-20607: Dial gauge (1/100 mm, 10 mm)
09900-20701: Magnetic stand
09900-21304: V-block set (100 mm)
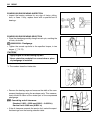
CONROD SMALL END I.D.
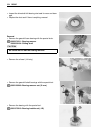
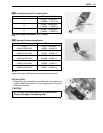
• Using a small bore gauge, measure the inside diameter of the
conrod small end.
Conrod small end I.D.:
Service Limit: 14.040 mm (0.5528 in)
09900-20602: Dial gauge (1/1000 mm, 1 mm)
09900-22401: Small bore gauge (10 – 18 mm)
• If the inside diameter of the conrod small end exceeds the
limit, replace the conrod.
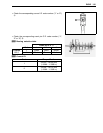
CONROD BIG END SIDE CLEARANCE
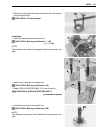
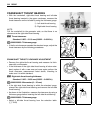
• Inspect the conrod side clearance by using a thickness
gauge.
• If the clearance exceeds the limit, remove the conrod and
inspect the conrod big end width and the crank pin width.
• If the width exceed the limit, replace conrod or crankshaft.
Conrod big end side clearance:
Service Limit: 0.30 mm (0.012 in)
09900-20803: Thickness gauge
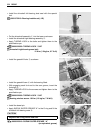
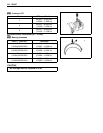
Conrod big end width:
Standard: 19.95 – 20.00 mm (0.7854 – 0.7874 in)
09900-20205: Micrometer (0 – 25 mm)
Crank pin width:
Standard: 20.10 – 20.15 mm (0.7913 – 0.7933 in)
09900-20605: Dial calipers (1/100 mm, 10 – 34 mm)


