EXHAUST SYSTEM 6-9
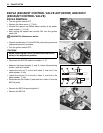
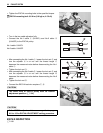
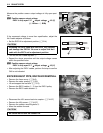
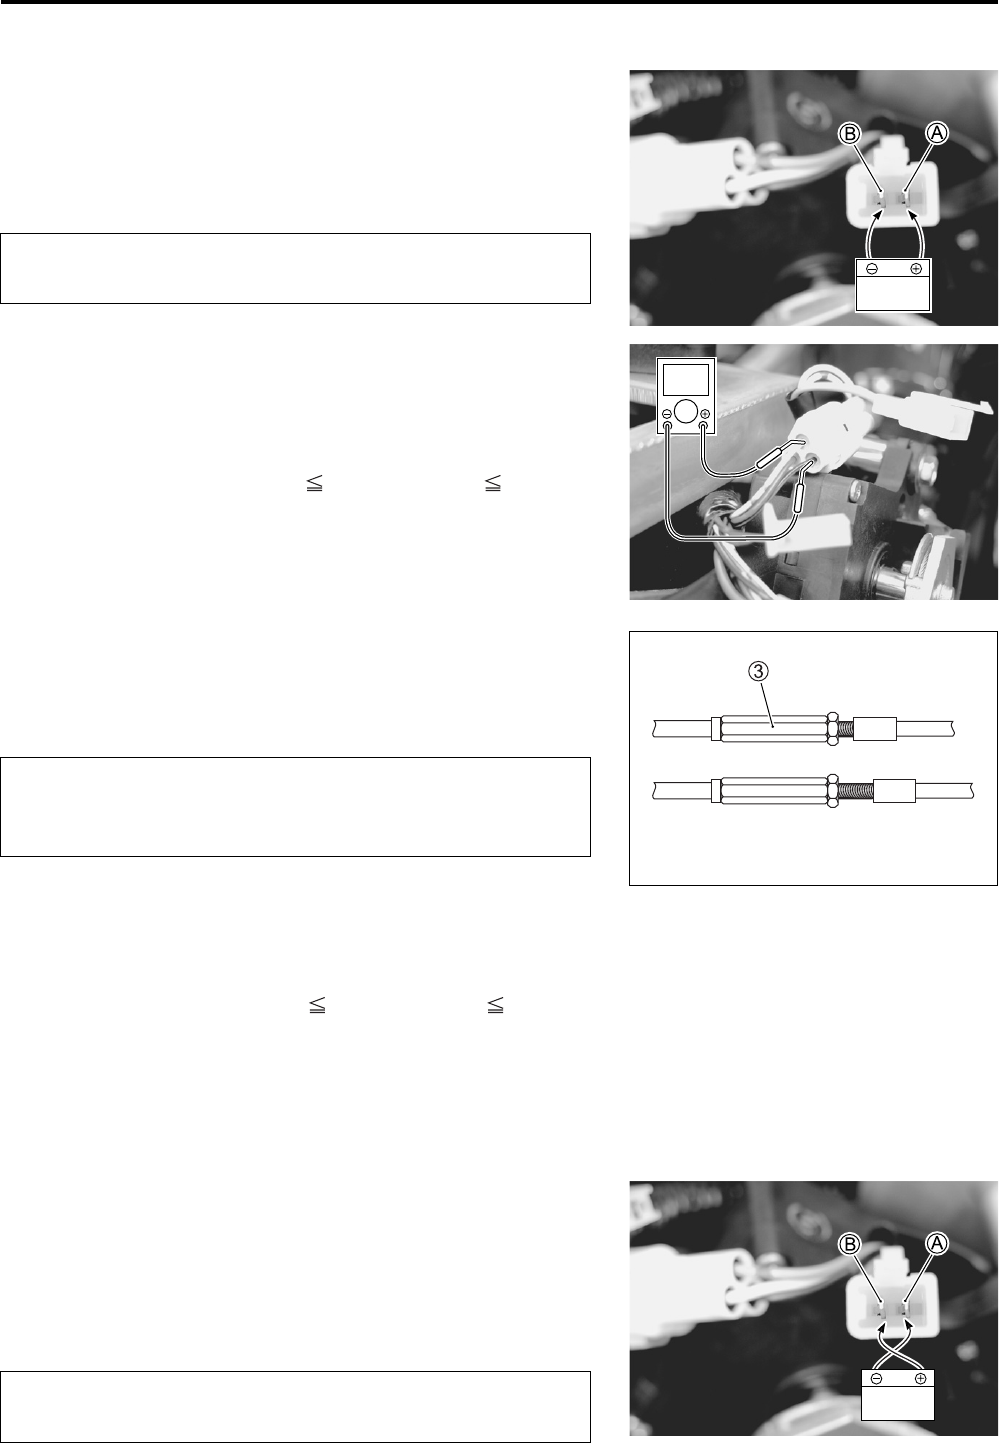
• To set the EXCV to fully close position, apply 12 V to A and
B terminals.
Battery + terminal–– A (Pink lead wire) terminal
Battery - terminal–– B (Gray lead wire) terminal
• Turn the ignition switch ON.
• Measure the position sensor output voltage at fully close posi-
tion.
Position sensor output voltage
EXCV is fully close: 0.5 output voltage 1.3 (V)
(+ Yellow – - B/Br)
09900-25008: Multi circuit tester set
09900-25009: Needle pointed probe set
Tester knob indication: Voltage ()
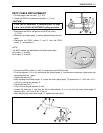
If the measured voltage is less than specification, adjust the
No.1 cable adjuster as follows:
• Set the EXCVA to adjustment position. (6-4)
• Turn out the No.1 cable adjuster 3.
• Repeat the above procedure until the output voltage becomes
specified value.
Position sensor output voltage
EXCV is fully close: 0.5 output voltage 1.3 (V)
• To next step.
NOTE:
If C46 code is indicated after adjusting the voltage, increase the
voltage to 0.9 V.
4th step:
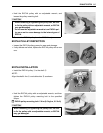
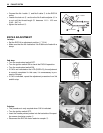
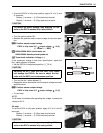
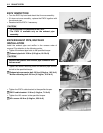
To set the EXCV to fully open position, apply 12 V to A and B
terminals.
Battery + terminal–– B (Gray lead wire) terminal
Battery - terminal–– A (Pink lead wire) terminal
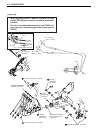
To prevent the motor damage, stop applying 12 V as
soon as the EXCV reaches fully close position.
Adjusting the No.1 cable with the EXCV fully closed
can damage the EXCVA. Be sure to adjust the No.1
cable with the EXCV set in adjustment position.
To prevent the motor damage, stop applying 12 V as
soon as the EXCV reaches fully open position.
12 V
V
12 V


