


STEERING 14-9
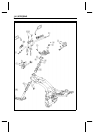
Handlebar
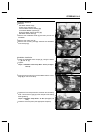
Handlebar Removal
•
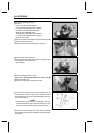
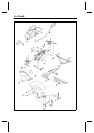
Remove:
Handlebar H older Plugs
Clutch Lever Assembly [A]
Left Handlebar Switch Housing [B]
Front Brake M aster Cylinder [C]
Right Handlebar Switch Housing [D]
Handlebar Holder Bolts [E]
•
Remove the handlebar holder [F] and then pull out the
handlebar.
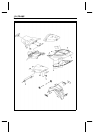
•
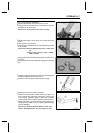
Remove the cotter pins [A].
•
Remove the mounting nuts [B], washers and handlebar
lower clamps [C].
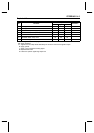
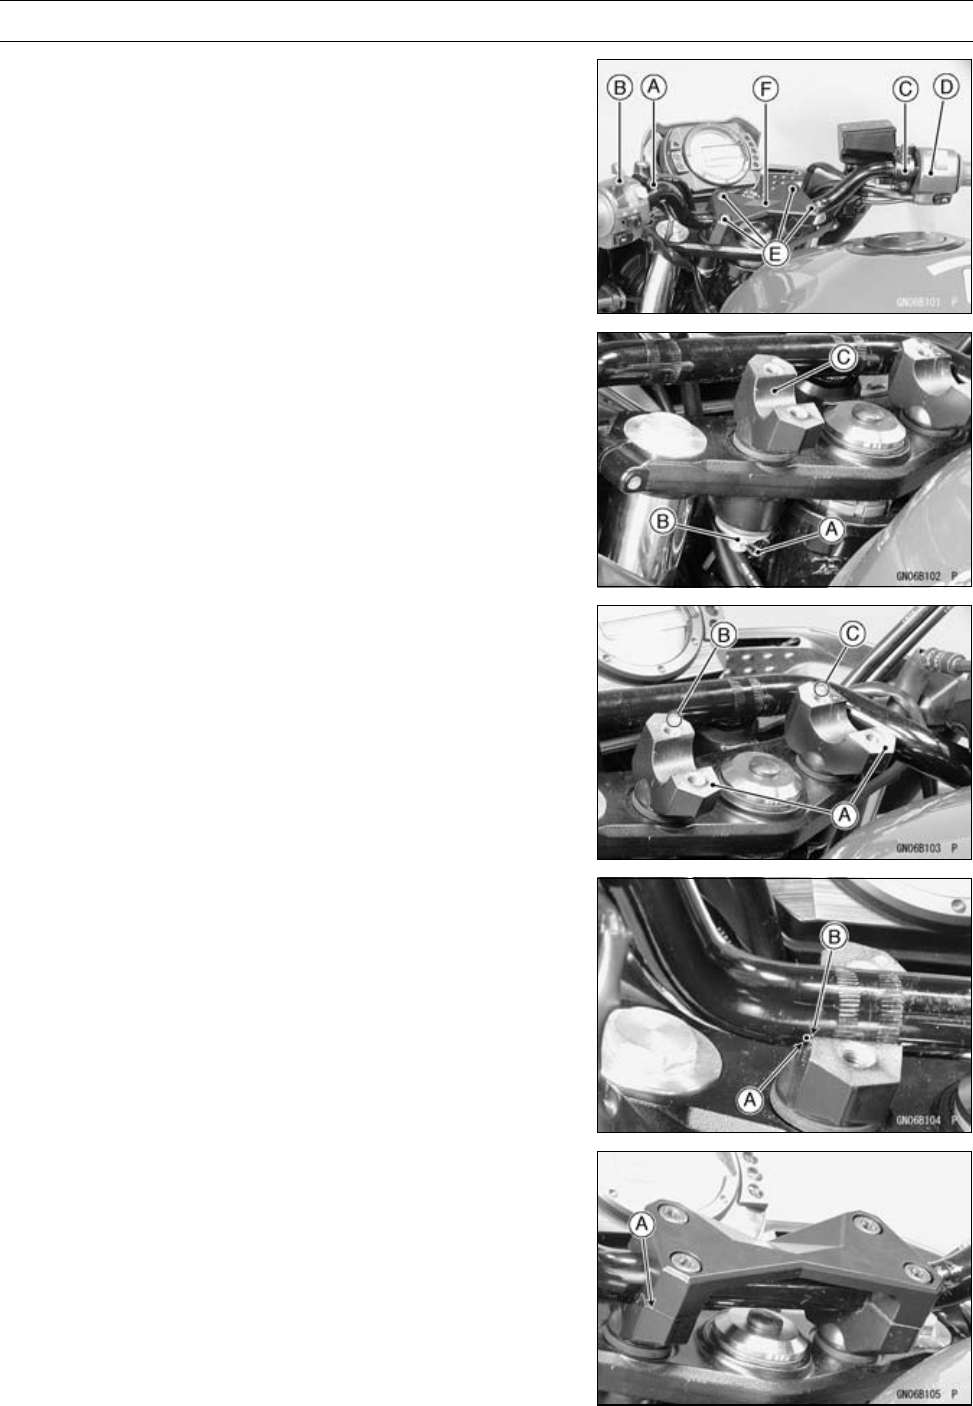
Handlebar Installation
•
Install t he handlebar lower clamps [A], noting the letters
“L” [B] and “R” [ C].
•
Tighten:
Torque - Handlebar Lower Clamp Nuts: 34 N·m (3.5 kgf·m,
25 ft·lb)
•
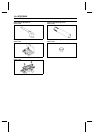
Align the punch mark [A] on the handlebar and the corner
edge [B] on the lower clamp.
•
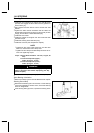
Tighten the front clamp bolts first, and then the rear clamp
bolts. There will be a gap [A] at the rear part of the clamp
after tightening.
Torque - Handlebar Clamp Bolts: 25 N ·m (2.5 kgf·m, 18
ft·lb)
•
Install the removed parts (see appropriate chapters).