ENGINE TOP E ND 5-31
Cylinder, Pistons
Piston Ring, Piston Ring Groove Wear
•
Check for uneven groove wear by inspecting the ring seat-
ing.
The rings should fit perfectly parallel to groove surfaces.
If not, replace the piston and all the piston rings.
•
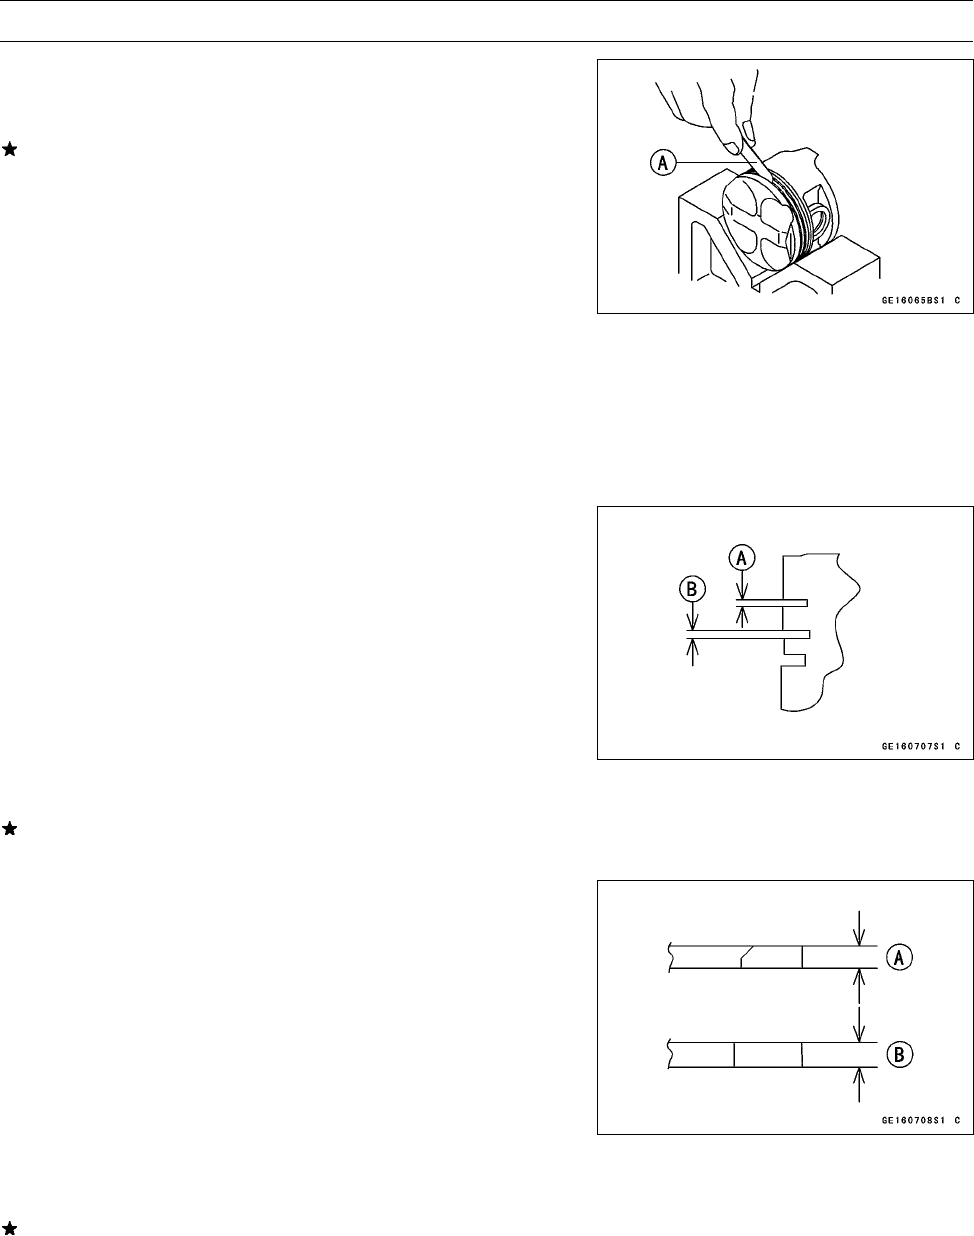
With the piston r ings in their grooves, make several mea-
surements with a thickness gauge [A] to determine piston
ring/groove clearance.
Piston Ring/Groove Clearance
Top
Standard: 0.04 ∼ 0.08 mm (0.0016 ∼ 0.0031 in.)
Service Limit: 0.18 m m (0.007 1 in.)
Second
Standard: 0.02 ∼ 0.06 mm (0.0008 ∼ 0.0024 in.)
Service Limit: 0.16 m m (0.006 3 in.)
PistonRingGrooveWidth
•
Measure the piston ring groove width.
○
Use a vernier caliper at several points around the piston.
Piston Ring Groove Width
Top [A]
Standard: 0.83 ∼ 0.85 mm (0.0327 ∼ 0.0335 in.)
Service Limit: 0.93 mm (0.037 in.)
Second [B]
Standard: 0.81 ∼ 0.83 mm (0.0319 ∼ 0.0327 in.)
Service Limit: 0.91 mm (0.036 in.)
If the width of any of the two grooves is wider than the
service limit at any point, replace the piston.
Piston Ring Thickness
•
Measure the piston ring thickness.
○
Use the micrometer to measure at s everal points around
the ring.
Piston Ring Thickness
Top [A]
Standard: 0.77 ∼ 0.79 mm (0.0303 ∼ 0.0311 in.)
Service Limit: 0.70 mm (0.028 in.)
Second [B]
Standard: 0.77 ∼ 0.79 mm (0.0303 ∼ 0.0311 in.)
Service Limit: 0.70 mm (0.028 in.)
If any of the measurements is less than the service limit
on either of the rings, replace all the rings.
NOTE
○
When using new rings in a used piston, check for un-
even groove wear. The rings should fit perfectly parallel
to the groove sides. If not, replace the piston.


