5-32 ENGINE TOP END
Cylinder, Pistons
Piston Ri ng End Gap
•
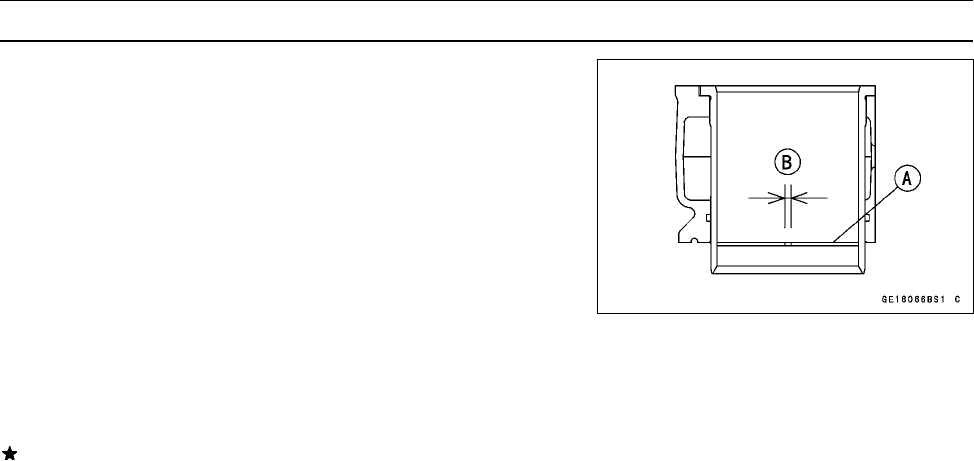
Place the piston ring [A] inside the cylinder, using the pis-
ton to locate the ring squarely in place. Set it close to the
bottom of the cylinder, where cylinder wear is low.
•
Measure the gap [B] between the ends of the ring with a
thickness gauge.
Piston Ring End Gap
Top
Standard: 0.30 ∼ 0.40 mm (0.0118 ∼ 0.0157 in.)
Service Limit: 0.7 mm (0.028 in.)
Second
Standard: 0.45 ∼ 0.55 mm (0.0177 ∼ 0.0217 in.)
Service Limit: 0.8 mm (0.031 in.)
If the end gap of either ring is greater than the service
limit, replace all the rings.


