


10-10 WHEELS/TIRES
Wheels (Rims)
Axle Inspection
•
Remove the front and rear axles.
•
Visually inspect the front and rear axle for damages.
If the axle is damaged or bent, replace it.
•
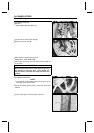
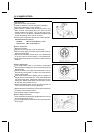
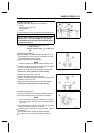
Place the axle in V blocks that are 100 mm (3.94 in.) [A]
apart, and set a dial gauge [B] on the axle at a point
halfway between the blocks. Turn [C] the axle to mea-
sure the runout. The difference between the highest and
lowest dial readings is the am ount of runout.
If axle runout exceeds the service limit, replace the axle.
Axle Runout/100 mm (3.94 in.)
Standard: TIR 0.05 mm (0.0020 in.) or less
Service Limit: TIR 0.2 mm (0.008 in.)
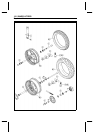
Balance Inspection
•
Remove the wheel.
•
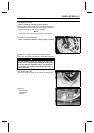
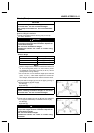
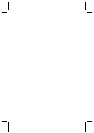
Support the wheel so that it can be spun freely.
•
Spin the wheel lightly, and mark [A] the wheel at the top
when the wheel stops.
○
Repeat this procedure several times. If the wheel stops
of its own accord in various positions, it is well balanced.
If the wheel always stops in one position, adjust the wheel
balance.
Balance Adjustment
•
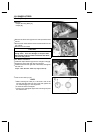
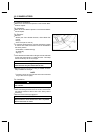
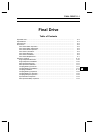
If the wheel always stops in one position, provisionally
attach a balance weight [A] on the rim at the m arking using
adhesive tape.
•
Rotate the wheel 1/4 turn [B], and see whether or not the
wheel stops in this position. If it does, the correct balance
weight is being used.
If the wheel rotates and the weight goes up, replace the
weight with the next heavier size. If the wheel rotates and
the weight goes down, replace the weight with the next
lighter size. Repeat these steps until the wheel remains
at rest after being rotated 1/4 turn.
•
Rotate the wheel another 1/4 turn and then another 1/4
turn to see if the wheel is correctly balanced.
•
Repeat the entire procedure as many times as necessary
to achieve correct wheel balance.
•
Permanently install the balance weight.
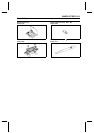
Balance Weight Removal
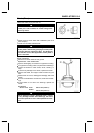
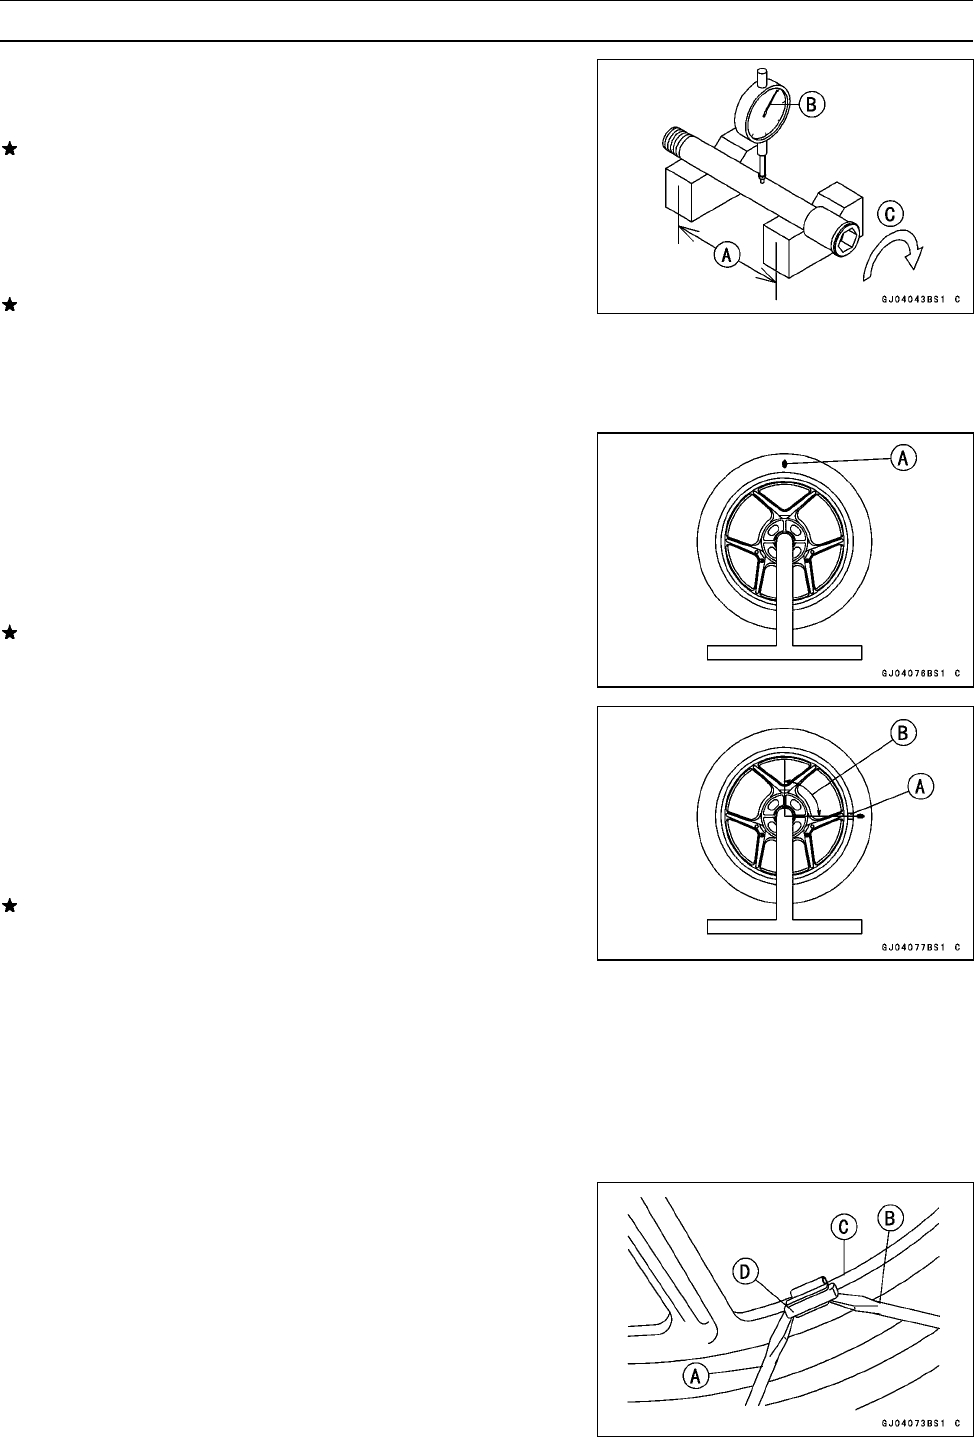
•
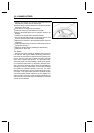
Insert a standard screwdrivers [A] [B] between the rib [C]
and the weight [D] as shown.
•
Pry the weight with two screwdrivers and remove the bal-
ance weight.