


10-12 BRAKES
Caliper
Caliper Removal
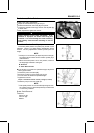
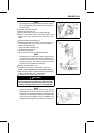
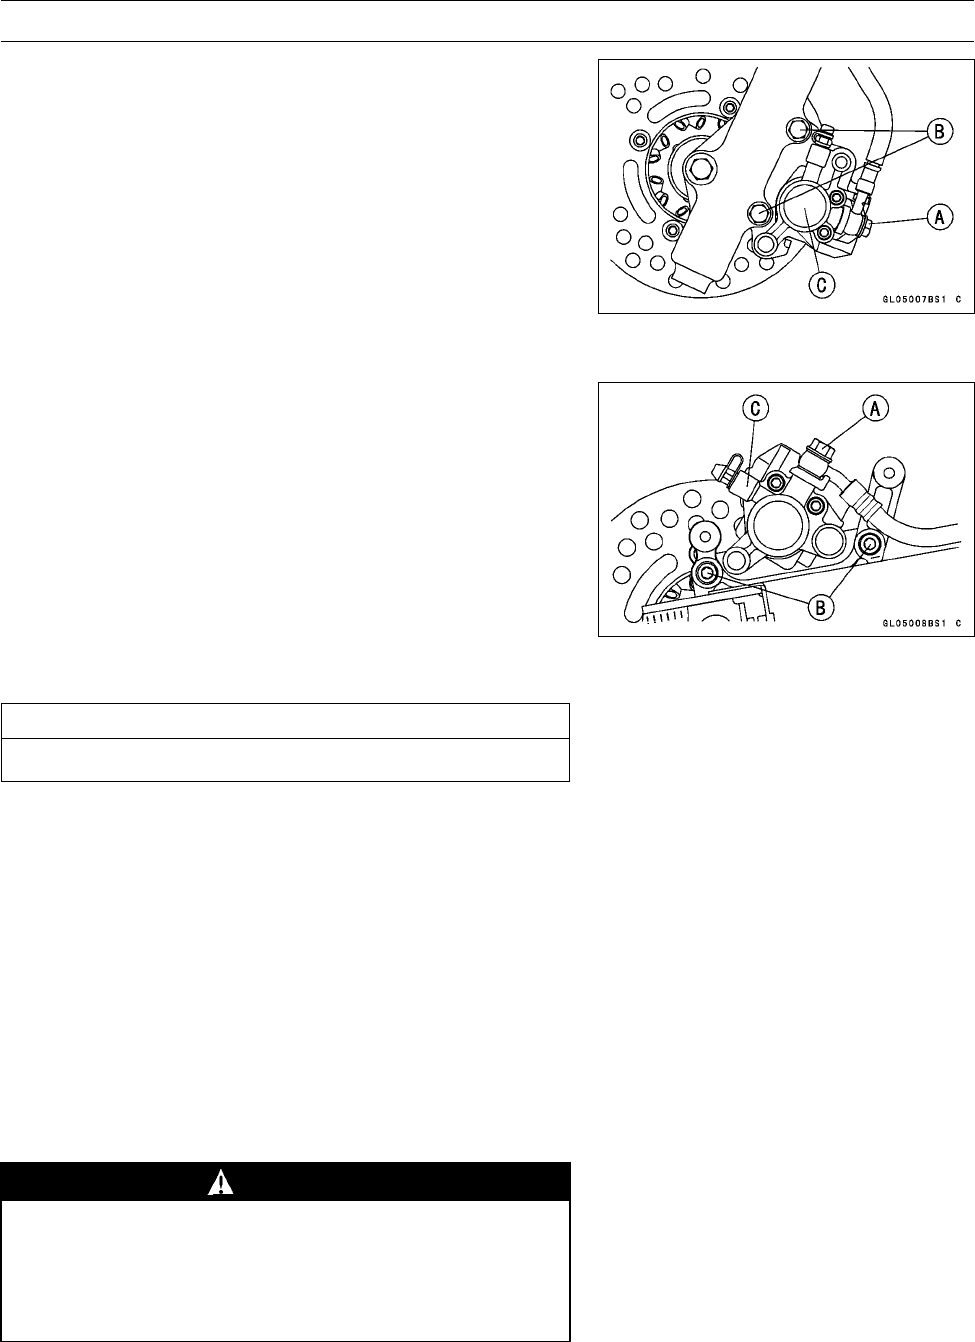
Front Brake
•
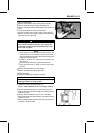
Loosen the banjo bolt [A] so as not to spill brake fluid.
•
Remove the caliper mounting bolts [B].
•
Remove the banjo bolt and take off the brake hose from
the c aliper [C].
•
If the caliper is to be disassembled after removal and if
compressed air is not available, remove the piston using
the following steps before disconnecting the brake hose
from the caliper.
○
Remove the pads.
○
Pump the brake lever to remove the piston.
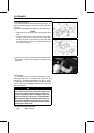
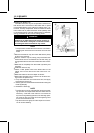
Rear Brake
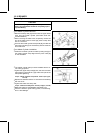
•
Unbolt the guard bolts and remove the rear caliper guard.
•
Loosen the banjo bolt [A] so as not to spill brake fluid.
•
Remove the caliper mounting bolts [B].
•
Remove the banjo bolt and take off the brake hose from
the c aliper [C].
•
If the caliper is to be disassembled after removal and if
compressed air is not available, remove the piston using
the following steps before disconnecting the brake hose
from the caliper.
○
Remove the pads.
○
Pump the brake lever to remove the piston.
CAUTION
Immediately wipe up any brake fluid that is spilled.
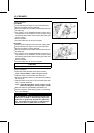
Caliper Installation
•
Tighten the brake pad bolts if they were removed.
Torque - Brake Pad Bolts: 18 N·m (1.8 kgf·m, 13 ft·lb)
•
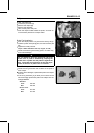
Install the caliper, and the brake hose lower end.
○
Replace the washers that are on each side of hose fitting
with new ones.
○
Install the brake hose lower end so that the white paint
mark on it faces backward.
Torque - Caliper Mounting Bolts: 25 N·m (2.5 kgf·m, 18 ft·lb)
Brake Hose Banjo Bolt: 25 N·m (2.5 kgf·m, 18 ft·lb)
•
Bleed the brake line (see Bleeding the Brake Line).
•
Check the brake for good braking power, no brake drag,
and no fluid leakage.
WARNING
Do not attempt to drive the motorcycle until a full
brake lever or pedal is obtained by pumping the
brake lever or pedal until the pads are against the
disc. The brakes will not function on the first appli-
cation of the lever or pedal if this is not done.