


PERIODIC MAINT EN ANCE 2-23
Periodic Maintenan ce Procedures
•
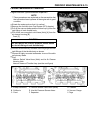
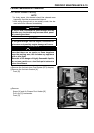
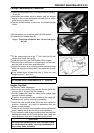
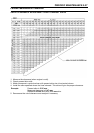
Loosen the air bleeder bolt [A] on the thermostat housing.
Front [B]
•
Replenish the coolant into the radiator until the coolant
begins to flow out the air bleeder bolt hole (that is, all the
remaining air is forced out).
•
Tap the radiator hoses to force any air bubbles caught
inside.
•
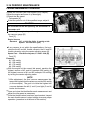
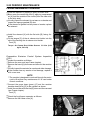
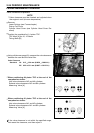
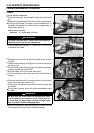
Fill the radiator up to the filler neck [A] with coolant.
•
Tighten the air bleeder bolt [B].
Torque - Thermostat Air Bleeder Bolt: 7.8 N·m (0.80 kgf·m,
69 in·lb)
•
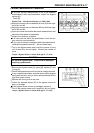
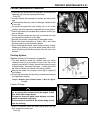
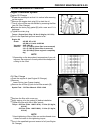
Fill the reserve tank up to the “F” (full) level line [A] with
coolant and install the cap [B].
•
Install the fuel tank (see Fuel System (DFI) chapter).
•
Start the engine and warm it up thoroughly until the radi-
ator fan turns on and then stop the engine.
•
Check the coolant level in the reserve tank several times
while the engine is cooling down, and replenish as nec-
essary.
If the coolant level is lower than the “L” level line, add
coolant to the “F” level line.
CAUTION
Do not add more coolant above the “F” level line.
Engine Top End
Air Suction Valve Inspection
•
Remove the air suction valve (see Air Suction Valve Re-
moval in the 5. Engine Top End chapter).
•
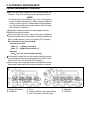
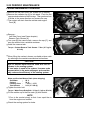
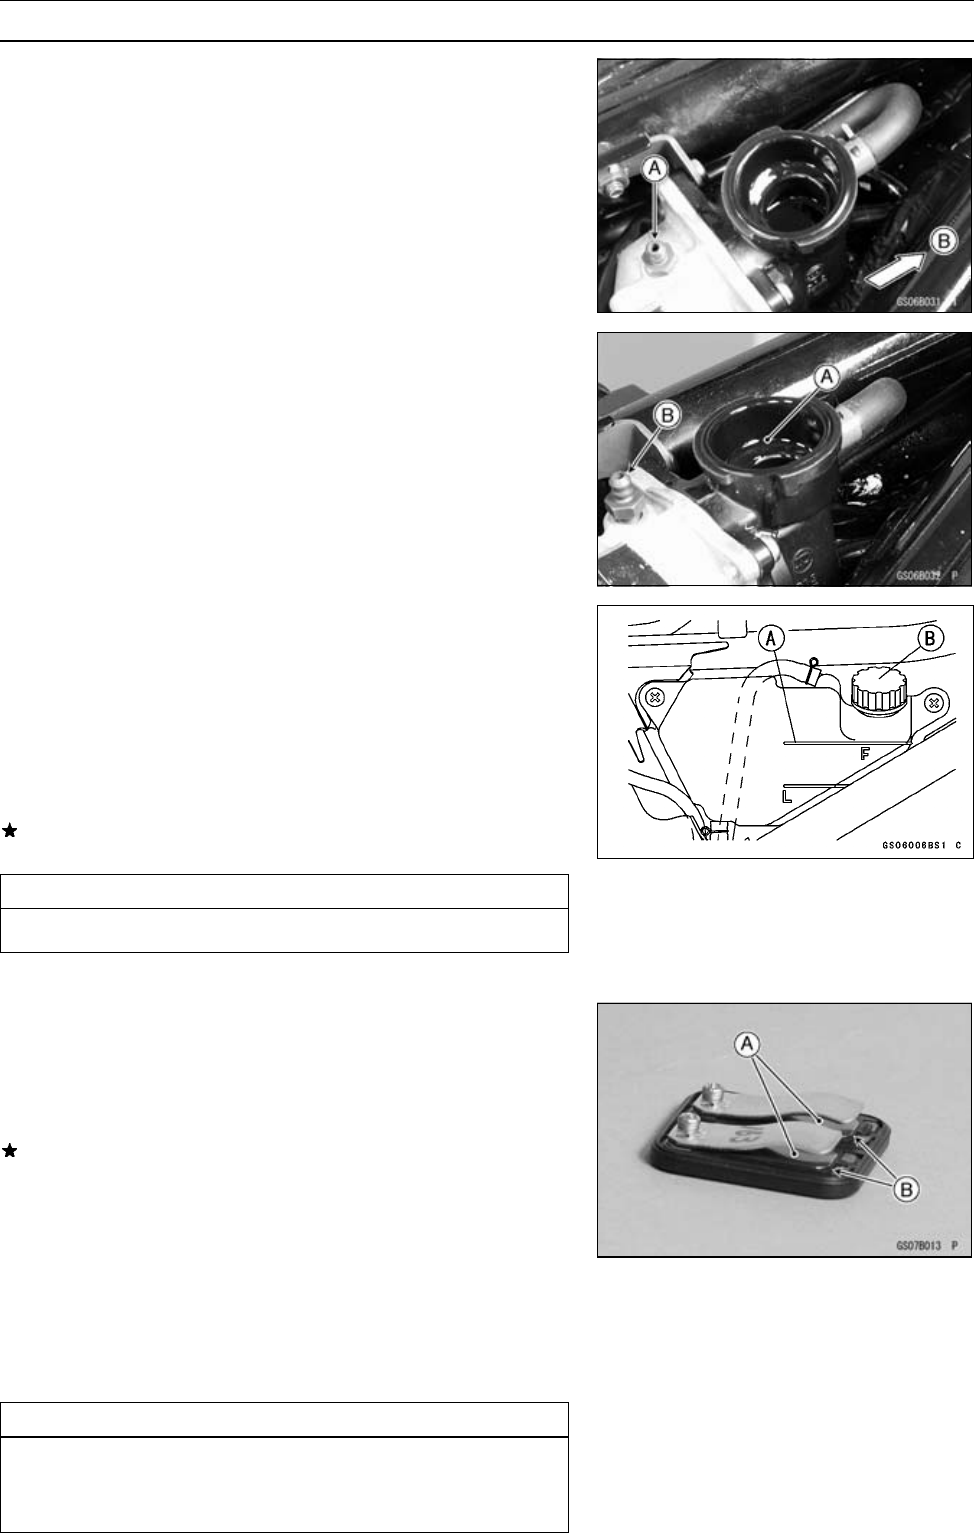
Visually inspect the reeds for cracks, folds, warps, heat
damage or other damage.
If there is any doubt as to the condition of the reeds [A],
replace the air suction valve as an assembly.
•
Check the reed contact areas [B] of the valve holder for
grooves, scratches, any signs of separation from the
holder or heat dam age.
•
If there is any doubt as to the condition of the reed contact
areas, replace the air suction valve as an assembly.
•
If any carbon or other foreign particles have accumulated
between the reed and the reed contact area, wash the
valve assembly clean with a high-flash point solvent.
CAUTION
Do not scrape off the deposits with a scraper as this
could damage the rubber, requiring replacement of
the suction valve assembly.