


SUSPENSION 13-9
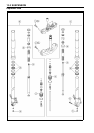
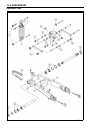
Front Fork
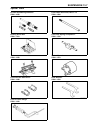
Front Fork Removal (each fork leg)
•
Remove:
Front Wheel (see Wheels/Tires chapter.)
Front Fender (see Frame chapter.)
Windshield and Bracket (see Frame chapter.)
Inner Cover (see Frame chapter.)
Fairing and Bracket (see Frame chapter.)
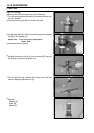
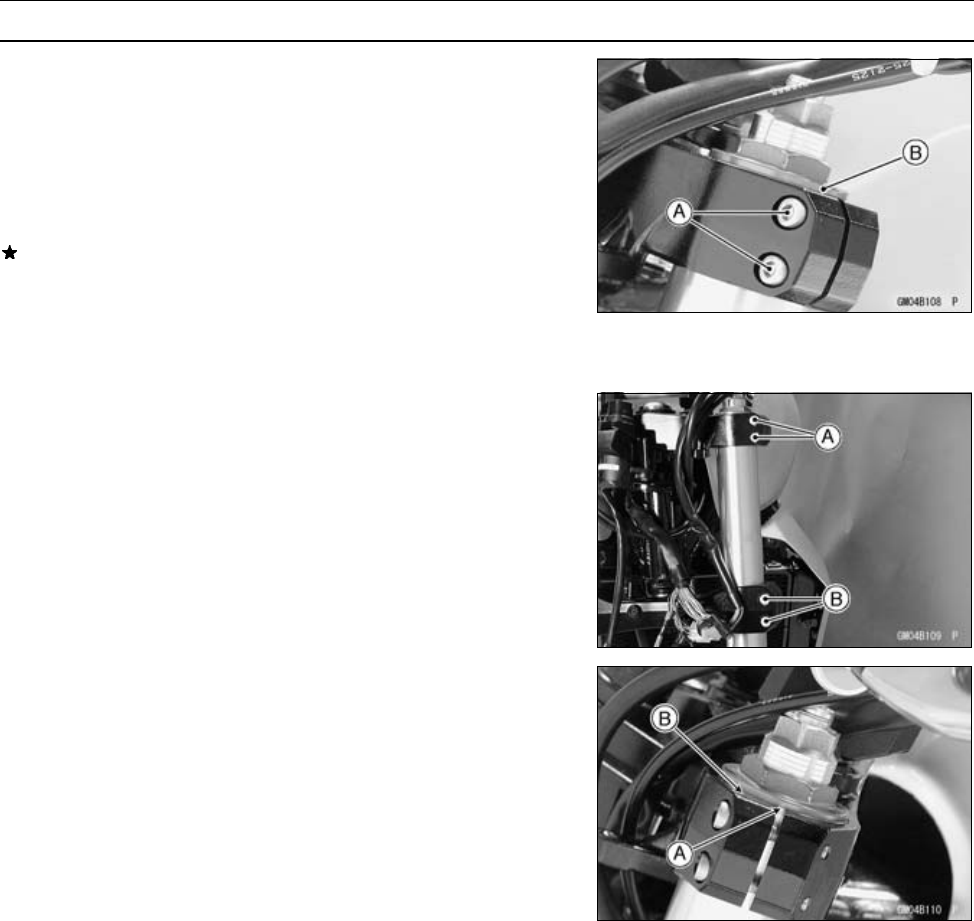
Loosen the upper fork clamp bolts [A] and fork top plug
[B] before-hand if the fork leg is to be disassembled.
NOTE
○
Loosen the top plug after loosening the upper fork
clamp bolts.
•
Loosen the upper fork clamp bolts [A] and lower fork
clamp bolts [B].
•
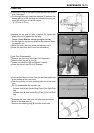
With a twisting motion, work the fork l eg down and out.
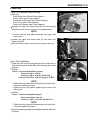
Front Fork Installation
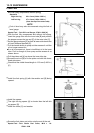
•
Install the fork so that the top end [A] of the outer tube is
flush with the upper surface [B] of the steering stem head
bracket.
•
Tighten:
Torque - Front Fork Clamp Bolts (Lower):
20 N·m (2.0 kgf·m, 15 ft·lb)
30 N·m (3.1 kgf·m, 22 ft·lb): ZR1000–A2 ∼
Front Fork Top Plug: 35 N·m (3.6 kgf·m, 26 ft·lb)
NOTE
○
Tighten the two clamp bolts alternately two times to en-
sure even tightening torque.
○
Tighten the top plug before tightening the upper fork
clamp bolts.
•
Tighten:
Torque - Front Fork Clamp Bolt (Upper):
8.8 N·m (0.90 kgf·m, 78 in·lb)
13 N·m (1.3 kgf·m, 113 in·lb): ZR1000–A2 ∼
NOTE
○
Tighten the two clamp bolts alternately two times to en-
sure even tightening torque.
•
Adjust the spring preload and the dam ping force (right fork
leg only).