


12-12 BRAKES
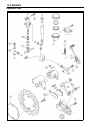
Calipers
•
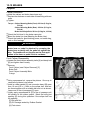
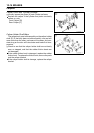
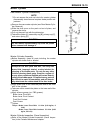
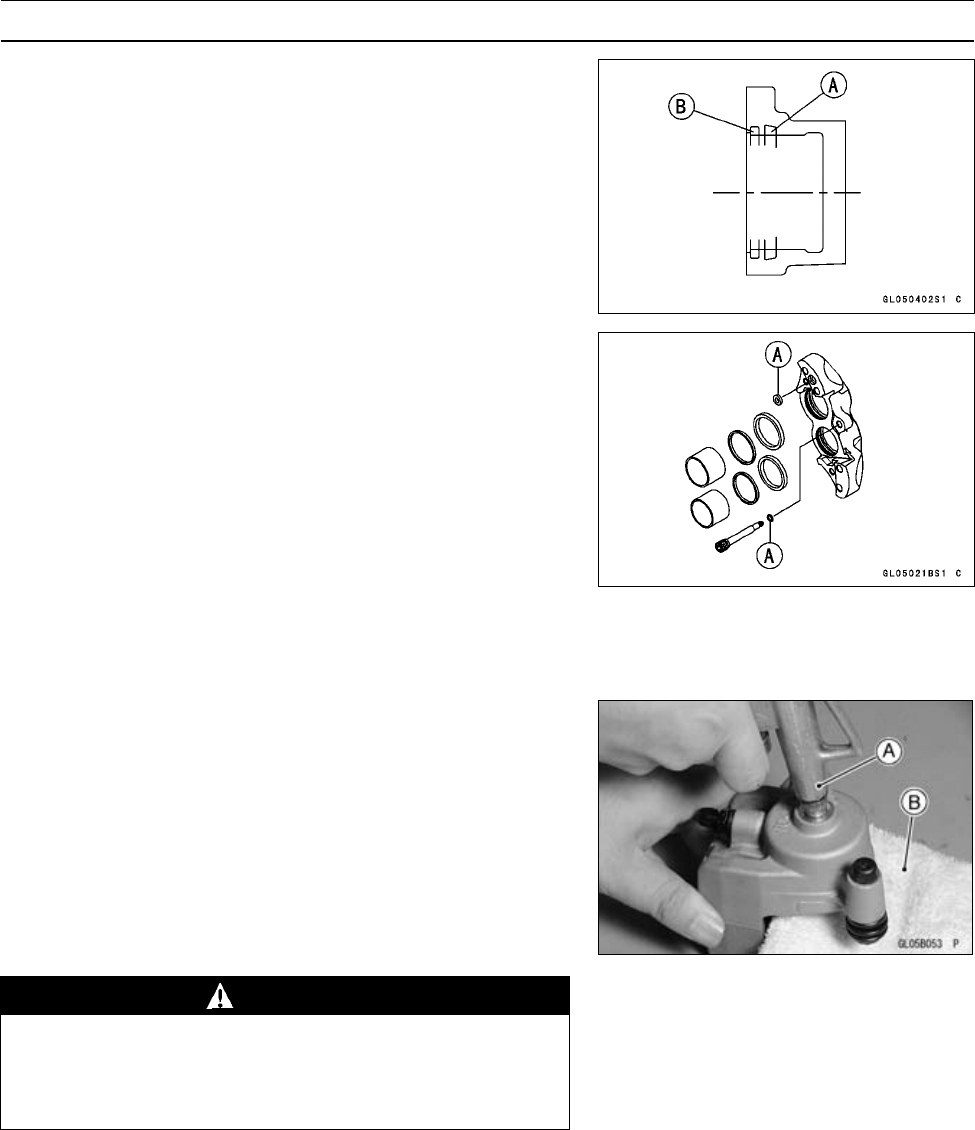
Replace the fluid seals [A] with new ones.
○
Apply brake fluid to the fluid seals, and install them into
the cyl
inders by hand.
•
Replace the dust seals [B] with new ones if they are dam-
aged.
○
Apply
brake f luid to the dust seals, and install them into
the cylinders by hand.
•
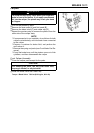
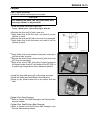
Replace the O-rings [A] if they are damaged.
•
Apply brake fluid to the outside of the pistons, and push
them into each cylinder by hand.
•
Be sure to install the O-rings.
•
Apply a non-permanent locking agent the caliper assem-
bly bolts and torque them.
Torq ue - Front Caliper Assembly Bolts: 22 N·m (2.2 kgf·m,
16 ft·lb)
•
Install the pads (see Front Brake Pad Installation).
•
Wipe up any spilled brake fluid on the caliper with wet
cloth.
Rear Caliper Disassembly
•
Remove the rear caliper.
•
Remove the pads and anti-rattle spring (see Rear Brake
Pad Removal).
•
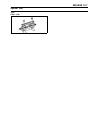
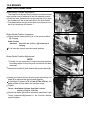
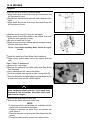
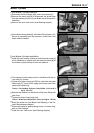
Using compressed air, remove the piston.
○
Cover the caliper opening with a clean, heavy cloth [B].
○
Remove the piston by lightly applying compressed air [A]
to where the brake line fits into the caliper.
WARNING
To avoid serious injury, never place your fingers or
palm inside the caliper opening. If you apply com-
pressed air into the caliper, the piston may crush
your hand or fingers.
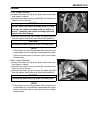
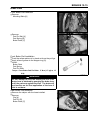
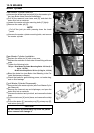
•
Remove the dust seal and fluid seal.
•
Remove the bleed valve and rubber cap.
NOTE
○
If compressed air is not available, do as follows with the
brake hose connected to the caliper.
○
Prepare a container for brake fluid, and perform the
work above it.
○
Remove the pads and spring (see Rear Brake Pad Re-
moval).
○
Pump the brake pedal to remove the caliper piston.