


16-30 ELECTRICAL SYSTEM
Chargi ng System
Stator Coil Installation
•
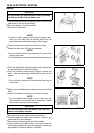
Apply a non-permanent locking agent to the stator coil
bolts a
nd tighten it.
Torque - Stator Coil Bolts: 11 N·m (1.1 k g f· m, 95 in·lb)
•
Secure the alternator lead with a holding plate, and
tighten the bolt.
○
Apply a non-permanent locking agent to the plate bolt.
Torque - Alternator Lead Holding Plate Bolt: 11 N·m (1.1
kgf·m, 95 in·lb)
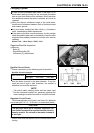
•
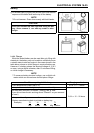
Apply silicone sealant to the circumference of the alter-
nator lead grommet, and fit the grommet into the notch of
the c
over securely.
Sealant - Kawasaki Bond (Silicone Sealant): 56019–120
•
Install the alternator cover (see Alternator Cover Installa-
tion).
Al
ternator Rotor Removal
•
Remove:
Alternator Cover (see Alternator Cover Removal)
•
Wi
pe oil off the outer circumference of the rotor.
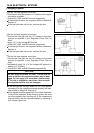
•
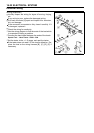
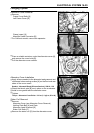
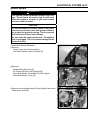
Hold the alternator rotor steady with the rotor holder [A],
and remove the rotor bolt [B].
Special Tool - Rotor Holder: 57001–1543
•
Using the flywheel puller [A] and rotor puller [B], remove
the alternator rotor from the crankshaft.
Special Tools - Flywheel Puller, M38 × 1.5: 57001–1405
Rotor Puller, M16/M18/M20/M22 × 1.5:
57001–1216
NOTE
○
Screw in the puller while tapping the head [C] of the
puller with a hammer.
CAUTION
Do not attempt to strike the alternator rotor itself.
Striking the rotor can cause the magnets to lose
their magnetism.
Alternator Rotor Installation
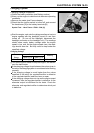
•
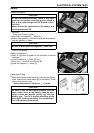
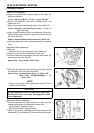
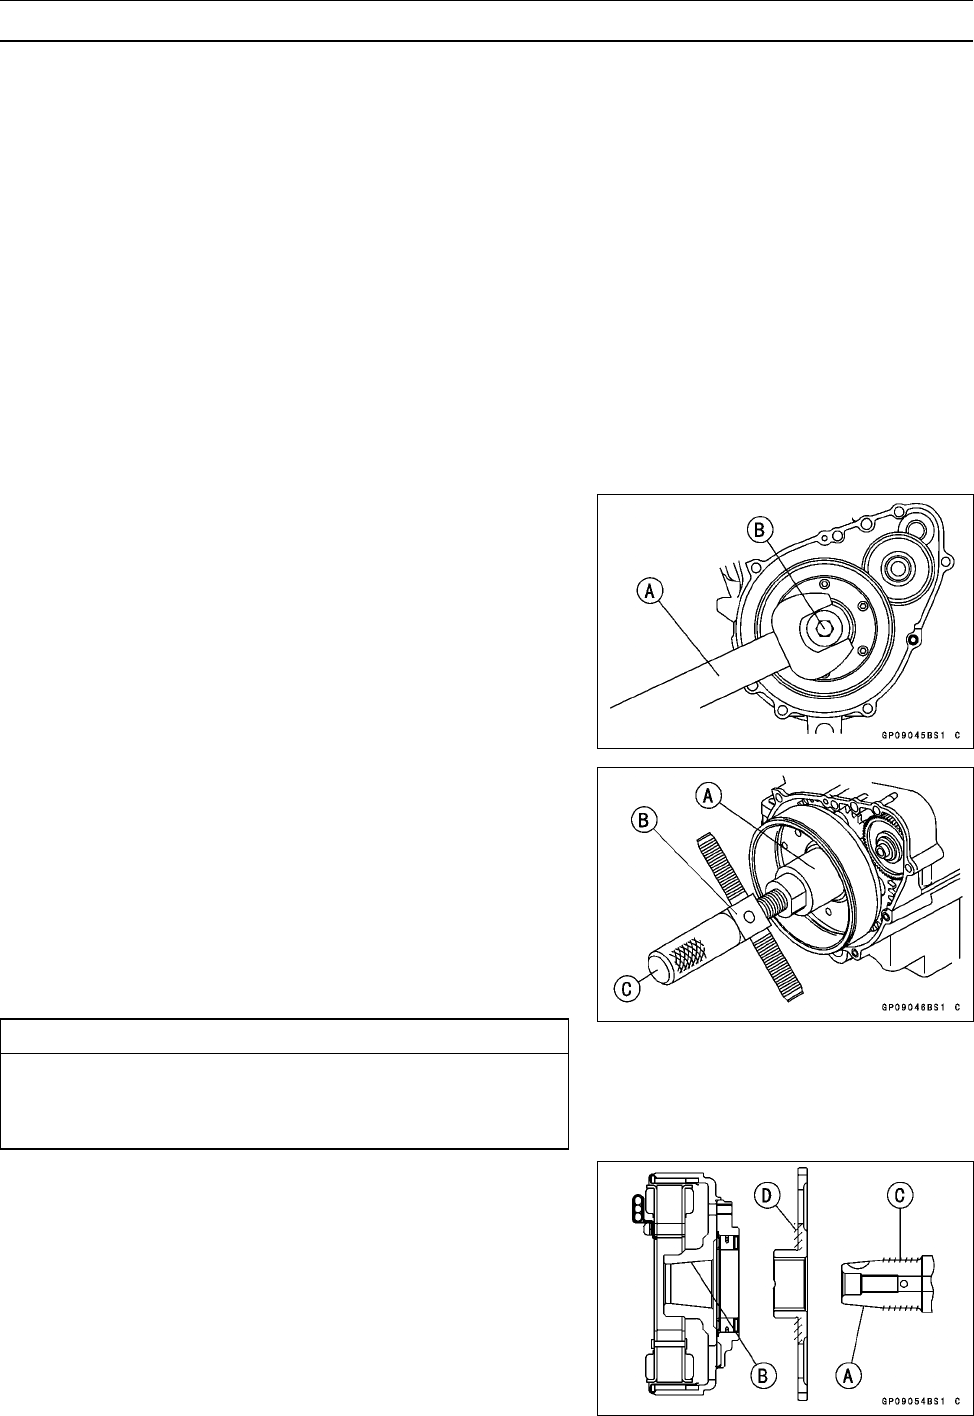
Using a cleaning fluid, clean off any oil or dirt on the fol-
lowing portions and dry them with a clean cloth.
[A] Crankshaft Tapered Portion
[B] Alternator Rotor Tapered Portion
•
Apply a thin coat of molybdenum disulfide grease to the
crankshaft [C] and the f ace [D] of the starter clutch gear.