


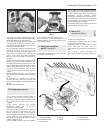

12 The air cleaner on the 1301 cc engine is
mounted on the four flange studs of the
carburettors, their nuts being accessible after
the air cleaner lid has been removed and the
filter element extracted.
13 Refitting of all types of air cleaner is a
reversal of removal.
3 Fuel pump -
removal and refitting
2
1 On 903 cc engines, the fuel pump is
mounted on the side of the timing chain cover
and is driven by a pushrod from an eccentric
on the front of the camshaft.
2 On the 1116 cc and 1301 cc engines, the
fuel pump is mounted on the side of the
crankcase and is driven by a pushrod from an
eccentric on the auxiliary shaft.
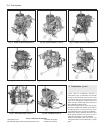
3 The removal of both types of pump is
carried out in a similar way.
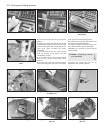
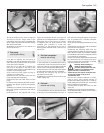
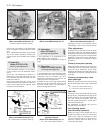
4 Disconnect the fuel inlet hose from the
pump and plug the hose (photo).
5 Disconnect the fuel outlet hose from the
pump.
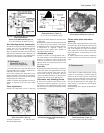
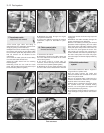
6 Unscrew the pump fixing bolt and remove it
together with spacer, pushrod and gaskets
(photos).
7 Refitting is a reversal of removal. Make sure
that a new gasket is located on each side of
the spacer.
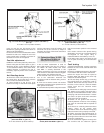
8 The gasket on the inboard side of the
spacer should always be 0.3 mm thick, but
gaskets for the outboard side are available in
thicknesses 0.3, 0.7 and 1.2 mm, as a means
of adjusting the fuel pump pressure. The
standard fuel pressure is 0.176 bar
(2.55 lbf/in
2
). If the pressure is too high a
thicker gasket should be used, if too low, fit a
thinner one.
4 Fuel level transmitter -
removal and refitting
1
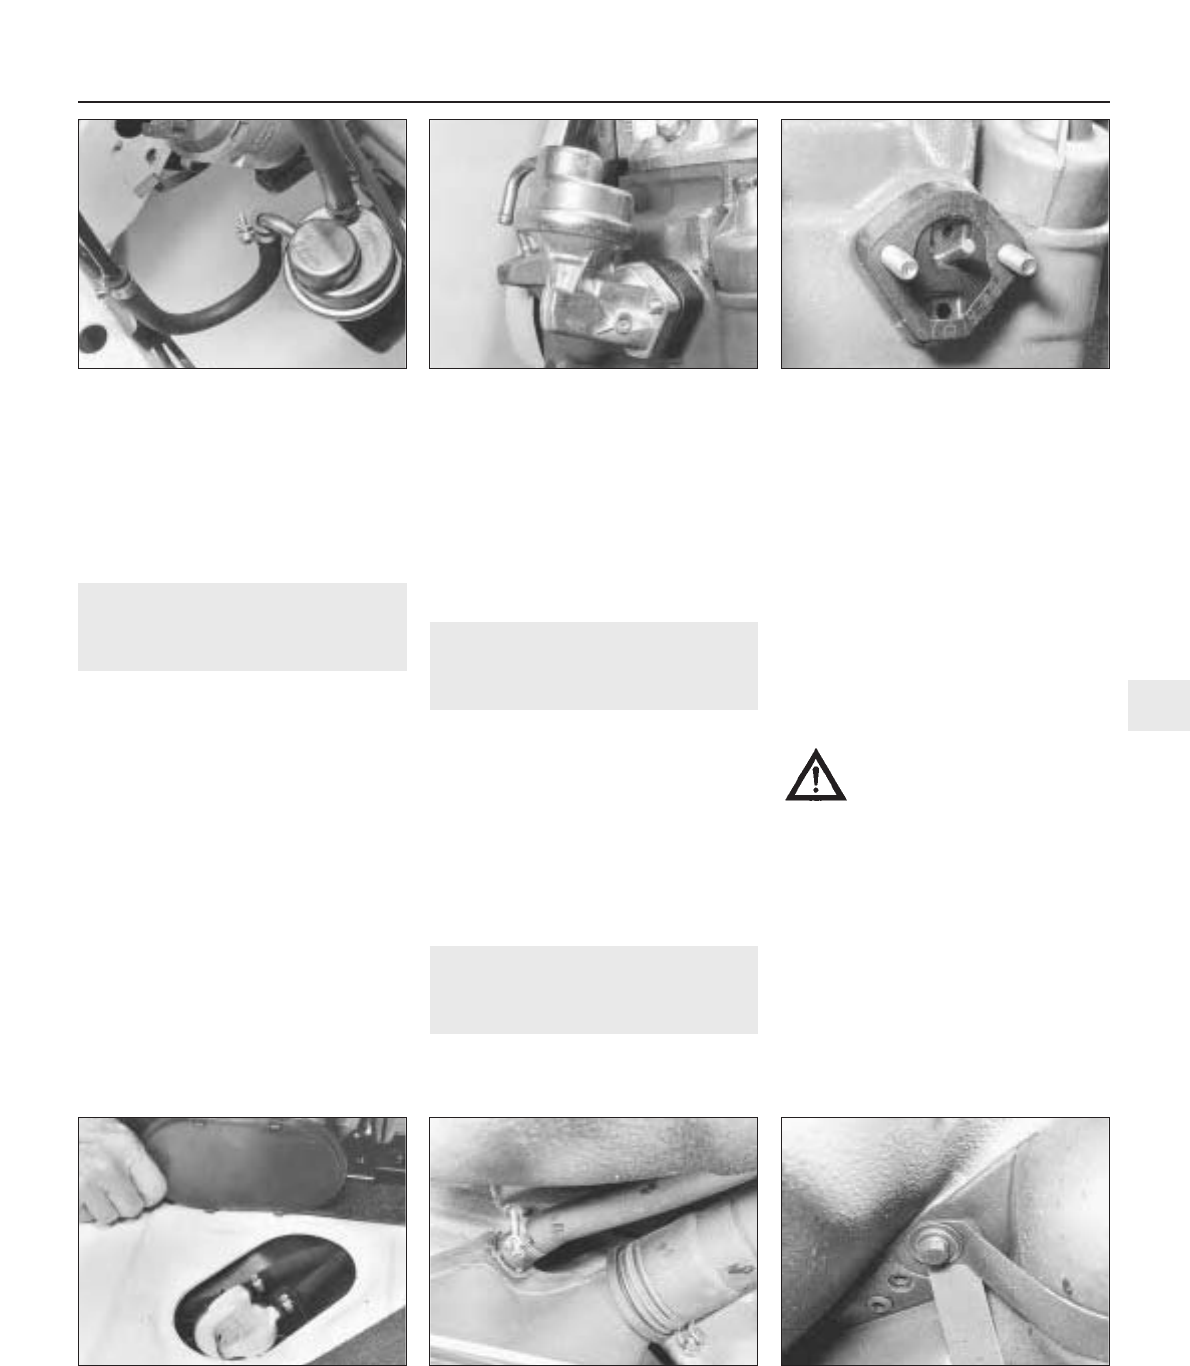
1 The transmitter is accessible after having
removed the small cover panel from the floor
of the car under the rear seat (tipped forward)
with the floor covering peeled back (photo).
2 Disconnect the fuel flow and return hoses
and the electrical leads from the transmitter.
3 Unscrew the securing ring and lift the
transmitter from the tank.
4 Refitting is a reversal of removal. Use a new
rubber sealing ring.
5 Fuel tank -
removal and refitting
1
1 It is preferable to remove the fuel tank when
it has only a very small quantity of fuel in it. If
this cannot be arranged, syphon out as much
fuel as possible into a suitable container
which can be sealed.
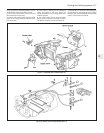
2 The tank is mounted just forward of the rear
axle.
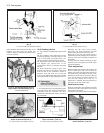
3 Disconnect the filler hose and the breather
hose from the tank (photo).
4 Unscrew the mounting bolts from the
support straps and lower the tank using a jack
with a block of wood as an insulator. Release
the handbrake cable from its support bracket
on the side of the tank (photo).
5 Once the tank has been lowered sufficiently
far, disconnect the fuel supply and return
hoses, breather hose and sender unit leads
and remove the tank from the car.
Warning: Never attempt to
solder or weld a fuel tank
yourself; always leave fuel tank
repairs to the experts. Never
syphon fuel into a container in an
inspection pit. Fuel vapour is heavier than
air and can remain in the pit for a
considerable time.
6 If the tank contains sediment or water,
clean it out by using several changes of
paraffin and shaking vigorously. In order to
avoid damage to the sender unit, remove this
before commencing operations.
7 Finally allow to drain and rinse out with
clean fuel.
8 Refit by reversing the removal operations.
9 On 1984 and later models, the fuel tank is
of plastic construction.
Fuel system 3•5
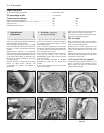
3.6B Fuel pump spacer and pushrod3.6A Fuel pump on mounting studs3.4 Fuel pump
5.4 Fuel tank mounting straps5.3 Fuel tank filler and vent hoses4.1 Fuel tank transmitter
3