


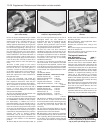
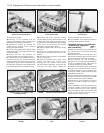
crankshaft after the pulley securing nut has
been removed. Recover the Woodruff key
from the end of the crankshaft if it is loose
(photo).
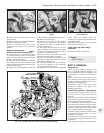
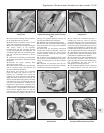
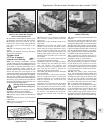
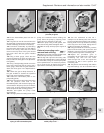
44 To remove the auxiliary shaft sprocket, a
suitable tool must be used to hold the
sprocket stationary as the securing bolt is
loosened (the bolt is extremely tight). In the
workshop, a “scissors” style tool was
improvised, using two pieces of steel bar
joined together by a pivot bolt, with their ends
bent through a right-angle to engage securely
between the teeth on the sprocket - see photo
7B.46.
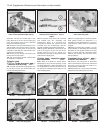
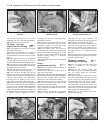
45 Unscrew the sprocket bolt, and recover
the washer, then withdraw the sprocket from
the end of the auxiliary shaft (photo). If the
sprocket is tight, carefully lever it from the
shaft using two screwdrivers.
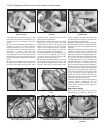
46 Refit the auxiliary shaft sprocket, making
sure that the lug on the end of the shaft
engages with the hole in the sprocket, then
tighten the securing bolt to the specified
torque (ensure that the washer is in place
under the bolt head). Prevent the sprocket
from turning as during removal (photo).
47 Where applicable, refit the Woodruff key
to the end of the crankshaft, then refit the
crankshaft sprocket with the flanged side
against the oil seal housing (photo).
48 Refit the camshaft sprocket to the end of
the camshaft, making sure that the lug on the
end of the shaft engages with the hole in the
sprocket, then refit the thrust washer, plain
washer, and bolt, and tighten the bolt to the
specified torque. Prevent the camshaft from
turning as during removal (photo).
49 Refit the belt tensioner pulley assembly,
ensuring that the washer is in place under the
securing nut, but do not fully tighten the nut at
this stage.
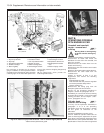
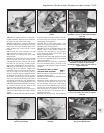
50 Before refitting the new timing belt into
position, first ensure that the crankshaft and
camshaft sprocket timing marks are still
aligned as described in paragraph 30 (photo).
51 If the new timing belt has two timing marks
on its outer face they must align with the
corresponding marks on the crankshaft and
camshaft sprockets. Do not distort or bend the
belt any more than is necessary during its
fitting or its structural fibres may be damaged.
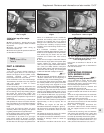
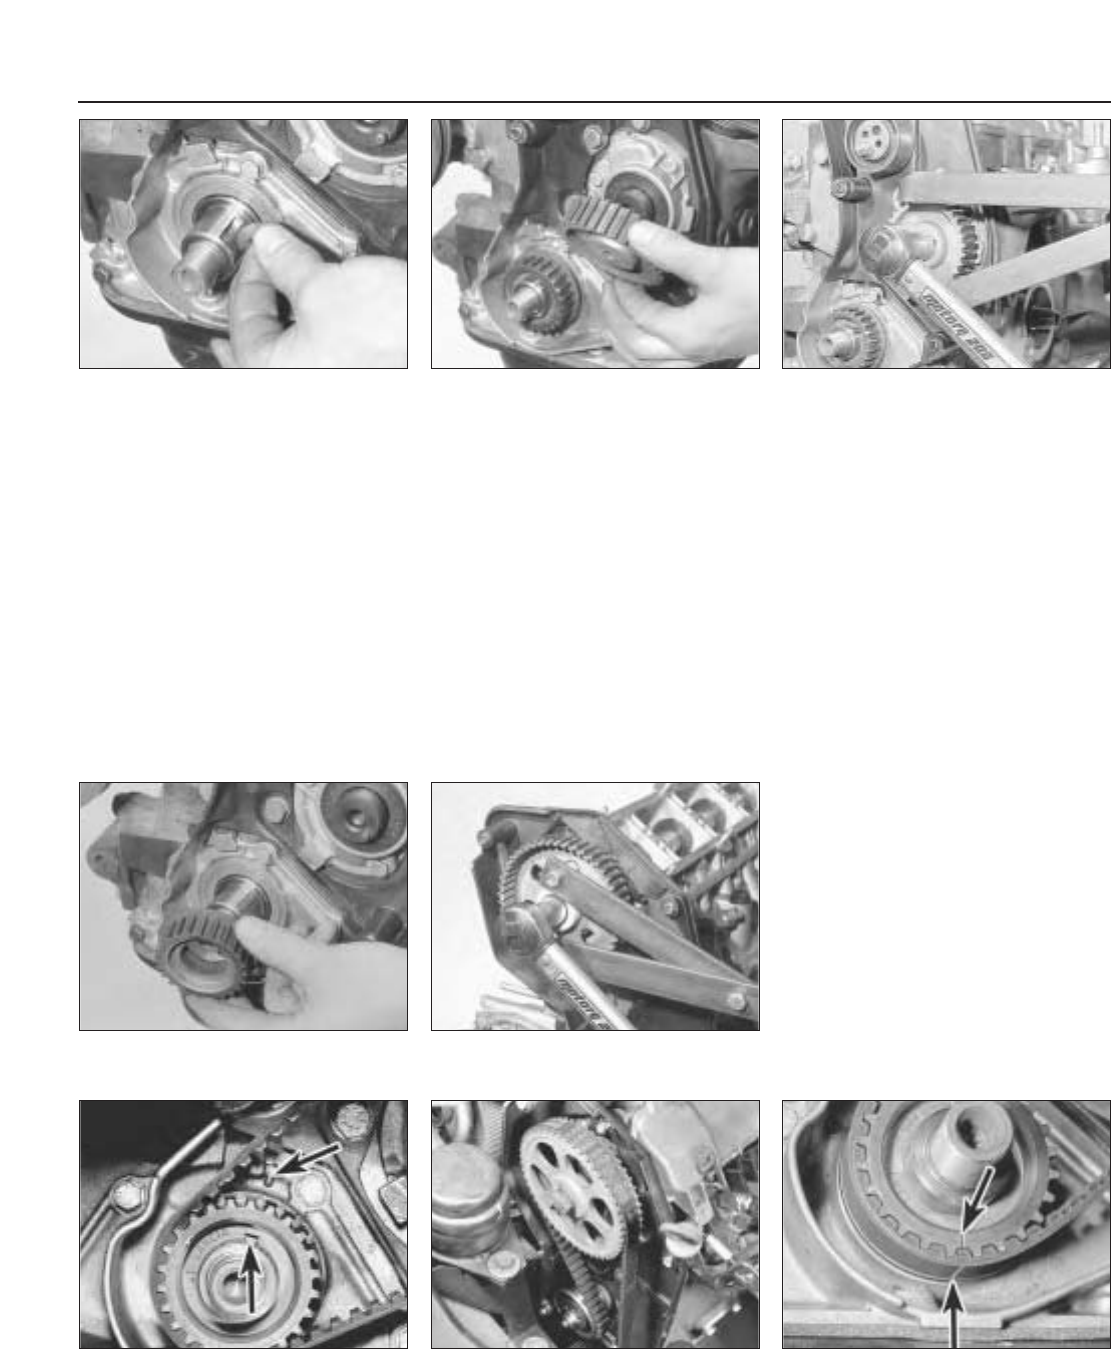
52 Refit the belt around the sprockets and
the tensioner pulley, starting at the crankshaft
sprocket. One of the timing index marks must
align with the scribed mark on the lower edge
of the crankshaft sprocket (opposite the
Woodruff key) whilst the second mark must
align with the timing marks of the camshaft
and rear timing belt cover (photos).
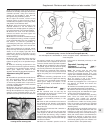
53 With the belt fitted over the sprockets and
correctly aligned, temporarily refit the
crankshaft pulley nut (tightening it to its full
torque wrench setting) and then adjust the
timing belt tension.
Approximate setting
54 The timing belt tension can be checked
approximately by twisting it between the
13•40 Supplement: Revisions and information on later models
7B.52B Timing belt mark aligned with
scribed mark on crankshaft sprocket
(arrowed)
7B.52A Timing belt refitted over the
sprockets and tensioner
7B.50 Crankshaft at TDC with key and
timing mark aligned (arrowed)
7B.48 Tightening the crankshaft sprocket
bolt
7B.47 Refitting the crankshaft sprocket
7B.46 Tightening the auxiliary shaft
sprocket bolt
7B.45 Withdrawing the auxiliary shaft
sprocket
7B.43 Remove the crankshaft Woodruff
key if it is loose