


speakers, central door locking or power
operated windows, the electrical leads must be
disconnected and withdrawn through the
flexible duct before the door hinges are
unbolted. Disconnection will require removal of
the door trim panel as described in Section 11.
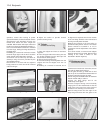
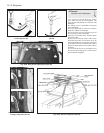
5 It is recommended that the door is unbolted
from the hinge, leaving the hinge attached to
the body pillar.
6 Refitting is a reversal of removal, but leave
the bolts finger tight until the door has been
gently closed and its alignment checked.
7 The door can be moved up and down or
sideways using the travel provided by the
elongated bolt holes.
8 If the door is not flush with the adjacent
body panels then shims should be inserted
under the hinges.
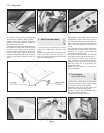
9 Adjust the striker to provide smooth
positive closure (photo).
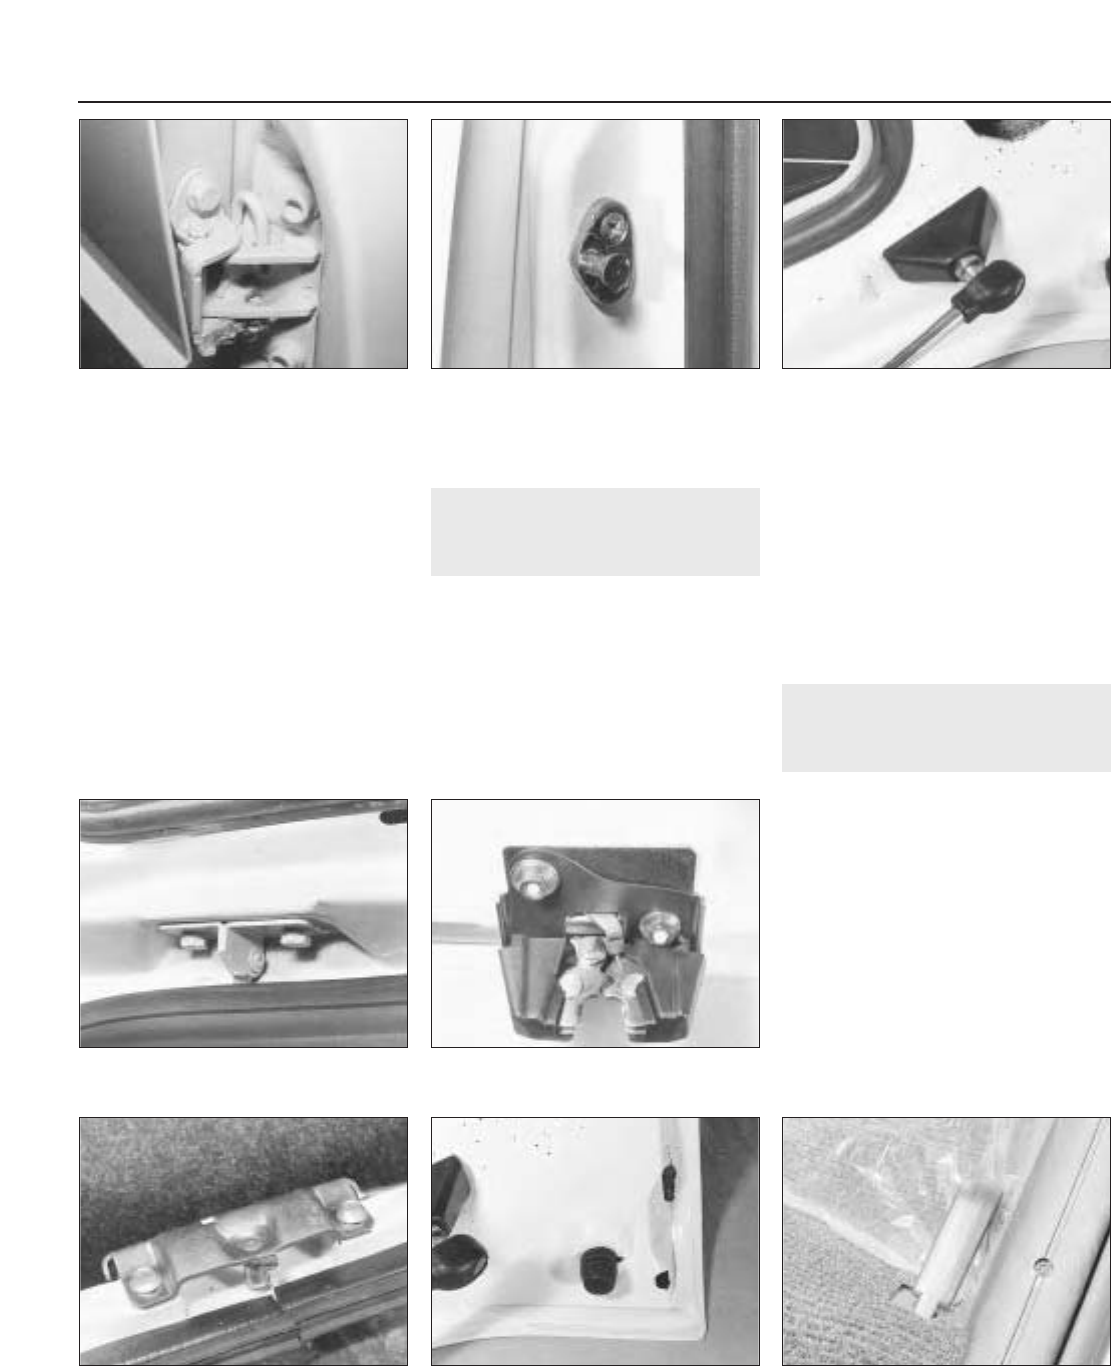
14 Tailgate -
removal and refitting
1
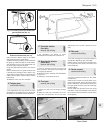
1 Open the tailgate and have an assistant
support it.
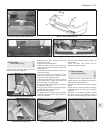
2 From the upper ends of the struts, prise out
the locking wedges from the ball cups and
disconnect the struts (photo).
3 Disconnect the washer tube.
4 Unscrew the hinge mounting bolts from the
tailgate and lift the tailgate from the car
(photo).
5 Refitting is a reversal of removal, but if
re-alignment is required, then the rear section
of the roof lining will have to be removed and
the hinge to body bolts released.
6 Adjust the position of the lock striker to
provide smooth positive closure. The rubber
buffers should be screwed in or out in
conjunction with the adjustment of the striker
(photos).
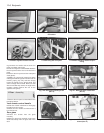
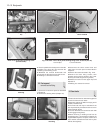
7 On some models, a remote control tailgate
opening release lever is fitted. Removal and
refitting of the cable is similar to that
described in Section 8 (photo).
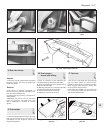
15 Windscreen glass -
removal and refitting
5
1 Remove the interior rear view mirror, the tax
disc and the wiper blade and arm.
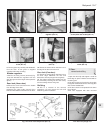
2 If the glass is intact, go inside the car and
pull the lip of the weatherseal downwards off
the body metal all along the top edge.
3 Push the glass outwards while an assistant
stands outside ready to catch it.
4 Clean the body flange and fit the
weatherstrip to the glass.
5 Insert a length of strong cord in the body
flange groove of the weatherseal so that the
ends of the cord cross over at the centre of
the bottom run and hang out a few inches.
6 Brush soapy water onto the edge of the
body flange and then offer the glass to the
12•8 Bodywork
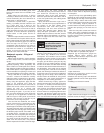
14.7 Tailgate remote control release lever14.6C Tailgate rubber buffer14.6B Tailgate striker
14.6A Tailgate lock14.4 Tailgate hinge
14.2 Tailgate strut ball cup13.9 Door lock striker13.3 Door lower hinge