release its top coil from the strut upper
mounting, hold the flats on the strut spindle
and unscrew the spindle nut.
8 Take off the upper mounting components
and the clamped coil spring. The clamps need
not be removed if the spring is to be fitted to a
new strut.
9 Commence reassembly by fitting the coil
spring onto the strut. Make sure that the
smaller coil is at the top and the lower coil is
up against its end stop in the spring seat.
10 Check that the strut boot is in position.
11 Fit the upper mounting components and
screw on the spindle nut.
12 Gently release the spring clamps and
remove them.
13 Refit the strut to the car by reversing the
removal operations.
Note: On cars built before 1985, when
assembling the strut top mounting, apply a
bead of sealant as shown in Figs. 11.4 and
11.5 to prevent the entry of water into the strut
bearing. Later models are fitted with a rubber
seal.
4 Front coil spring -
removal and refitting
4
1 The operations are covered in the
preceding Section.
2 The springs are colour coded according to
model and a replacement must be of identical
type to the original.
5 Front hub carrier -
removal and refitting
3
1 Disconnect the driveshaft from the hub
carrier as described in Chapter 7, Section 2,
paragraphs 1 to 8.
2 Unbolt the brake caliper and tie it up out of
the way.
3 Unscrew the nut from the track control arm
balljoint taper pin and then separate the
Suspension 11•3
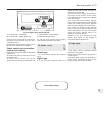
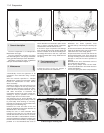
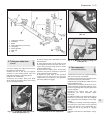
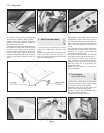
1 Top mounting
cover
2 Coil spring
3 Boot
4 Strut
5 Hub carrier
6 Track control arm
7 Crossmember
Fig. 11.3 Front strut components (Sec 3)
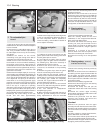
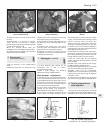
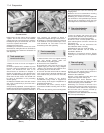
3.6 Spring clamps in position
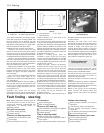
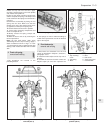
Fig. 11.4 Waterproof bead applied to strut with top cover
removed (Sec 3)
Fig. 11.5 Waterproof bead applied to strut with top cover in
position (Sec 3)
11


