


can be lowered to rest on the exhaust and
bodymember.
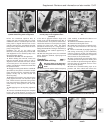
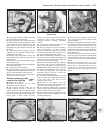
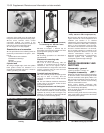
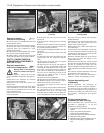
34 Continue to raise the engine and the
transmission until it can be removed from the
engine compartment and placed on the work
surface (photo).
35 Clean the exterior of the engine and
transmission by steam cleaning or using a
water soluble solvent.
36 Unbolt and remove the starter motor.
37 Unscrew the flywheel housing-to-engine
flange bolts. Note the location of the engine
lifting lug.
38 Unbolt and remove the lower cover plate
from the flywheel housing.
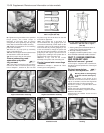
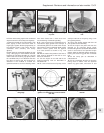
39 Pull the transmission from the engine. It is
located by two hollow dowels and one stud
(photo).
Dismantling - general
40 Refer to Chapter 1, Section 14.
Complete dismantling #
Warning: Refer to the beginning
of Section 9 before starting any
work.
41 Unbolt and remove the camshaft cover.
42 Unbolt and remove the timing belt cover.
43 Remove the distributor (Section 10).
44 Remove the hot air collector and the
exhaust manifold.
45 Release, disconnect and remove the
coolant distribution pipe from the rear of the
coolant pump.
46 Unscrew and discard the oil filter
cartridge.
47 Unbolt the thermostat housing, discard
the joint gasket.
48 Remove the fuel pump, together with its
insulator block and actuating pushrod, if
applicable.
49 Remove the carburettor, or throttle body,
as appropriate.
50 Remove the inlet manifold and discard the
joint gasket.
51 Remove the alternator and its drivebelt
and withdraw the engine oil dipstick.
52 Unbolt and remove the crankshaft pulley.
53 Unbolt and remove the timing belt
tensioner.
54 Remove the timing belt.
55 Unbolt and remove the coolant pump.
56 Remove the cylinder head.
57 Remove and discard the cylinder head
gasket.
58 Remove the clutch.
59 Lock the flywheel starter ring gear teeth
and remove the crankshaft sprocket bolt and
sprocket.
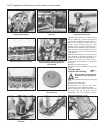
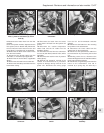
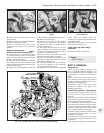
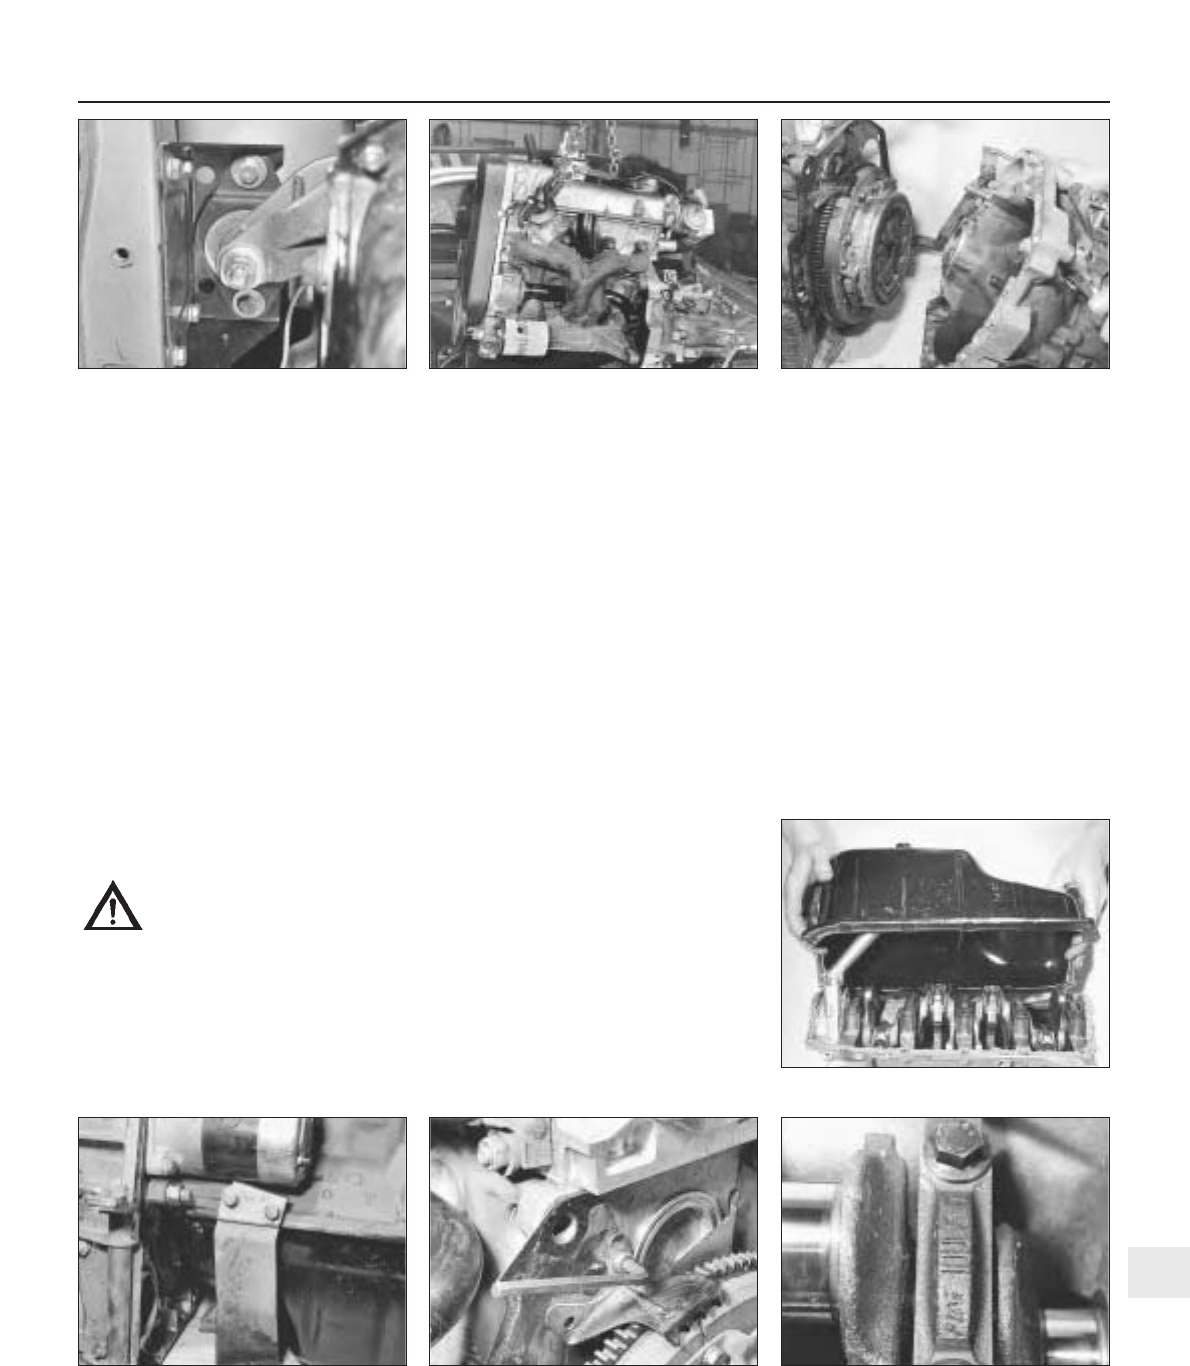
60 Unbolt and remove the sump pan,
then the exhaust pipe support bracket
(photos).
61 Prevent rotation of the crankshaft by
locking the starter ring gear teeth and then
unbolt and remove the flywheel. The flywheel
can only be fitted in one position as it is
located on a dowel.
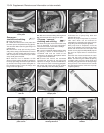
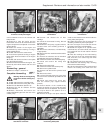
62 Remove the engine rear plate. Note the
small socket-headed screw which holds the
timing index plate (photo).
63 Unbolt and remove the oil pump pick-up
assembly, followed by the oil pump itself.
64 Turn the engine on its side and remove
the piston/connecting rod assemblies.
65 Stand the engine on its cylinder block
machined face, and then unbolt and remove
the crankshaft rear oil seal retainer. Discard
the gasket.
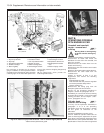
66 Note the markings on the main bearing
caps. One line on the cap nearest the timing
belt, then two, C for centre cap, then three
and four (photo).
67 The caps will only fit one way round.
68 Unbolt the main bearing caps, removing
them with the shell bearings.
69 Lift the crankshaft from the crankcase and
remove the bearing half shells from the
Supplement: Revisions and information on later models 13•29
5C.39 Separating the engine and
transmission
5C.34 Lifting out the engine and
transmission
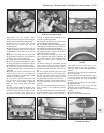
5C.32 Right-hand engine mounting
brackets on body and engine
5C.66 Main bearing cap markings
5C.60A Removing the sump pan
5C.62 Unscrewing socket-head screw
from timing index plate
5C.60B Exhaust pipe support bracket
attached to crankcase
13