


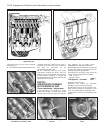
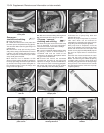

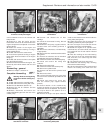


snap-on ball socket. Unbolt the gearchange
rod support bracket from the cover plate on
the flywheel housing (photos).
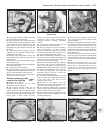
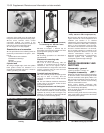
25 Remove the screws from the driveshaft
inboard gaiter retaining plates (photos).
Expect slight oil loss.
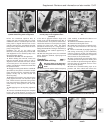
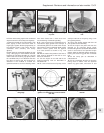
26 Disconnect the rear left-hand
transmission mounting. Do this by unscrewing
the two outer bolts not the centre one. The
engine will incline to the rear once the
mounting is released (photo).
27 Raise the front of the car and support it
securely so that the front roadwheels hang
free.
28 Remove the front roadwheels.
29 Unscrew the tie-rod end balljoint taper pin
nuts, and then using a suitable “splitter” tool,
disconnect the balljoints from the eyes of the
steering arms.
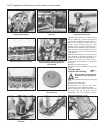
30 Unscrew the bolts from the clamps at the
bottom of the front suspension struts, tilt the
hub carriers outwards and partially disconnect
the driveshaft inboard joints from the
transmission.
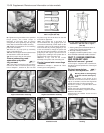
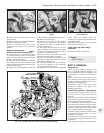
31 Support the weight of the engine/
transmission on a suitable hoist, and then
disconnect the right-hand and left-
hand front engine/transmission mountings
(photos).
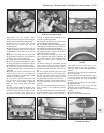
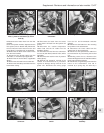
32 Unbolt and remove the engine mounting
brackets from the engine and the
transmission (photo).
33 Raise the power unit slowly until the
driveshafts release from the transmission and
13•28 Supplement: Revisions and information on later models
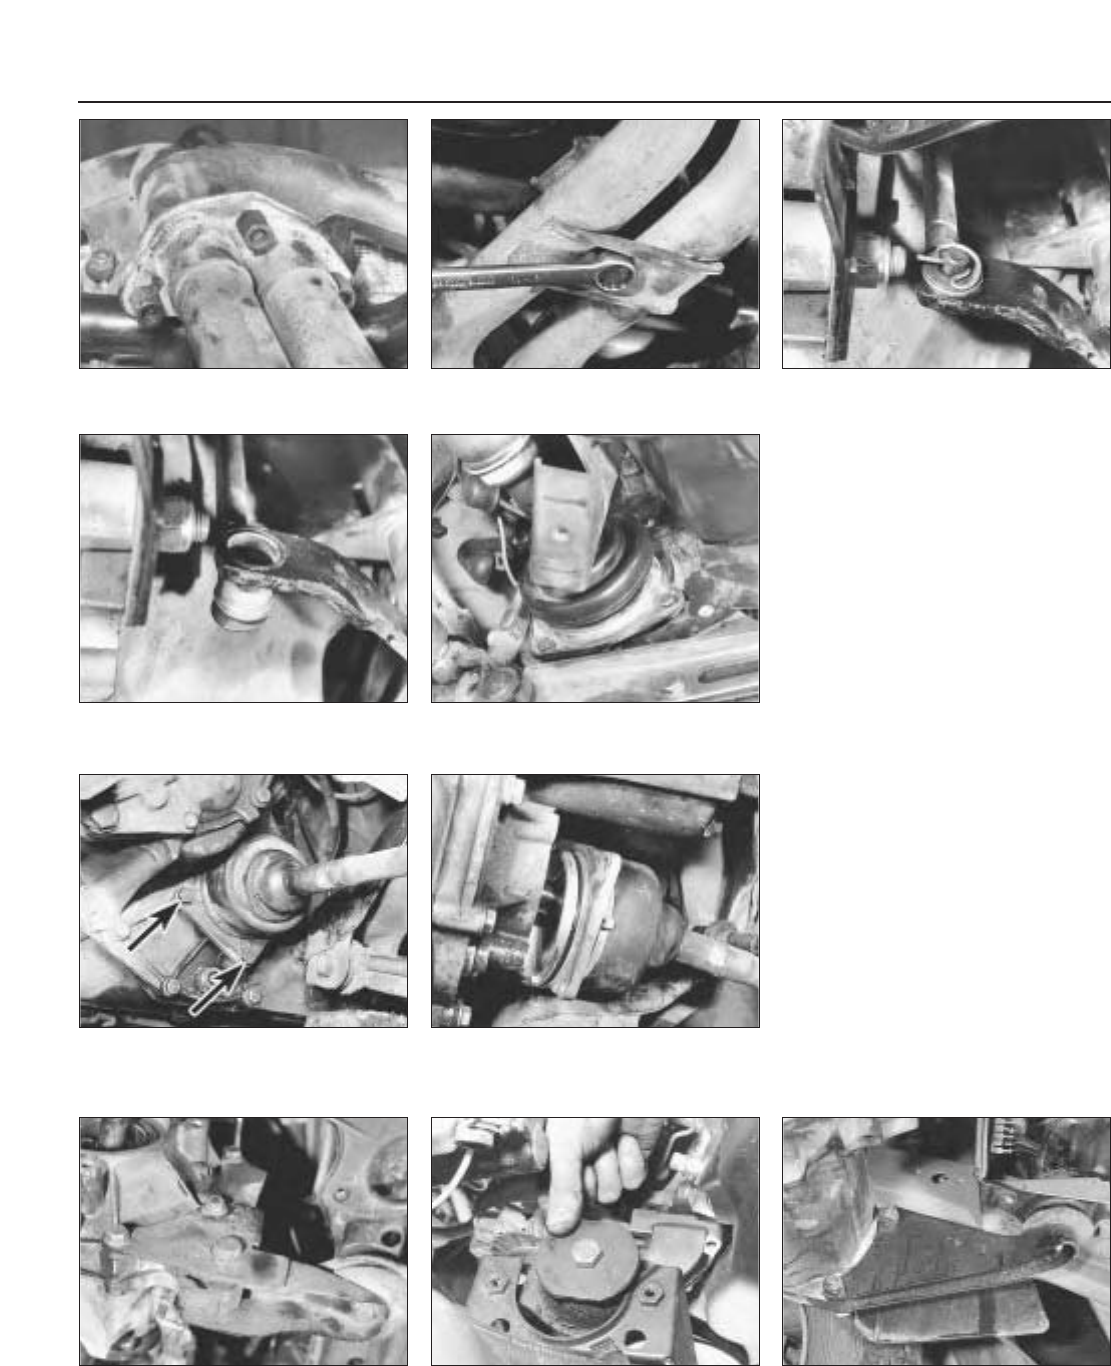
5C.31B Left-hand engine mounting and
bracket
5C.31A Right-hand engine mounting
disconnected
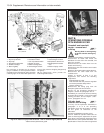
5C.26 Left-hand rear (lower) transmission
mounting disconnected
5C.25B Driveshaft joint gaiter withdrawn5C.25A Two of the left-hand driveshaft
joint gaiter retaining plate screws
(arrowed)
5C.24C Gearchange rod support bracket5C.24B Gearchange rod with ball socket
connection
5C.24A Gearchange rod connecting pin
and spring clip
5C.23B Unscrewing the exhaust pipe lower
support bracket bolt
5C.23A Exhaust downpipe flange nuts