E-23
Items You Must Know
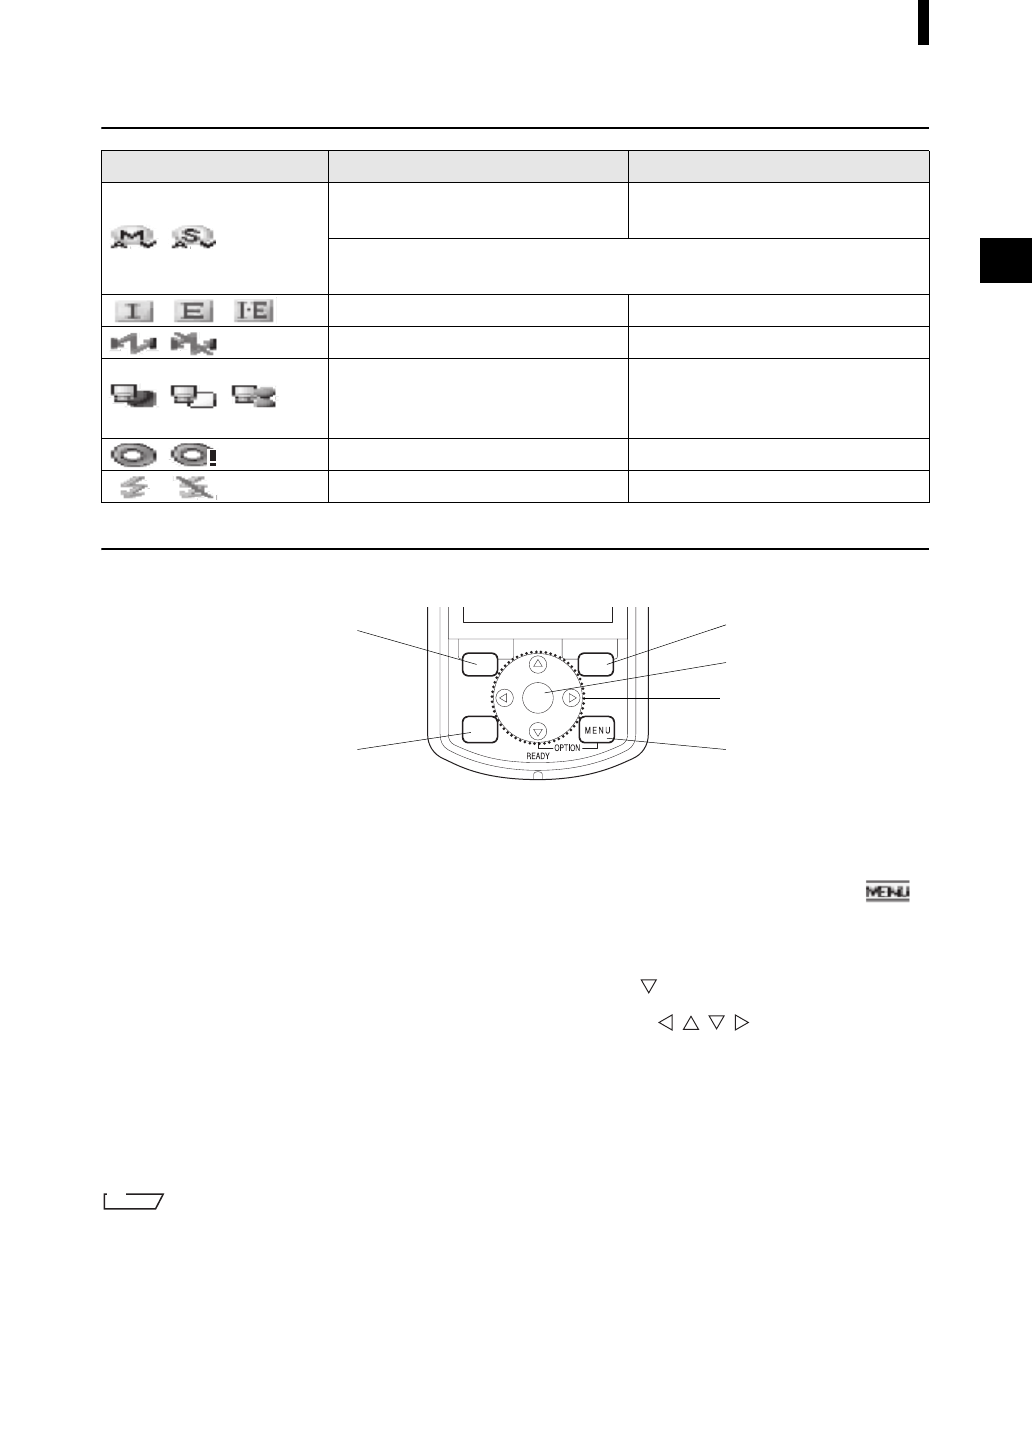
Status Icons
Control Buttons
Use these buttons to set items or change screens according to the guide on the LCD screen.
1 [SAMPLE] button:
Press this button to display the <Sample>
screen.
2 [TARGET] button:
Press this button to display the <Target>
screen.
3 [SAVE/SEL] button:
Use this button to determine the item indicated
by the cursor or to save the setting.
When the <Sample> or <Target> screen is
displayed, use this button to switch between
the detail display and list display.
4 [CAL] button:
Press this button to display the <Calibration>
screen.
5 [MENU] button:
Press this button to display the <Menu>
screen.
The screens and setting items for which menu
setting is available are indicated with
(MENU mark) at the top of the screen.
You can display the <Option> screen by
pressing the [MENU] button while holding
down the button of the cross key.
6 Cross key (///):
Use this key to move the cursor on the screen
or to change the selected value.
To determine the item indicated by the cursor,
press the [SAVE/SEL] button.
The [SAMPLE], [SAVE/SEL] and [TARGET] buttons may be assigned different functions depending on the screen.
In this case, the guidance at the bottom of the screen indicates the current functions (Edit, etc.).
Status icon Description (Status) Meaning
/
Measurement area (Measurement
area selector setting)
MAV/SAV
* The CM-700d shows either the MAV or SAV icon. The CM-600d shows
only the MAV icon.
/ / Specular component mode setting SCI/SCE/I + E (SCI + SCE)
/ Bluetooth capability setting ON/OFF
/ / Calibration necessity
Zero calibration required/White
calibration required/User calibration
required
/ White calibration after power-on Performed/Not performed
/ Flash circuit charging Completed/Not completed


