


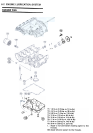

CLUTCH 5-5
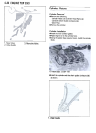
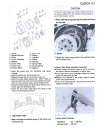
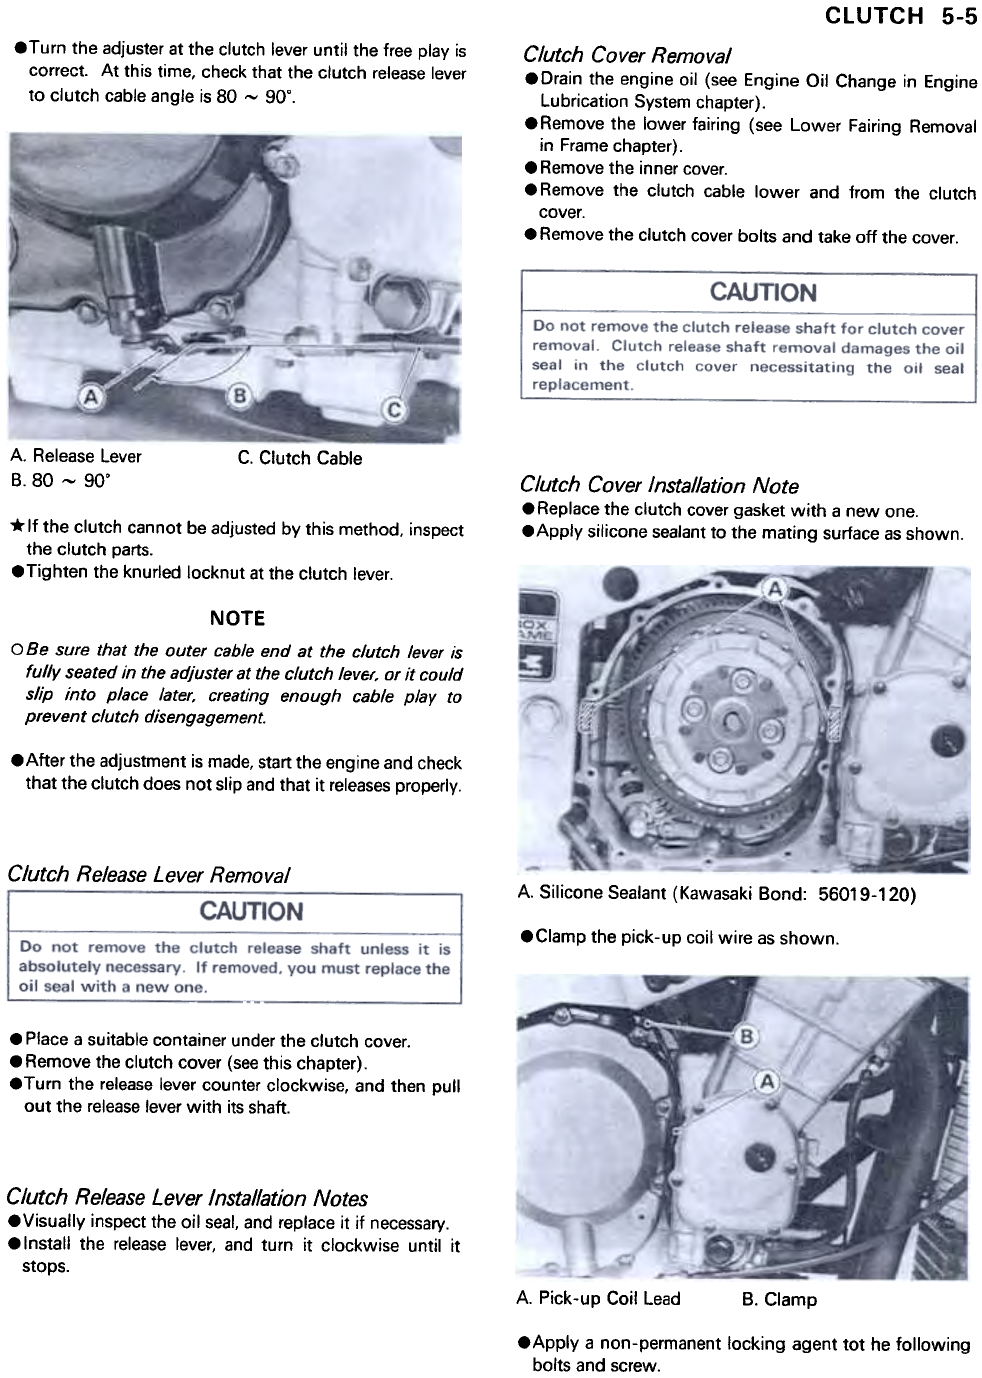
.Turn the adjuster at the clutch lever until the free play is
correct. At this time, check that the clutch release lever
to clutch cable angle is 80 -gOD.
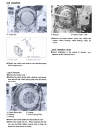
Clutch Cover Removal
.Drain the engine oil (see Engine Oil Change in Engine
Lubrication System chapter).
.Remove the lower fairing (see Lower Fairing Removal
in Frame chapter).
.Remove the inner cover.
.Remove the clutch cable lower and from the clutch
cover.
.Remove the clutch cover bolts and take off the cover.
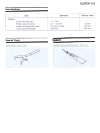
A. Release Lever
B. 80 -90°
C. Clutch Cable
Clutch Cover Installation Note
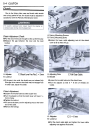
.Replace the clutch cover gasket with a new one.
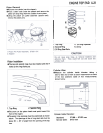
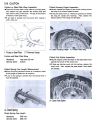
.Apply silicone sealant to the mating surface as shown.
* If the clutch cannot be adjusted by this method, inspect
the clutch parts.
.Tighten the knurled locknut at the clutch lever.
NOTE
OBe sure that the outer cable end at the clutch lever is
fully seated in the adjuster at the clutch lever, or it could
slip into place later, creating enough cable play to
prevent clutch disengagement.
.After the adjustment is made, start the engine and check
that the clutch does not slip and that it releases properly.
Clutch Release Lever Removal
A. Silicone Sealant (Kawasaki Bond: 56019-120)
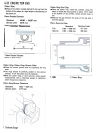
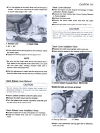
.Clamp the pick-up coil wire as shown.
.Place a suitable container under the clutch cover.
.Remove the clutch cover (see this chapter).
.Turn the release lever counter clockwise, and then pull
out the release lever with its shaft.
Clutch Release Lever Installation Notes
.Visually inspect the oil seal, and replace it if necessary.
.Install the release lever, and turn it clockwise until it
stops.
A. Pick-up Coil Lead
B. Clamp
.Apply a non-permanent locking agent tot he following
bolts and screw.