


9 - AUX PAGES
170
190-00357-00 Rev E
OR,
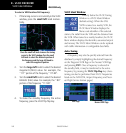
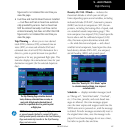
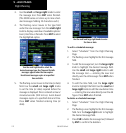
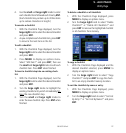
3b. For point-to-point trip planning, turn the small
and large right knobs to enter the identifier
of the “from” waypoint. Once the waypoint’s
identifier is entered, press ENT to accept the
waypoint. The flashing cursor moves to the
“to” waypoint. Again, turn the small and
large right knobs to enter the identifier of
the “to” waypoint and press ENT to accept
the waypoint.
OR,
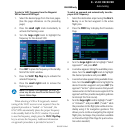
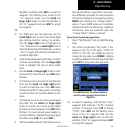
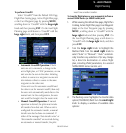
3c. For “flight plan leg” trip planning, turn the
small right knob to select the desired flight
plan (already stored in memory), by number.
Turn the large right knob to highlight the
“LEG” field and turn the small right knob to
select the desired leg of the flight plan, or select
“Cum” to apply trip planning calculations to
the entire flight plan.
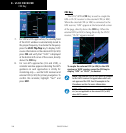
4. Turn the large right knob to highlight the
departure time (DEP TIME) field.
5. Use the small and large right knobs to enter
the departure time. Press ENT when finished.
(Departure time may be entered in local or UTC
time, depending upon unit settings.
6. If necessary, use the small and large right
knobs to enter the departure date. Press ENT
when finished.
The current time and date are automatically
offered for departure time and date. To ac-
cept either automatic selection, simply press
ENT when the selection is highlighted.
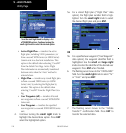
7. The flashing cursor moves to the ground speed
(GS) field. Use the small and large right
knobs to override the current ground speed
(and enter a planning figure). Press ENT when
finished. (To return ground speed reading to
current conditions, highlight the ground speed
[GS] field, press CLR, then press ENT.)
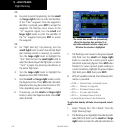
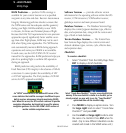
8. With all variables entered, the following infor-
mation is provided:
•DTK—Desiredtrack,ordesiredcourse
•DIS— Distancetowaypoint
•ETE— Estimatedtimeenroute
•ESA— Enroutesafealtitude
•ETA— Estimatedtimeofarrival
•Sunrise/Sunset times at the destination
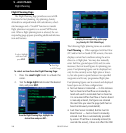
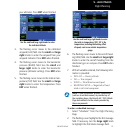
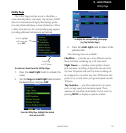
To calculate density altitude, true airspeed, winds
aloft:
1. Select “Density Alt / TAS / Winds” from the
Flight Planning Page.
2. The flashing cursor highlights the indicated alti-
tude (IND ALT) field. Use the small and large
right knobs to enter the altitude indicated on
Flight Planning