BRAKES
9.7
when the lever is released and the master cylinder
piston is outward. As the temperature within the
hydraulic system changes, this port compensates for
fluid expansion (heated fluid) or contraction (cooled
fluid). During system service, be sure this port is
open. Due to the high temperatures created within the
system during heavy braking, it is very important that
the master cylinder reservoir have adequate space to
allow for fluid expansion. Never overfill the
reservoir! Fill to 1/4″ -5/16″ (.64 - .80 cm) from top
of the cylinder.
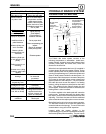
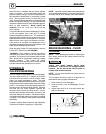
This system alsoincorporates a diaphragm (E) as part
of the cover gasket; and a vent port (F) located
between the gasket and the cover. The combination
diaphragm and vent allow for the air above the fluid to
equalize pressure as the fluid expands or contracts.
Make sure the vent is open and allowed to function.
If the reservoir is over filled or the diaphragm vent is
plugged the expanding fluid may build pressure in the
brake system leading to brake failure.
When servicing Polaris ATV brake systems, use only
Polaris DOT 3 Brake Fluid (PN 2870990).
WARNING: Once a bottle is opened, use what is
necessary and discard the rest in accordance with
local laws. Do not store or use a partial bottle of brake
fluid. Brake fluid is hygroscopic, meaning it rapidly
absorbs moisture. This causes the boiling
temperature of the brake fluid to drop, which can lead
to brake fade and the possible loss of control.
HYDRAULIC
CALIPER
BLEEDING
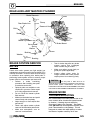
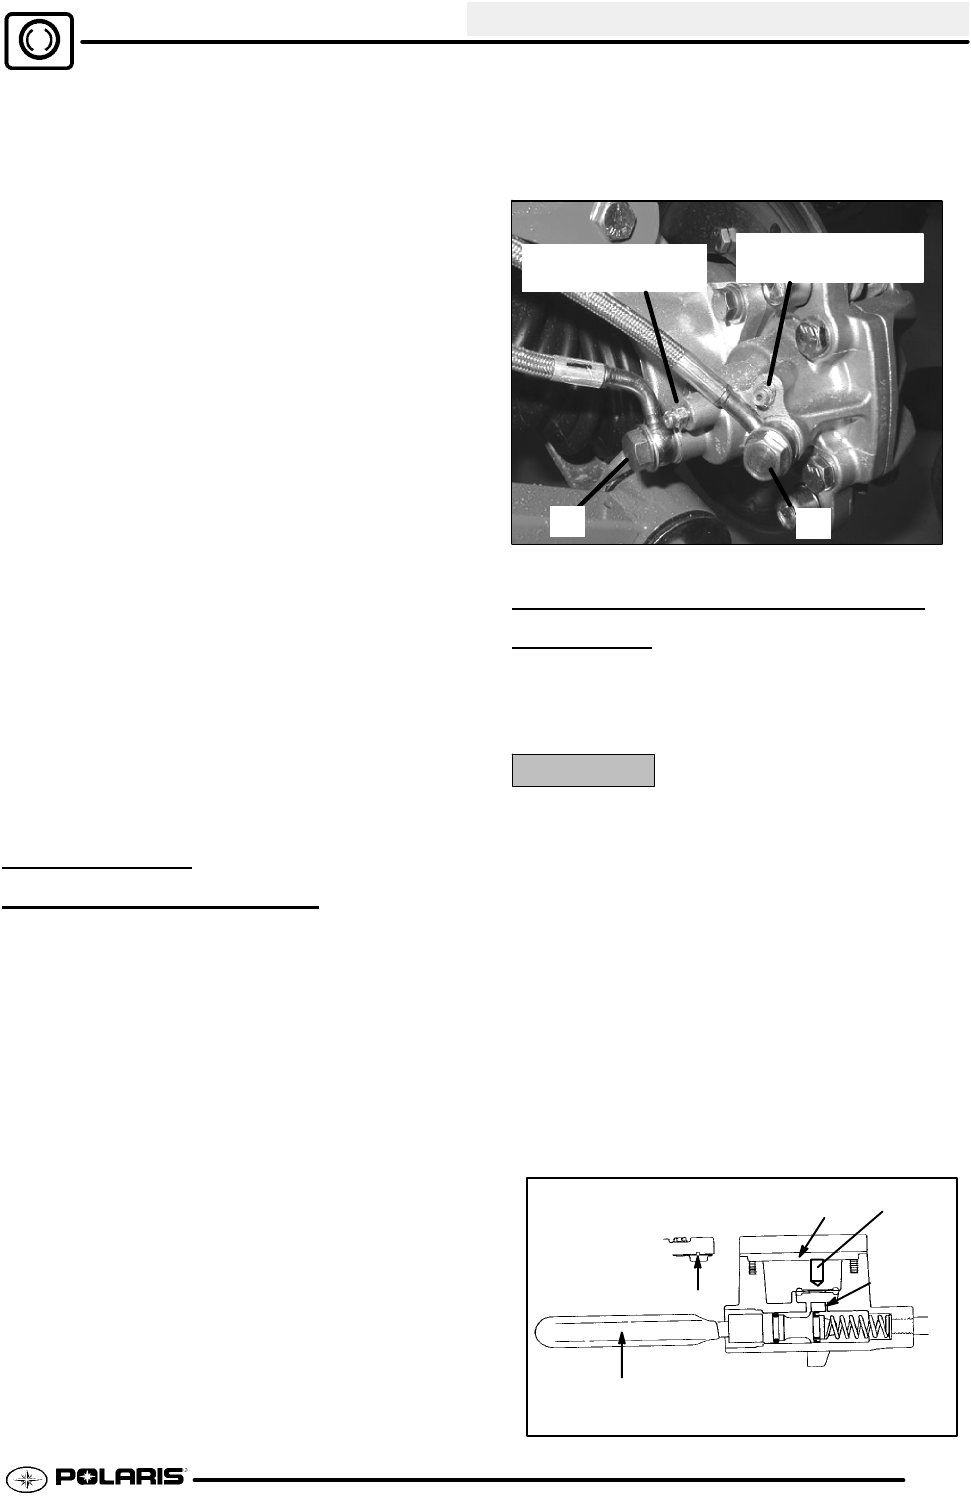
The front calipers a single piston conventional design.
The rear caliper piston is a “T”-shaped, which allows
both hand and foot brake to use the same caliper
piston, but remain separated by seals. The hand
brake system applies hydraulic pressure to both front
calipers and only the outer diameter of the rear caliper
pistons. The auxiliary (foot) brake applies pressure to
the inner portion of the rear caliper pistons. Because
the hand and foot brake hydraulic systems are
separate, there are also two bleed screws -- one for
the outer fluid chamber (hand brake), and one for the
inner fluid chamber (foot brake). The basic procedure
for bleeding the brake system is the same as outlined
on page 9.7 - 9.8, however, each system must bebled
separately.
Hydraulic Auxiliary Brake inspection and adjustment
is outlined in Chapter 2 beginning on Page 2.28.
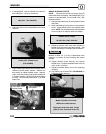
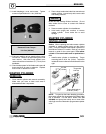
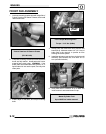
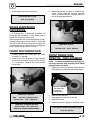
NOTE: Uppermost (inner) bleed screwand brake line
(A) is for hand brake system. Lower (outer) bleed screw
and brake line (B) is for auxiliary (foot) brake system.
B
Inner Bleed Screw
Hand Brake
Outer Bleed Screw
Auxiliary Brake
A
B
BRAKE BLEEDING - FLUID
CHANGE
NOTE: When bleeding the brakes or replacing the
fluid, always start with the caliper farthest from the
master cylinder.
CAUTION:
Always wear safety glasses during these
procedures. Brake fluid will damage finished
surfaces. Do not allow brake fluid to come in
contact with finished surfaces.
NOTE: Do not remove brake lever when reservoir
fluid level is low.
This procedure should be used to change fluid or
bleed brakes during regular maintenance.
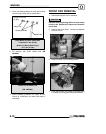
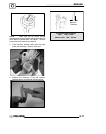
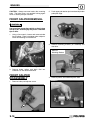
1. Clean reservoir cover thoroughly.
2. Remove screws, cover and diaphragm (C) from
reservoir.
3. Inspect vent slots (A) in cover and remove any
debris or blockage.
B
A
D
C
Sight
Glass


