


CLUTCHING
6.15
4. Measure belt width and replace if worn.
Generally, belts should be replaced if clutches
can no longer be adjusted to provide proper belt
deflection.
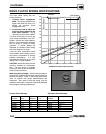
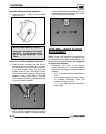
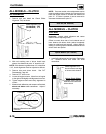
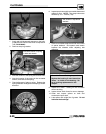
S The top edges have been trimmedon
some drive belts. It will be necessary
to project the side profiles and
measure from corner to corner.
S Place a straight edge on each side of
the drive belt.
S Place another straight edge on top of
belt.
S Measure the distance where the side
straight edges intersect the top, as
shown in the illustration.
Projected Belt
Width
Belt Width:
New 1.174 - 1.188″ (2.98-3.02 cm)
Wear Limit 1.125″ (2.86 cm)
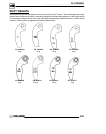
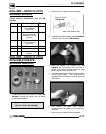
5. Inspect belt for loose cords, missing cogs, cracks,
abrasions, thin spots, or excessive wear.
Replace if necessary.
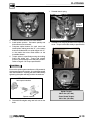
6. Inspect belt for hour glassing (extreme circular
wear in at least one spot and on both sides of the
belt). Hour glassing occurs when the drive train
does not move and the drive clutch engages the
belt continuously in one spot.
7. Measure belt length with a tape measure around
the outer circumference of the belt. Belts which
measure longer than nominal length may require
driven shimming or engine adjustment for a
longer center distance to obtain proper belt
deflection. Belts which measure shorter than
nominal length may require driven shimming or a
shorter center distance. Remember, proper belt
deflection is the desired goal -- not a specific
center distance.
8. Replace belt if worn past the service limit. Belts
with thin spots, burn marks, etc., should be
replaced to eliminate noise, vibration, or erratic
PVT operation. See Troubleshooting Chart at the
end of this chapter for possible causes.
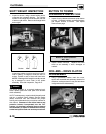
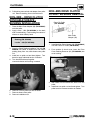
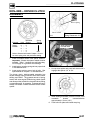
Center
Distance
Clutch Center Distance -
10″ +.1 / -.05 (254 +2.5 / -1.3mm)
Belt Nominal Length - 40.875″± 3/16
(103.8 cm ± .48 cm)
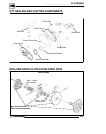
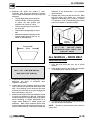
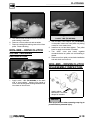
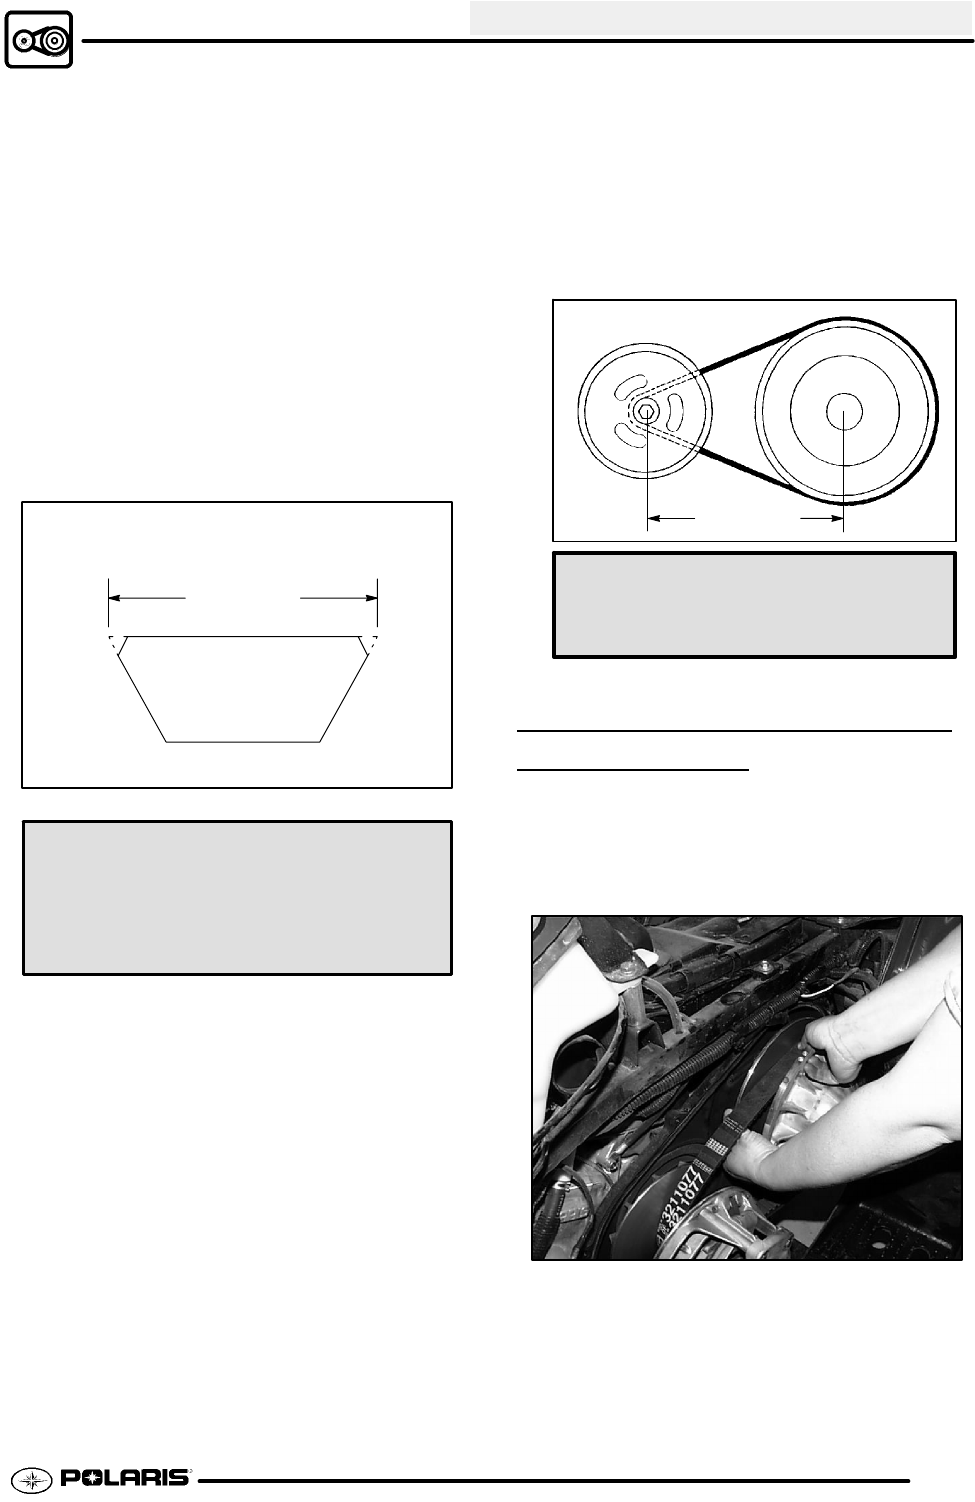
ALL MODELS -- DRIVE BELT
INSTALLA
TION
1. Loop belt over drive and over top of driven
sheave.
2. While pushing down on top of belt, turn the back
or moveable driven sheave clockwise.
3. The belt then should be able to be pushed down
into and between the sheaves.
NOTE: Be sure to position belt so part number is
easily read.