


ENGINE
3.41
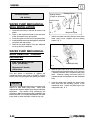
Pump Shaft End Play:
.008″-.016″ (.02-.04 cm)
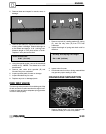
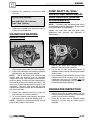
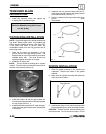
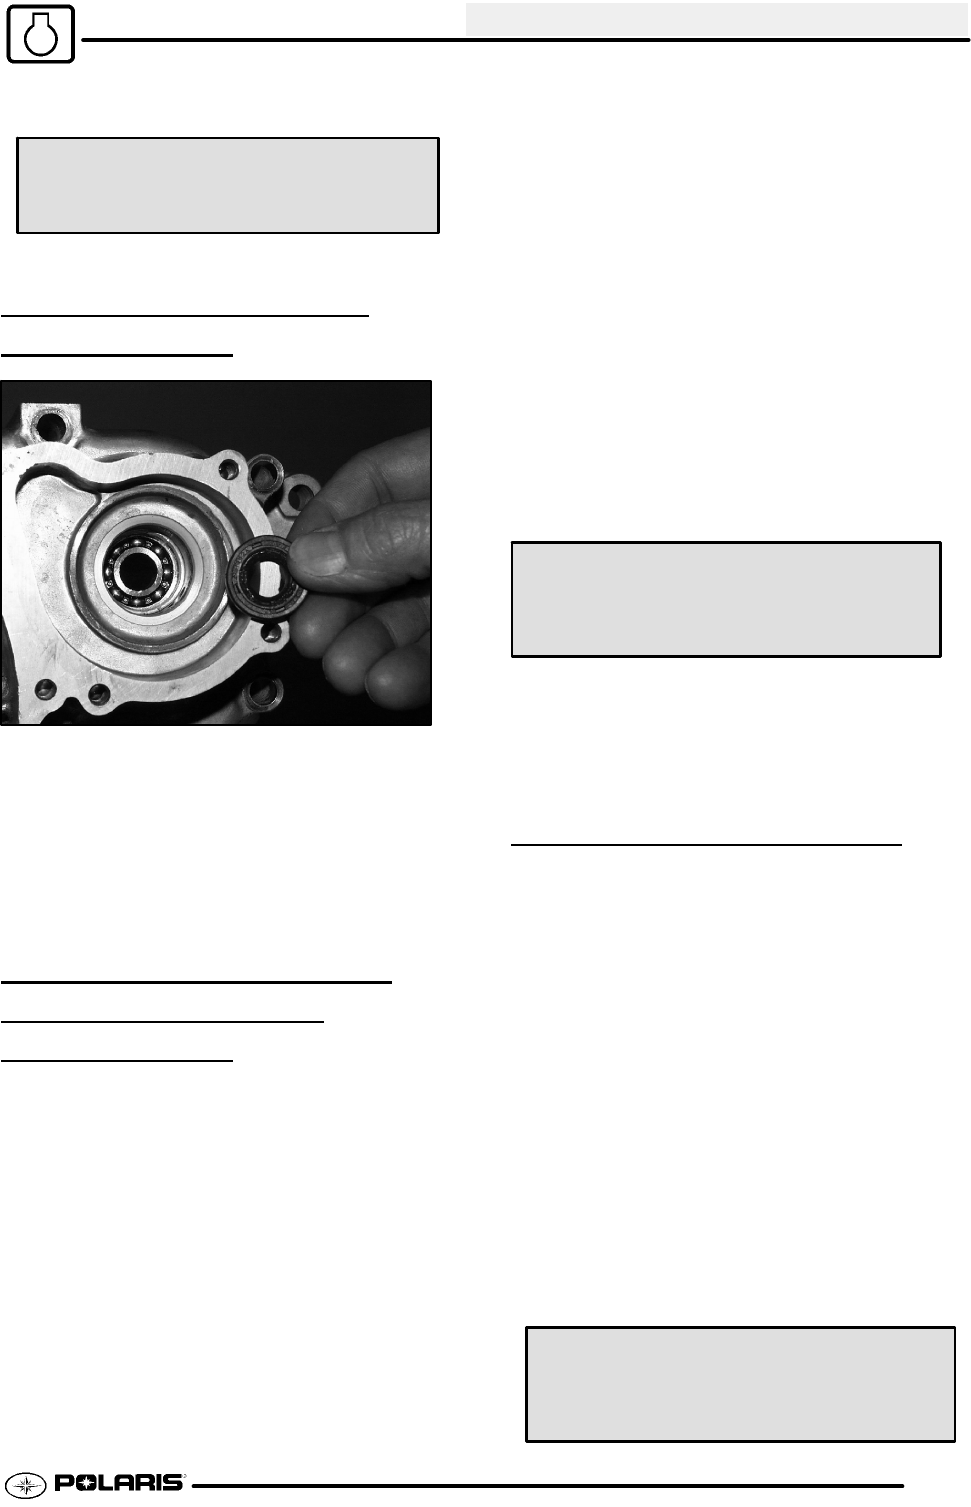
PUMP SHAFT OIL SEAL
INSTALLA
TION
1. Install the seal from the outside of the crankcase
(water pump side) with the spring facing inward,
toward the pump shaft bearing.
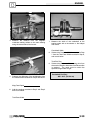
2. Drive or press the seal into place using a 25 mm
(.985″) seal driver, until flush with the outer edge
of the seal bore.
3. Lubricate the seal lip with grease.
CRANKSHAFT/COUNTER
BALANCE/OIL
PUMP
INSTALLA
TION
Lubricate all bearings with clean engine oil before
assembly.
Use the Crankshaft/Water Pump Installation Kit (PN
2871283) to prevent damage to the crankshaft and
main bearings during installation.
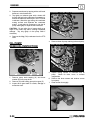
1. Install the crankshaft into the PTO side
crankcase. Screw the threaded rod into the
crankshaft until the threads are engaged a
minimum of one inch (25.4mm).
2. Install the collar, washer, and nut onto the
threaded rod. Hold the crankshaft and tighten the
nut to draw the crankshaft into the main bearings
until fully seated. Loosen the nut and remove the
threaded rod from the crankshaft. If removal is
difficult, install two nuts onthe end of the threaded
rod and tighten against each other.
3. Install the proper shim on the magneto end of the
crankshaft.
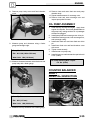
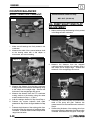
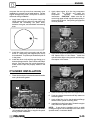
4. Place the balancer shaft in the PTO crankcase
aligning the timing marks on the crankshaft and
balancer gears. Install the proper shim washer on
the shaft.
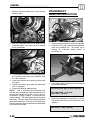
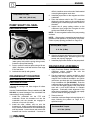
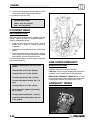
5. Inspect the oil pump sealing surface on the
crankcase. Apply a light film of engine oil to the
surface and install the oil pump.
NOTE: Do not use gasket sealer on the pump mating
surfaces.
NOTE: After engine is assembled and machine is
readied for field operation, oil pump MUST be primed.
Follow oil pump priming procedure on Page 3.10.
Oil Pump Bolt Torque:
6. ft. lbs. (8 Nm)
6. Align the drive gear with the drive pin on the pump
shaft and install the gear. Be sure the gear is fully
seated and properly engaged.
7. Install the proper shim washer on the pump shaft.
CRANKCASE ASSEMBLY
1. Apply Crankcase Sealant (PN 2871557)tothe
crankcase mating surfaces. Be sure the
alignment pins are in place.
2. Set the crankcase in position carefully to avoid
damaging the pump shaft seal, and install the
magneto end crankshaft installation tool (follow
instructions provided with the Crankshaft/Water
Pump Installation Kit (PN 2871283).Drawthe
crankcase halves together by tightening the nut
on the tool and tapping lightly in the pump shaft
area with a soft faced hammer to maintain
alignment. Continually check alignment of the
cases during installation, closing the gap equally
until the surfaces are tightly seated.
3. Remove the tool.
4. Install the crankcase flange bolts and tighten in 3
steps following the pattern on Page 3.5 to
specified torque.
Crankcase Bolt Torque:
14 ft. lbs. (19 Nm)