CLUTCHING
6.33
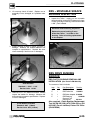
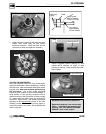
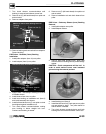
7. Turn clutch sheave counterclockwise until
bushing is removed and sheave comes free.
8. Remove nut (C) (left hand thread) from puller rod
and set aside.
9. Remove adapters from puller.
Main Adapter
(8)
Nut (C)
Adapter
Reducer (9)
Bushing
Tool (2)
Bushing
Tool (2)
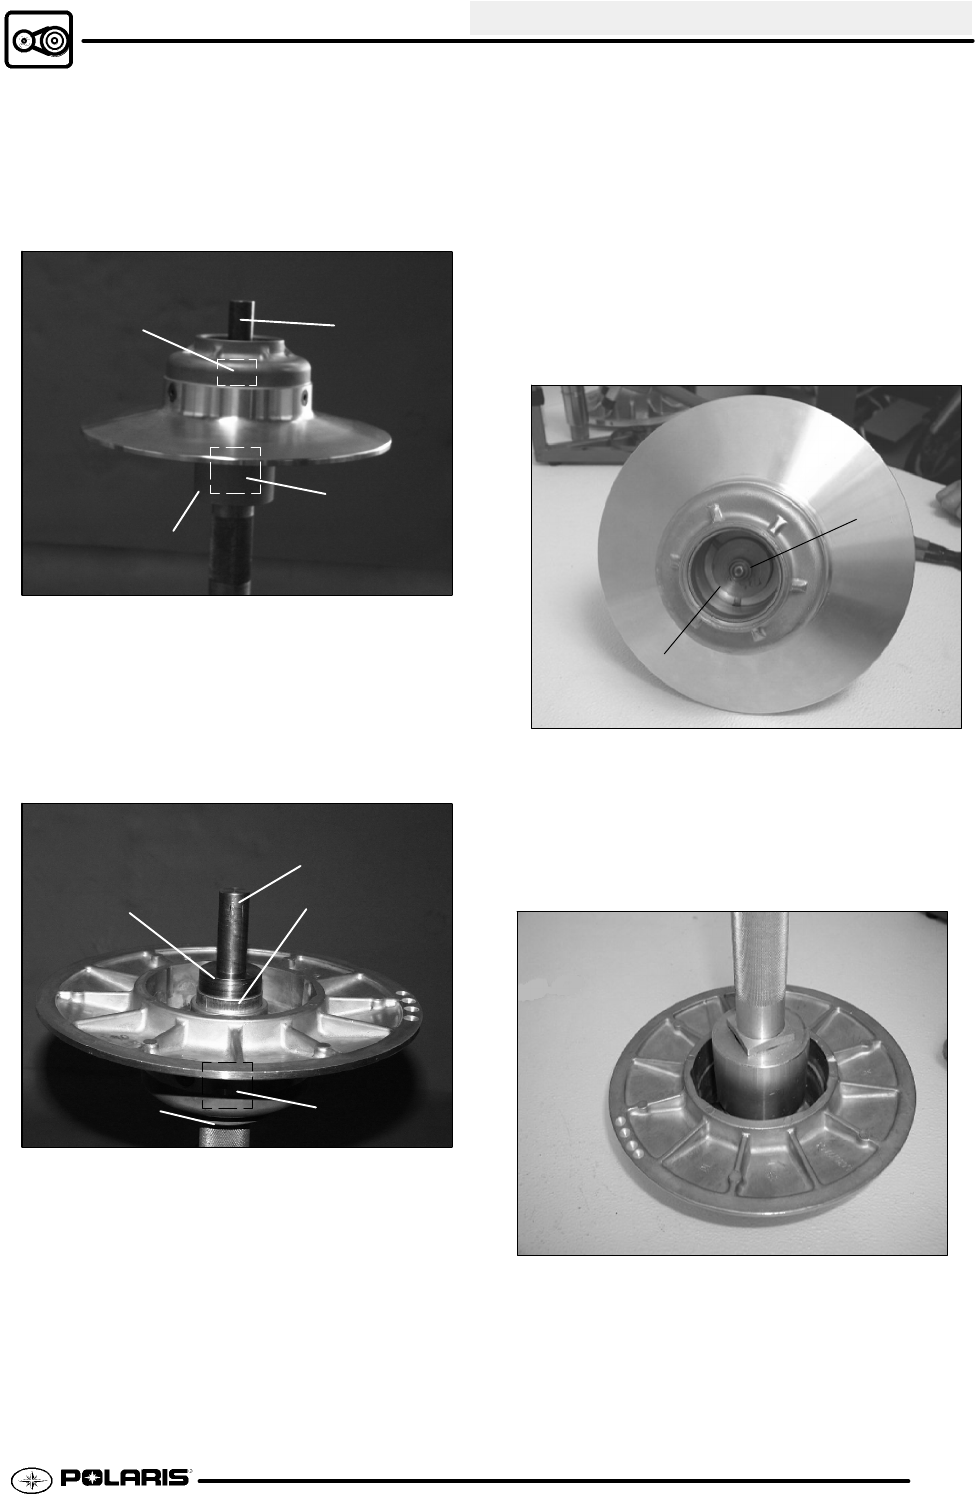
EBS Driven Clutch Outer Bushing Removal
10. Remove bushing and removal tool from adapters.
Discard bushing.
EBS Driven - Backside (Outer) Bushing
Installation
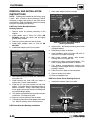
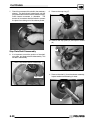
1. Install puller adapter (Item 10) onto puller.
2. Install adapter (Item 9) onto puller.
Nut (C)
Bushing
Tool (2)
Bushing
EBS Driven Clutch OuterBushing Installation
Adapter
(9)
Puller Adapter
(10)
3. Apply Loctitet 609 evenly to bushing bore inside
moveable sheave.
4. Install sheave face down on puller.
5. Install new bushing on installation tool (Item 2)
and install assembly into sheave.
6. Install left hand thread nut (C) onto puller rod and
hand tighten against installation tool.
7. Turn clutch sheave counterclockwise, making
sure bushing is drawn straight into bore.
Continue until bushing is seated.
8. Remove nut (C) (left hand thread) from puller rod
and set aside.
9. Remove installation tool and clutch sheave from
puller.
EBS Driven - Stationary Sheave (Inner) Bushing
Removal
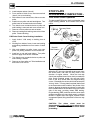
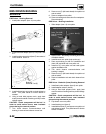
1. Install puller adapter onto puller.
2. Install adapter reducer.
Bushing Tool (2)
C
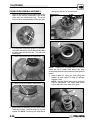
3. Using a hand held propane torch, apply heat
around outside of bushing until tiny smoke tailings
appear.
CAUTION: Clutch components will be hot! In
order to avoid serious burns, wear insulated
gloves during the removal process.
4. Install bushing tool (Item 2)
5. Install the left hand nut (C) and spacer onto puller
rod and tighten by hand. Turn puller barrel for
further tension if needed.
6. Turn clutch sheave counterclockwise until both
bushings are removed and sheave comes free.


