


BODY / STEERING / SUSPENSION
5.20
A
B
C
E
D
L
K
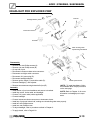
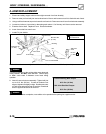
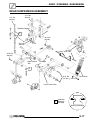
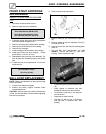
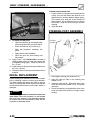
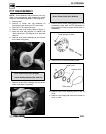
8. To install new ball joint:
S Remove extension cap and attach puller
guide using short bolts provided in the kit.
S Insert new ball joint (K) into driver (L).
S Slide ball joint/driver assembly into
guide.
S Apply heat to ease installation.
S Drive new joint into strut housing until
fully seated.
9. Apply Loctitet 242 (PN 2871949) to threads of
retaining plate screws or install new screws with
pre-applied locking agent. Torque screws to 8 ft.
lbs. (11 Nm).
10. Install A-arm on ball joint and torque castle nut to
25 ft. lbs. (35 Nm).
11. Reinstall cotter pin with open ends toward rear of
machine.
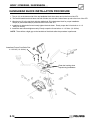
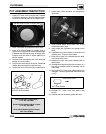
DECAL REPLACEMENT
Plastic polyethylene material must be “flame treated”
prior to installing a decal to ensure good adhesion.
The flame treating procedure can often be used to
reduce or eliminate the whitish stress marks that are
sometimes left after a fender or cab is bent, flexed, or
damaged.
WARNING
The following procedure involves the use of an
open flame. Perform this procedure in a well ventilated
area, away from gasoline or other flammable materials.
Be sure the area to be flame treated is clean and free
of gasoline or flammable residue.
To flame treat the decal area:
1. Pass the flame of a propane torch back and forth
quickly over the area where the decal is to be
applied until the surface appears slightly glossy.
This should occur after just a few seconds of
flame treating. Do not hold the torch too close to
the surface. Keep the torch moving to prevent
damage.
2. Apply the decal.
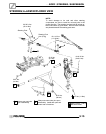
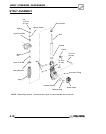
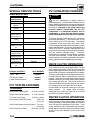
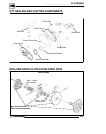
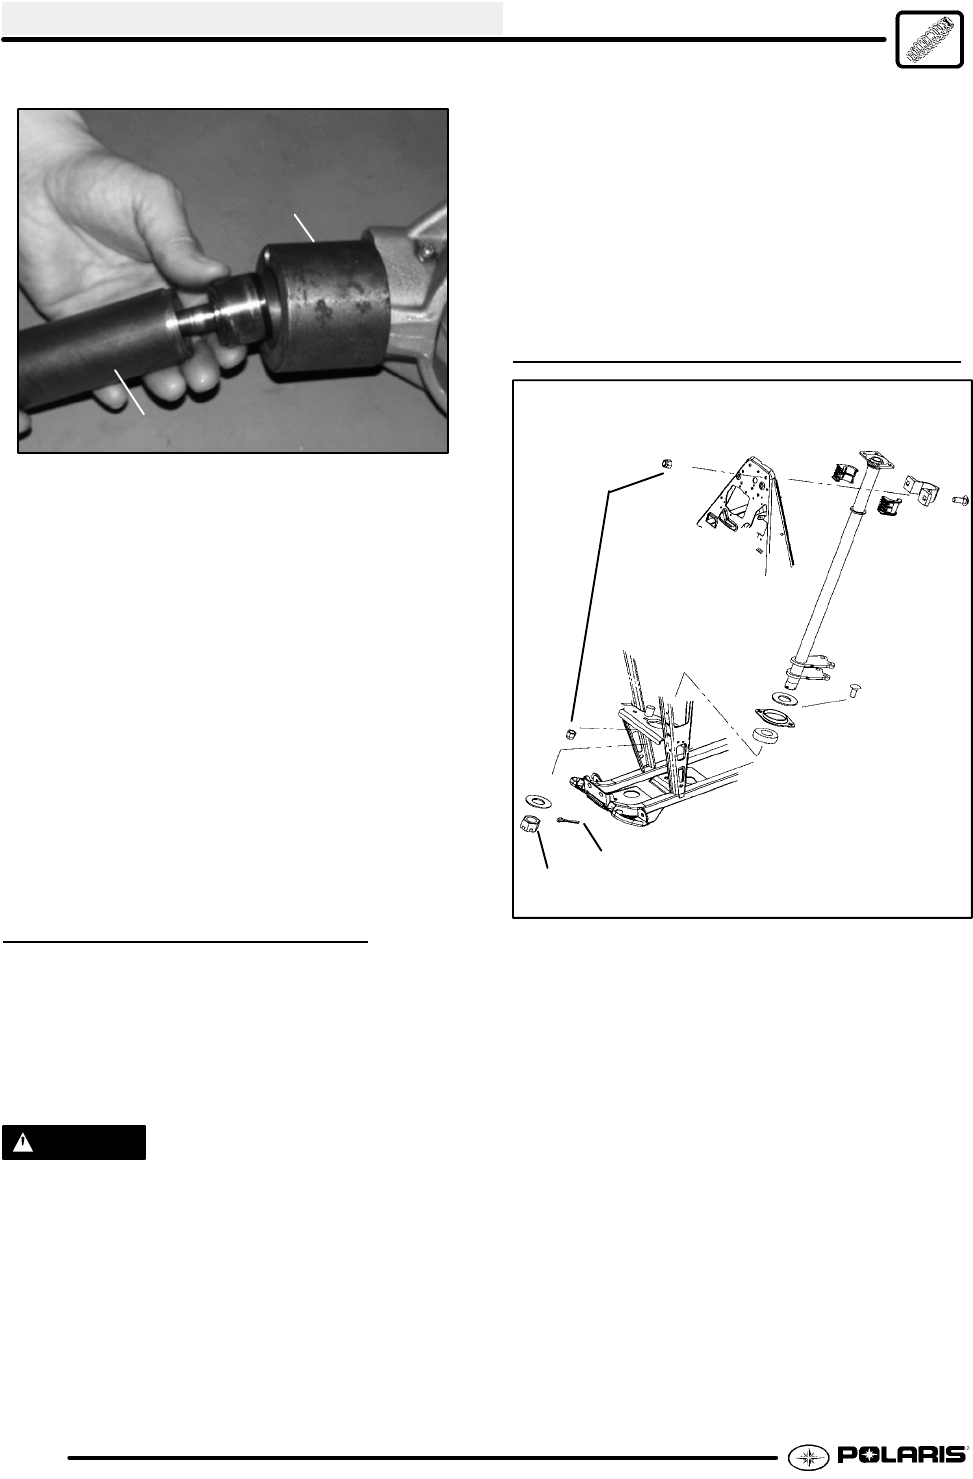
STEERING POST ASSEMBLY
12 ft. lbs.
(16 Nm)
A
B
1. Hand tighten steering post slotted nut (A).
2. Align the cotter pin hole on the steering post
slotted nut (A).
3. Install the cotter pin (B). Bend both ends of the
cotter pin around the slotted nut (A) in opposite
directions.
4. Check the steering, the handle bars must move
freely and easily from full left to full right without
binding.