6 - 38
DRIV
FINAL DRIVE GEAR AND DRIVE SHAFT
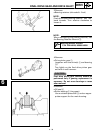
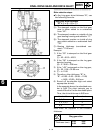
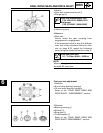
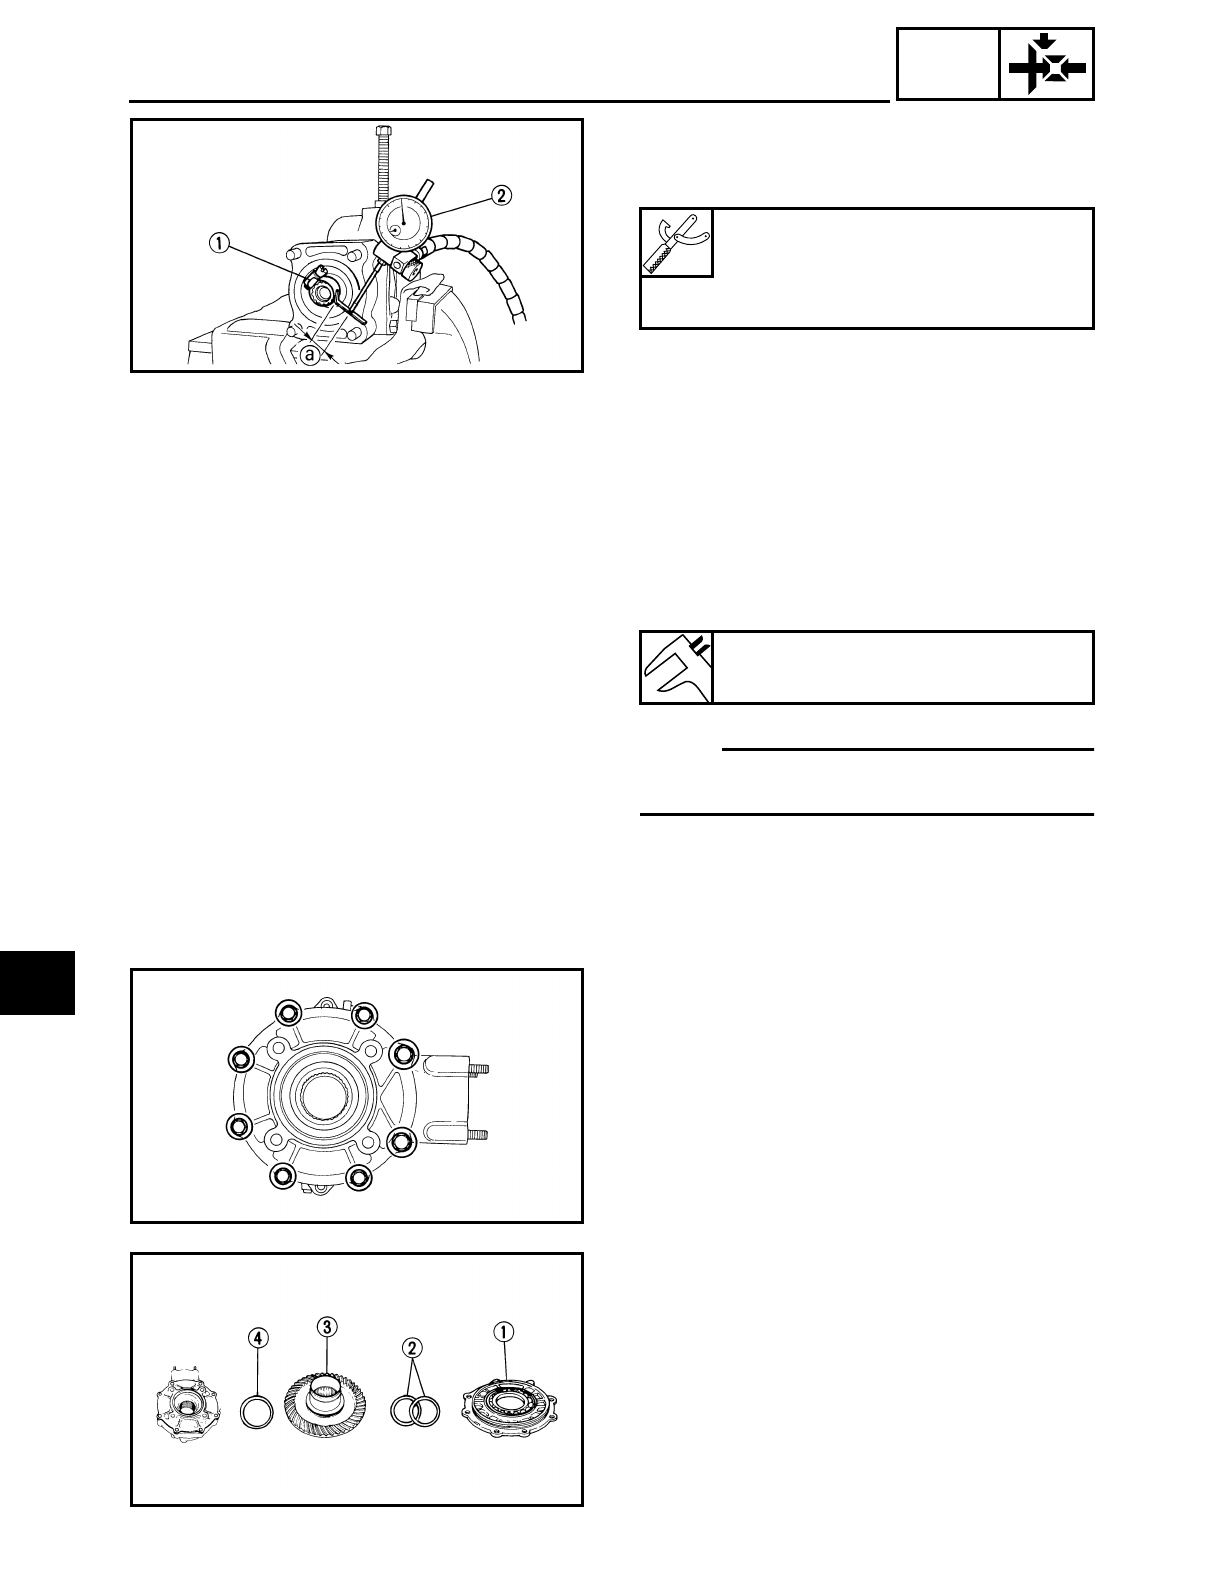
4.Attach:
● Gear lash measurement tool 1
● Dial gauge 2
a Measuring point
Gear lash measurement tool:
P/N. YM-01231, 90890-01231
Dial gauge:
P/N. YU-03097, 90890-03097
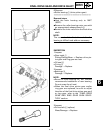
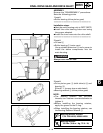
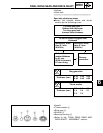
5.Measure:
● Gear lash
Gently rotate the gear coupling from
engagement to engagement.
If the measured value in step 5 is different
than that of the calculated value for shim
size on page 6-32, repeat the following
steps using the measured value in step 5.
NOTE:
Measure the gear lash at 4 positions rotate
the shaft 90˚ each time.
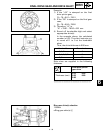
Final gear gear lash:
0.1 ~ 0.2 mm (0.004 ~ 0.008 in)
Final gear lash adjustment
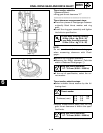
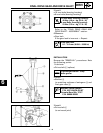
1.Remove:
● 8 mm bolts (bearing housing)
● 10 mm bolts (bearing housing)
Refer to the “FINAL DRIVE GEAR AND
DRIVE SHAFT – DISASSEMBLY” section.
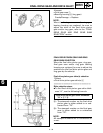
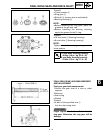
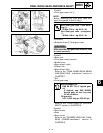
2.Remove:
● Bearing housing 1
● Shim(s) 2
● Ring gear 3
● Thrust washer 4
Refer to the “FINAL DRIVE GEAR AND
DRIVE SHAFT–DISASSEMBLY” section.
6


