ENGINE
3.34
WATE R PUMP MECHANICAL
SEAL REMOV
AL
W ater Pump Mechanical Seal
Puller: (PN 2872105)
Replacement T--Handle:
(PN 2872106)
CAUTION:
Improper or careless use of this tool or
procedure can result in a bent water pump
shaft. P ump shaft replacement r equires
engine removal and crankcase separa-
tion. Use caution while performing this
procedure. Make sure that the puller is
parallel to the shaft at all times. Do not
place side loads on the water pump shaft
or strike the puller or shaft in any way.
The Water Pump Mechanical Seal Puller allows a
technician to replace the seal on ES50PL engines
without removing the engine and splitting the cases.
NOTE: This removal process dismantles the seal,
making it unusable for reinstallation.
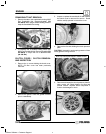
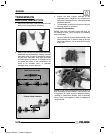
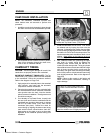
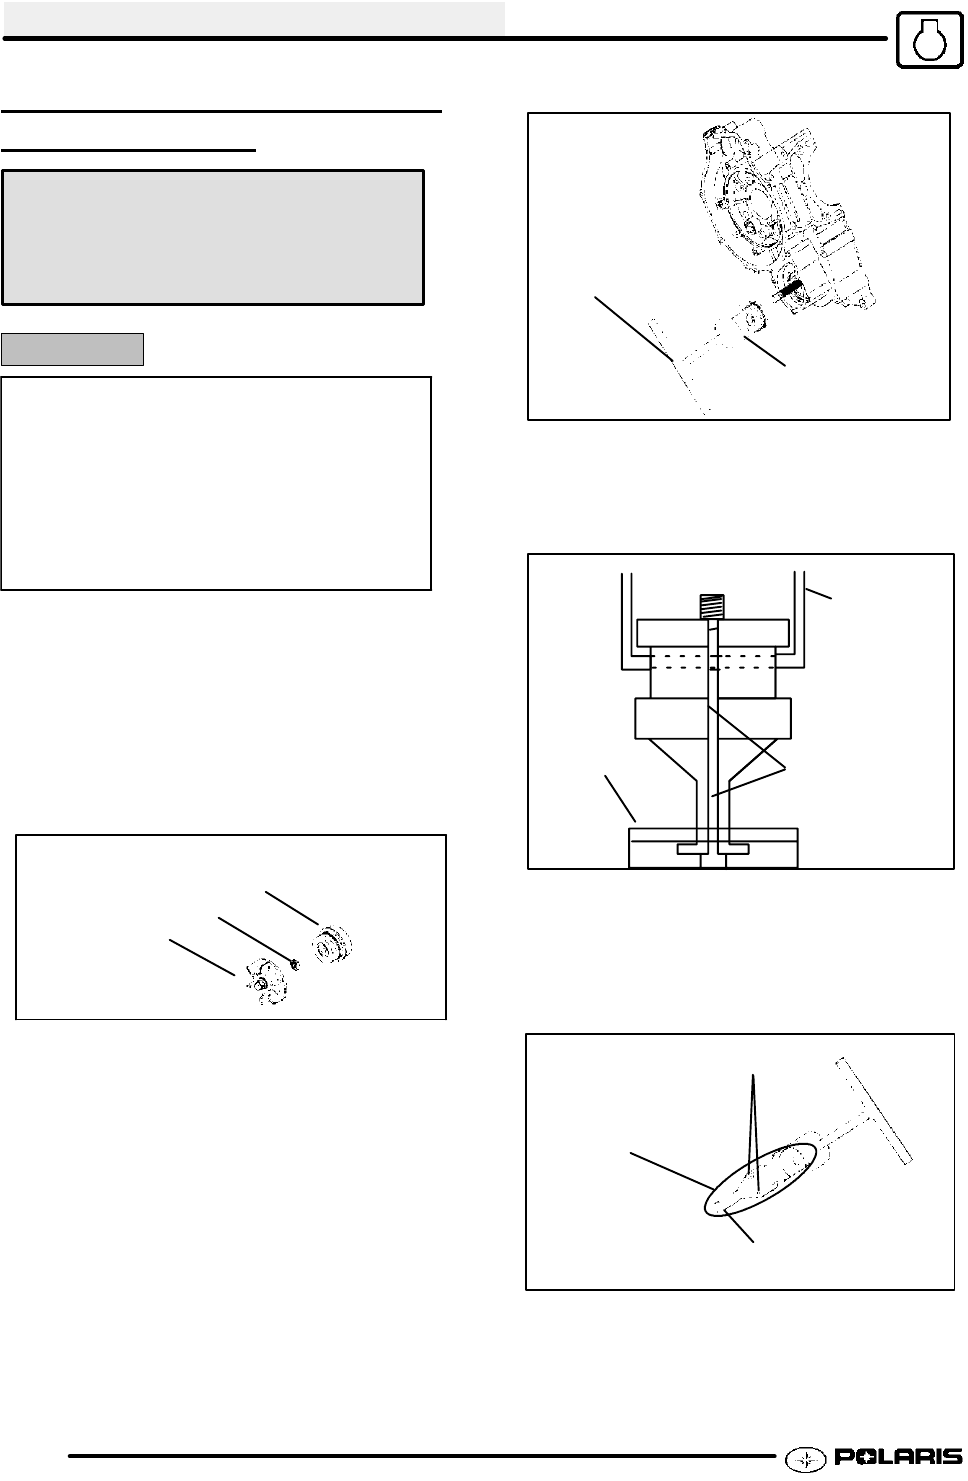
1. After the coolant has been drained, remove the
water pump cover, impeller and the sealing
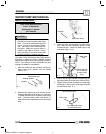
washer. (Ill. 1)
Ill. 1
Impeller
Sealing Washer
Mechanical Seal
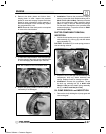
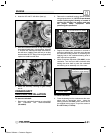
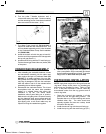
2. Slide the main puller body over the outer portion
of the mechanical seal as shown in Ill. 2 and turn
T-Handle clockwise until it contacts water pump
shaft. Continue rotating until outer portion of
mechanical seal is separated from the metal seal
body.
Ill. 2
T-Handle
Main Puller Body
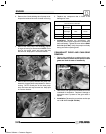
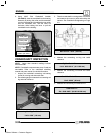
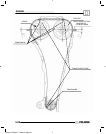
3. Insert the puller legs between the water pump
drive shaft and the remaining portion of the
mechanical seal. Attach the puller legs to the
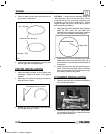
main puller body. (Ill. 3)
Ill. 3
Position the split
90q to opening
on main puller
body
Main puller
body
Seal
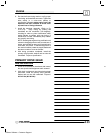
4. Ensure that the split between the puller legs are
fully supported by the main body of the tool (Ill 3).
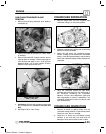
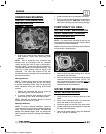
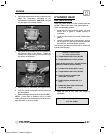
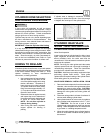
5. Tighten the hex socket screws on the puller legs
sufficiently so the lip of the puller legs will grasp
the mechanical seal. Ill. 4
Hex Socket Screws
Ill. 4
Lip must grasp inside
of mechanical seal.
Puller Legs
Enfocus Software - Customer Support


