


MAINTENANCE
2.26
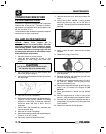
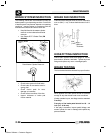
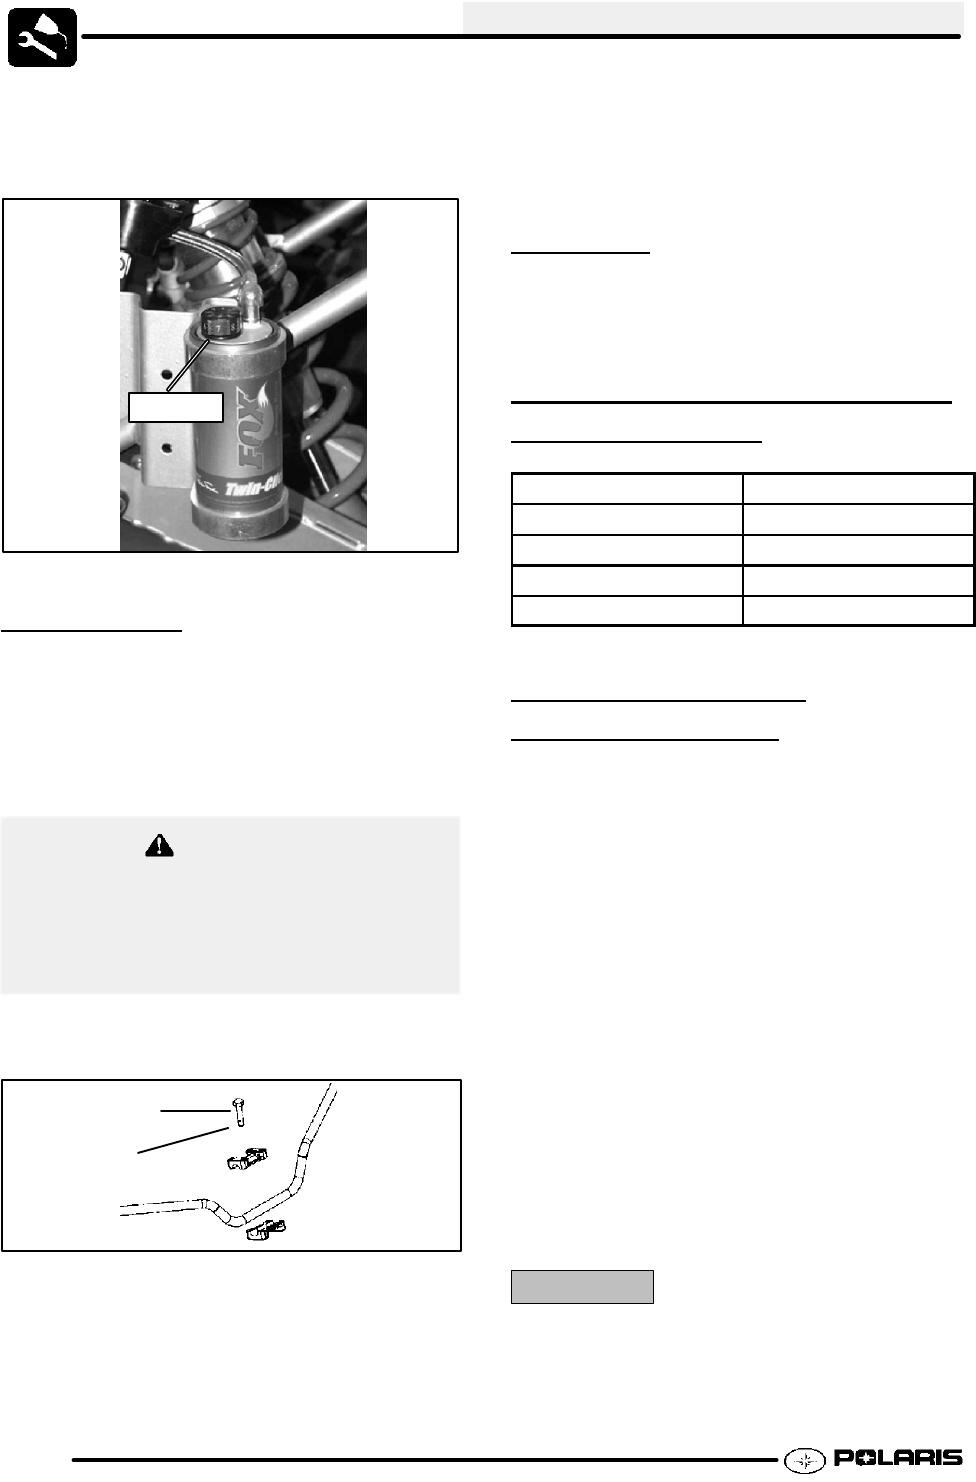
It has eight possible positions ranging from position 1
(softest) to 8 (firmest). The compression damping is
factory set at position 4. To adjust, turn the clicker
drum to the desired setting.
Adjust
CONTROLS
Check controls for proper operation, positioning
and adjustment.
Handlebars
If desired, the handlebars can be adjusted for rider
preference.
Improper adjustment of the handlebars or incorrect
torquing of the adjuster block bolts can cause
limited steering or loosening of the handlebars,
which could result in loss of control and serious
injury or death.
WARNING
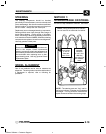
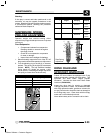
1. Remove the instrument panel and locate the
handlebar bolts (1).
1
10--12 ft.lbs.
(14--17 Nm)
2. Loosen the four bolts and adjust the handlebar to
the desired height. Be sure the handlebars do not
contact the gas tank or any other part of the
machine when turned fully to the left or right.
3. Torque the front two bolts to 10-12 ft. lbs. (14-17
Nm), then torque the rear two bolts. A gap of up to
1/8” will remain at the rear bolts.
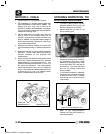
WHEELS
Inspect all wheels for runout or damage. Check wheel
nuts and ensure they are tight. Do not over tighten the
wheel nuts.
WHEEL, HUB, AND SPINDLE
TORQUE T
ABLE
Item Specification
Front Wheel Nuts 20 Ft. Lbs. (41 Nm)
Rear Wheel Nuts 20 Ft. Lbs. (41Nm)
Front Spindle Nut 40 Ft. lbs. (55 Nm)
Rear Hub Retaining Nut 80 Ft. Lbs. (108 Nm)
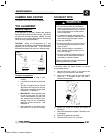
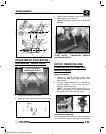
WHEEL REMOVAL:
FRONT OR REAR
Wheel Removal
1. Stop the engine, place the transmission in gear
and lock the parking brake.
2. Loosen the wheel nuts slightly.
3. Elevate the side of the vehicle by placing a
suitable stand under the footrest frame.
4. Remove the wheel nuts and remove the wheel.
Wheel Installation
1. With the transmission in gear and the parking
brake locked, place the wheel in the correct
position on the wheel hub. Be sure the valve stem
is toward the outside and rotation arrows on the
tire point toward forward rotation.
2. Attach the wheel nuts and finger tighten them.
3. Lower the vehicle to the ground.
4. Securely tighten the wheel nuts to the proper
torque listed in the table.
CAUTION:
Enfocus Software - Customer Support