ENGINE
3.13
ENGINE DISASSEMBLY
REFER TO PAGE 3.6--3.7 FOR ENGINE
REMOVAL / INSTALLATION
NOTES
CAM CHAIN TENSIONER/
CAMSHAFT REMOVAL
AND
INSPECTION
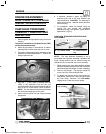
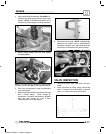
1. Remove ignition timing inspection plug from recoil
housing.
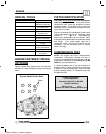
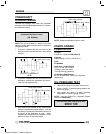
To position crankshaft at Top Dead Center (TDC)
on the compression stroke:
2. Rotate engine slowly in the direction of rotation
watching intake valves open and start to close.
3. Continue to rotate engine slowly, watching for the
camshaft sprocket marks and the “T” mark in the
timing inspection hole.
4. Align the ”T” (TDC) mark on flywheel with the
indent in the inspection hole and the cam
sprockets marks (facing upward) aligned with the
dots at the 12 o’clock and 9 o’clock positions.
NOTE: The cam lobes should be laying flat and
the valves have clearance at this point.
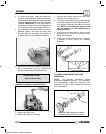
5. Remove the two 8x25 mm cam chain tensioner
flange bolts.
6. If tensioner remains in place, tap lightly on
tensioner body with a soft face hammer and
remove tensioner. CAUTION: The assembly is
under spring tension. Maintain inward pressure
while removing.
7. For installation, retract the plunger using the
special tool and reverse the installation
procedures using a new gasket. Tighten bolts to
specification. (Pg 3.2)
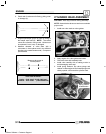
CAM CHAIN TENSIONER INSPECTION AND
REASSEMBLY
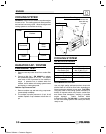
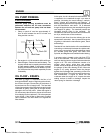
B -- 10mm tensioner
cap
A -- Tool PN PA --45958
A
B
NOTE: The cam tensioner assembly is not a
serviceable item. Replace assembly if problems are
found. Spring tension may be relieved using the
special tool prior to removal, but is not necessary.
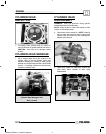
1. When removed, the cam chain tensioner plunger
should be extended outward to the end of its travel.
Verify and inspect the plunger for wear or damage.
2. Push on the plunger. The plunger should not
move in and out of the tensioner body.
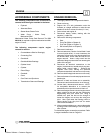
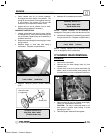
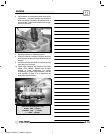
3. To release the plunger tension and prepare for
reassembly, remove the 10mm plug and insert
the Cam Chain Tensioner Tool (PA--45958),
lodging the tip of the tool into the spring.
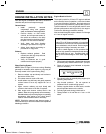
Important
Maintain clearance while rotating tool
Tool P A--45958
Enfocus Software - Customer Support


