BODY / STEERING / SUSPENSION
5.30
FOXt REAR SHOCK SERVICE
1. Read through all of these instructions first to
familiarize yourself with the rebuild procedure.
Make sure you have a clean work area, and all of
the necessary tools are available. Always use
proper safety equipment when working on
shock absorbers.
2. Clean the entire shock assembly with soapy
water. Try to remove as much dirt and grime as
possible by scrubbing with a soft bristle brush.
Never pressure wash your shock, as this can
force water and debris inside which will damage
the seals. Dry the shock assembly with
compressed air, if available, or use clean towels.
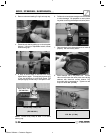
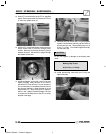
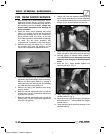
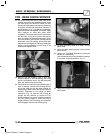
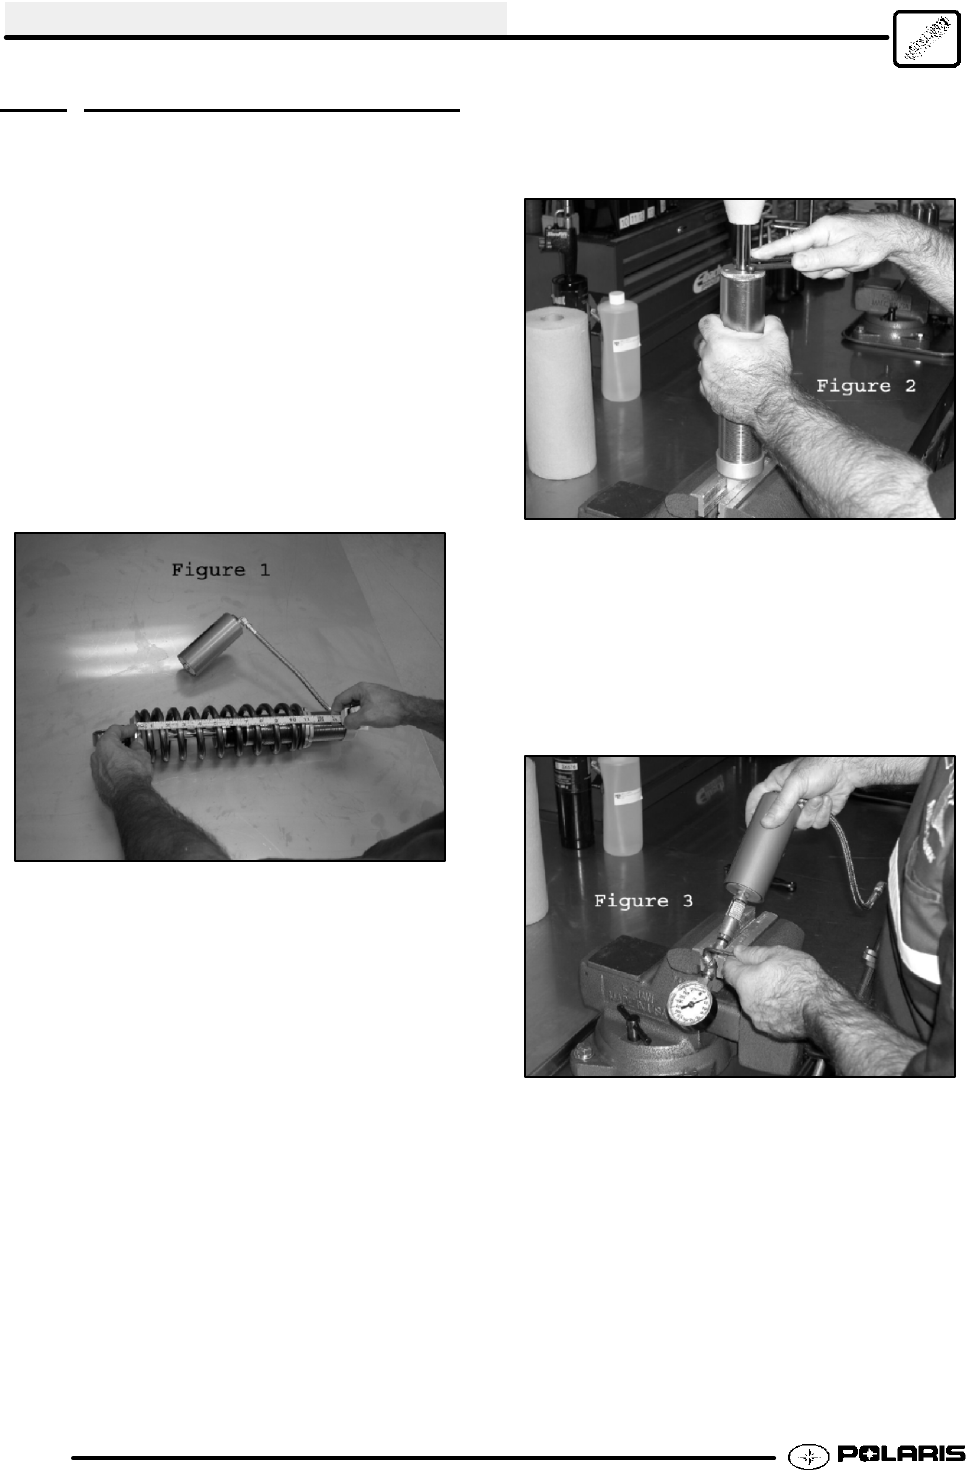
3. Measure the spring set length (Fig. 1). Record
this number along with the positions of the
rebound and compression adjustment knobs.
4. Loosen the preload lock ring, and back the preload
adjustment ring off until spring is loose on the body.
Remove the lower spring retainer by pushing it
toward the body and removing the wire retaining
ring. Slide the lower spring retainer off.
5. Remove the spring and stainless steel spring
support washer.
6. Back the rebound adjustment knob out until the
clicking stops. Set the compression adjustment
knob to the #1 position.
7. Back the rebound adjustment knob out until the
clicking stops. Set the compression adjustment
knob to the #1 position.
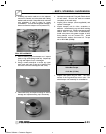
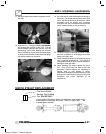
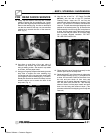
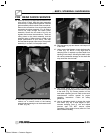
8. Using a 3/32” Hex Key, loosen the bearing cap set
screw. Use pin spanner tool to unscrew the bearing
cap, and slide the bearing cap up to the bottom--out
bumper. (Fig. 2) Remove shock from the vise.
9. Use a 3/32” Hex Key to remove the button head
screw from the air valve in the reservoir end cap.
10. Securely clamp Fox Nitrogen Safety Needle in
vice. CAUTION! Point air valve away from face
and body when charging or discharging any
shock.
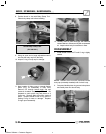
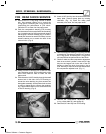
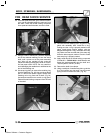
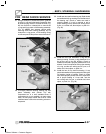
11. Insert the Foxt Safety Needle squarely into
center of gas valve. (Fig. 3)
12. Using a blunt object, depress the air valve core to
release pressure. (Fig. 3)
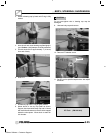
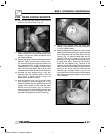
13. When the shock is fully discharged, pull reservoir
away from the Foxt Safety Needle in a straight,
smooth motion.
14. Clamp the body cap of the shock securely in vice
with shaft side up.
Enfocus Software - Customer Support


