MAINTENANCE
2.24
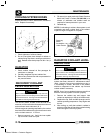
SPROCKET INSPECTION
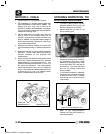
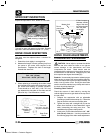
Inspect the sprocket for worn, broken or bent teeth.
Chain Tension
Limit:
1/4s (6mm)
Inspect chain for excessive
wear, missing o--rings, etc.
To check for wear, pull upward on the chain. Replace
sprocket if chain movement exceeds 1/4s (.6 cm).
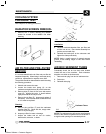
DRIVE CHAIN INSPECTION
The chain must be replaced when it reaches 3%
elongation.
1. Stretch the chain tightly in a straight line.
2. Measure the length of twenty pitches (pins) from
pin center to pin center, and compare to the
specification. Replace the chain if the length
exceeds the wear limit.
Drive Chain Wear Limit, 20 Pitch Length:
Std: 12.5s (32 cm)
Wear Limit: 12.875s (32.7 cm)
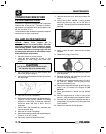
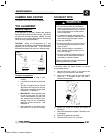
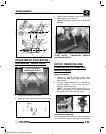
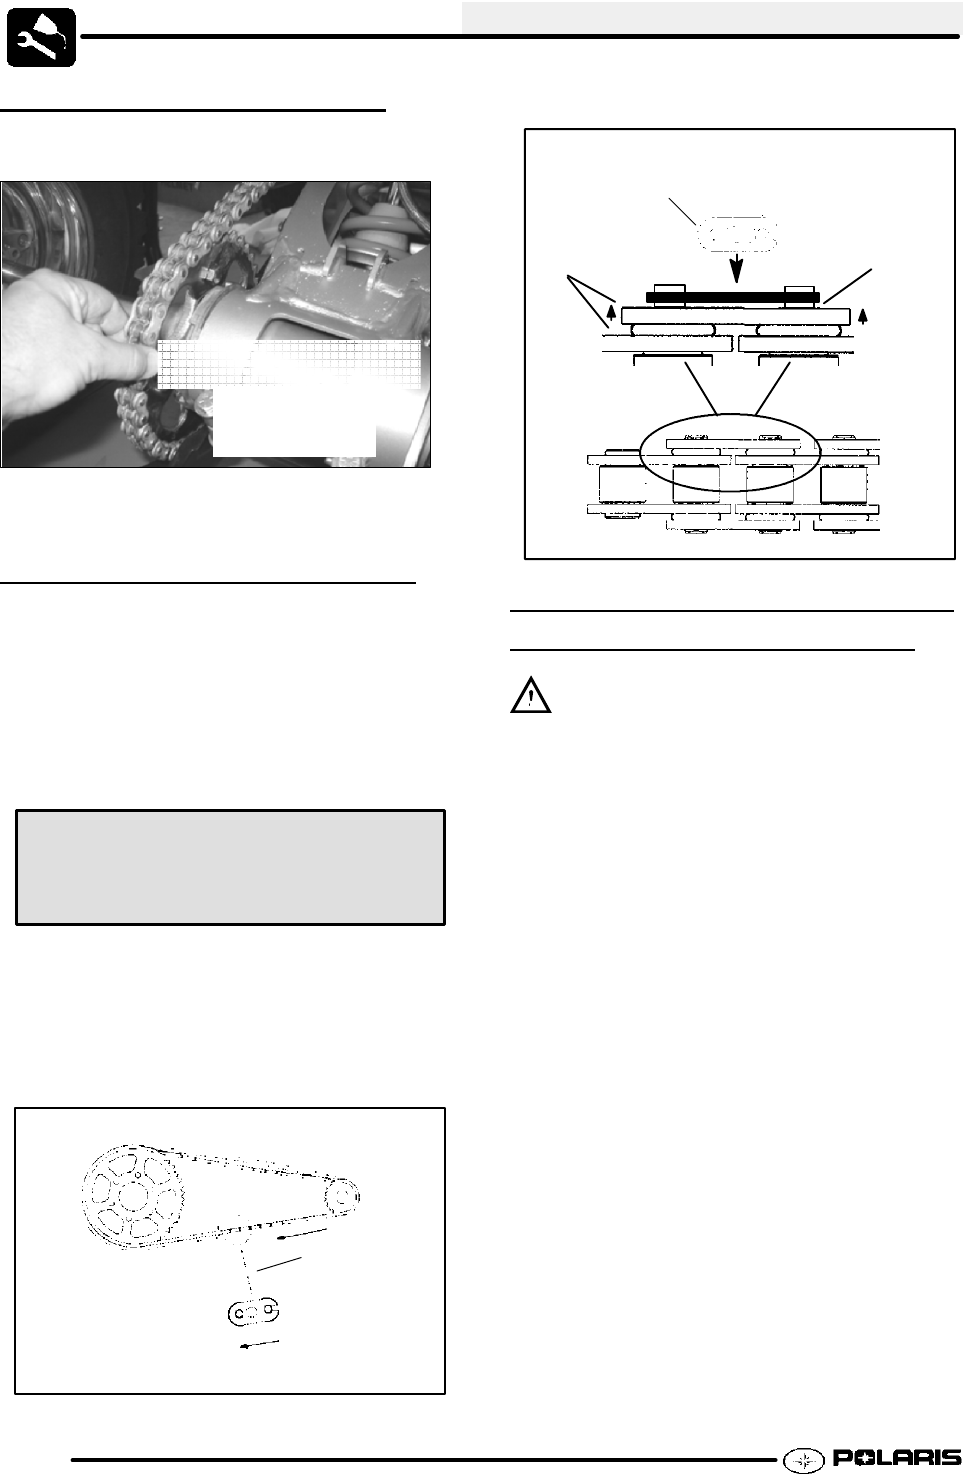
3. When replacing or reinstalling drive chain, install
the closed end of the splice link clip as shown, with
the closed end leading in forward operation.
There should be a .003--.005” (.076--.127 mm)
gap between the side plate of the chain and the
splice link clip. See Illustrations 1 and 2.
Proper
Splicelink Clip
Opening
Position
Rear Chain
Shown
.003--.005”
(.076--.127 mm)
Gap after installation
Ill. 1
If there is space
between outside
edge of the mas-
ter link and plate,
back the plate
out slightly.
Master Link
Do not
press plate
in too far.
Ill. 2
DRIVE CHAIN ADJUSTMENT,
CONCENTRIC
SWINGARM
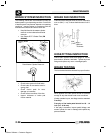
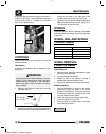
CAUTION: Never adjust or operate the vehicle
with the rear drive chain too loose or too tight as
severe damage to the transmission and drive
components can result. Chain tension must be
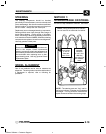
inspected with the swing arm in the position shown in
the illustration so that the axle, swingarm pivot, and
drive spocket are aligned horizontally (B).
Break-In: It is extremely important to maintain proper
chain tension to ensure the best possible chain life.
There is a chain break-in period of approximately 100
miles or two (2) tanks of fuel. During this time chain
tension should be watched very closely and loads to
the chain should be kept light.
Checking Chain Tension:
Check the amount of chain slack by moving the
vehicle slightly forward to gain slack at the top side of
the rear chain.
1. Collapse the suspension with an adjustable
(buckle type) trailer tie down strap (A). Fasten the
strap around the axle and rear bumper tube.
2. Tighten the strap until a straight line (B) can be
drawn from the axle to the transmission output
shaft, intersecting the swing arm pivot. This
establishes the tightest chain position.
3. At this point (C) the chain should have 1/4” - 3/8“
(0.6 -0.9 cm) deflection. Use the procedure on
the following page if the chain needs adjustment.
Enfocus Software - Customer Support


