BODY / STEERING / SUSPENSION
5.38
FOXt REAR SHOCK SERVICE
62. Clamp shaft eyelet securely in vise, and place
seal bullet tool on end of shaft.
63. Slide bottom--out bumper onto shaft. NOTE: The
tapered side of the bottom--out bumper should be
facing away from the shaft eyelet.
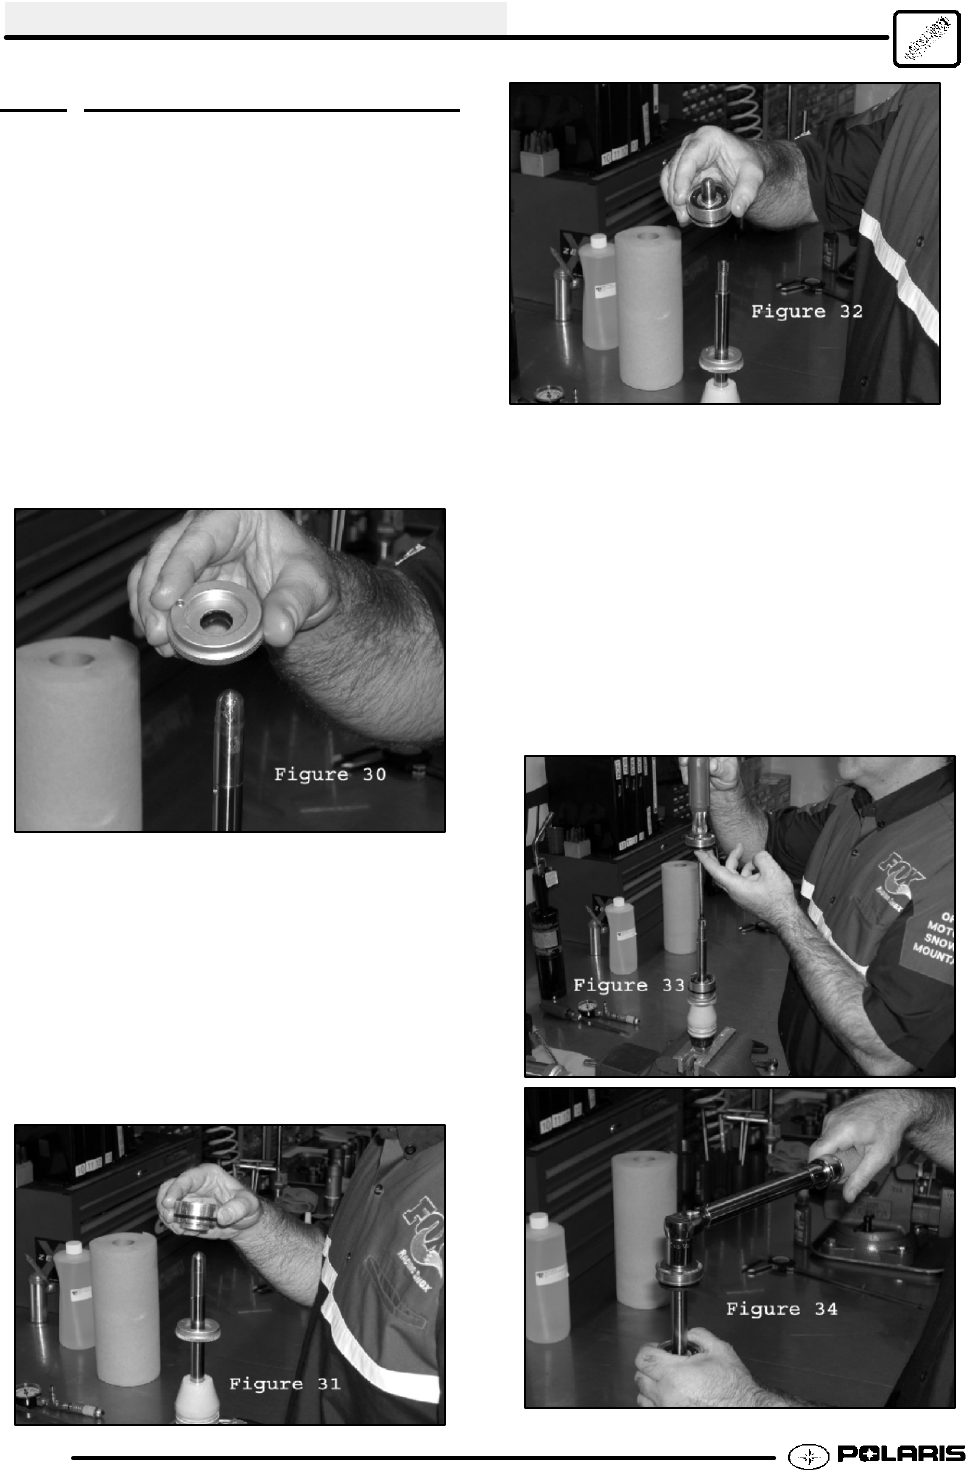
64. Lubricate the seal bullet tool with assembly lube.
Slide the bearing cap onto shaft with the threaded
side facing away from the shaft eyelet. (Fig. 30)
This should be done in a single smooth motion to
avoid damaging the seal. If seal hangs up on the
edge of the shaft, DO NOT FORCE IT ON.
Remove the bullet tool, with the bearing cap still
attached, from the shaft end. (Fig. 32) Remove
the bearing cap from the bullet tool, and repeat
this step.
65. Lubricate the bearing assembly seals with an
ample amount of assembly lube. Slide the
bearing assembly onto shaft with the threaded
side facing the bearing cap. (Fig. 31) This should
be done in a single smooth motion to avoid
damaging the seals. If a seal hangs up on the
edge of the shaft, DO NOT FORCE IT ON.
Remove the bullet tool, with the bearing assembly
still attached, from the shaft end. (Fig. 32)
Remove the bearing assembly from the bullet
tool, and repeat this step.
66. Insert the shaft of a Phillips head screwdriver
through the center of the piston assembly. The
pointed end of the screwdriver should be on the
same side as the top--out plate (large, black
plate). Cut and remove the tie wrap that was
holding the piston assembly together.
67. Hold the piston assembly from underneath the
top--out plate and insert the end of the screwdriver
into the shock shaft. (Fig. 33) Slide the piston
assembly onto the shaft end. Verify the piston
assembly is seated properly, and install the piston
lock nut. Torque the nut to 25ft.lbs. (34 Nm) (Fig.
34).
Enfocus Software - Customer Support
