BODY / STEERING / SUSPENSION
5.16
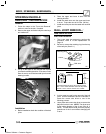
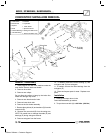
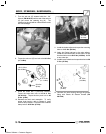
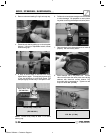
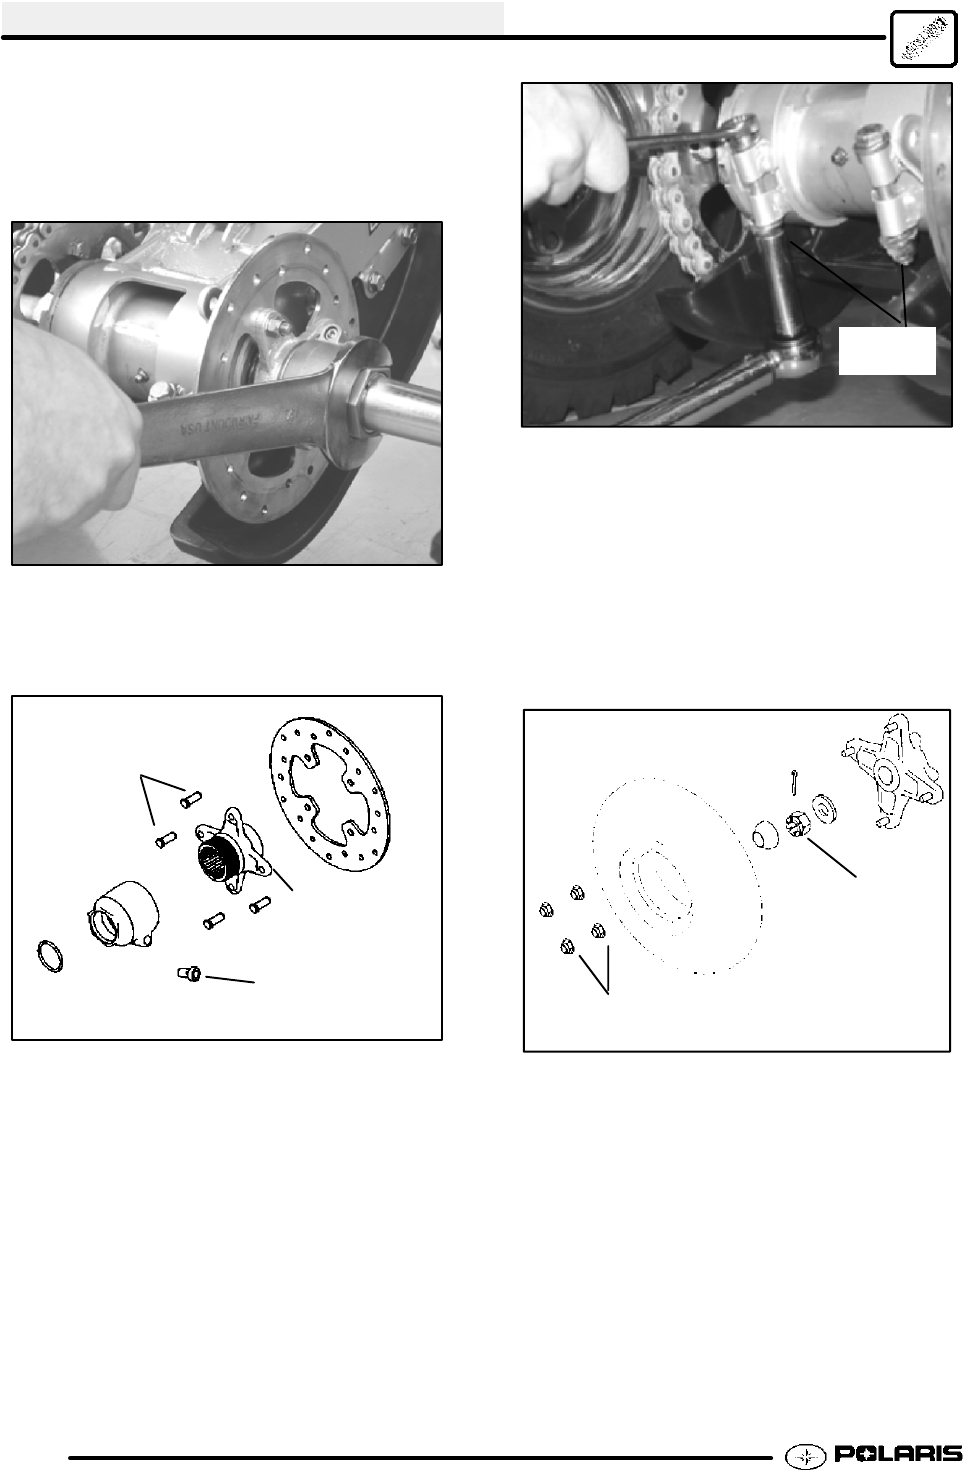
7. Turn the axle nut (G) outward with the 1 3/4”
Wrench (PN 2870772 ) until the end of the axle nut
(G) just covers the retaining ring (H). The
retaining ring should still be visible under the axle
nut from an angle.
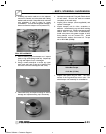
8. Torque the axle nut (G) hex bolt to 8-- 10 ft.lbs.
(11--14 Nm).
50 in.lbs.
(6 Nm)
8--10 ft.lbs.
(11--14 Nm)
16--19 ft.lbs.
(22--26 Nm)
G
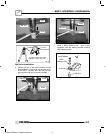
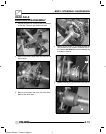
9. Install the brake disc if previously removed.
Torque the brake disc nuts to 16--19 ft. lbs.
(22--26 Nm). Torque the hex pinch bolt to 50
in.lbs. (6 Nm).
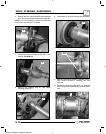
10. Reinstall the chain and masterlink. To verify
proper chain tension, refer to Chapter 2, page
2.25 for this procedure. Torque the two eccentric
clamp bolts to 30 ft.lbs. (41 Nm).
30 ft.lbs.
(41 Nm)
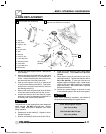
11. Install the brake caliper and torque the mounting
bolts to 18 ft. lbs. (25 Nm).
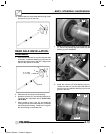
12. Apply Anti--Seize lubricant to the axle splines.
Install the rear wheel hubs on both sides. Torque
the wheel hub nuts to 80 ft. lbs. (109 Nm). Install
a new cotter pin.
13. Install the rear wheels and torque wheel nuts to 20
ft. lbs. (27 Nm).
20 ft.lbs.
(27 Nm)
80 ft.lbs.
(109 Nm)
14. Lubricate the axle housing through the grease
fitting with Polaris All Season Grease (PN
2871423).
Enfocus Software - Customer Support


