


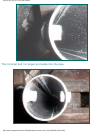


Installing Riv-Nut ports in the FJR's Headers
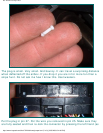
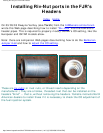
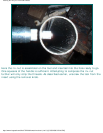
In an effort to reduce any possible restriction, I tried cutting 1/2 the threaded
portion of a riv-nut off before installing it. The threads stripped out before it fully
mushroomed, resulting in this failed installation on the right. The insert is loose,
but cannot be removed and there are no threads left to seal it! The full threaded
length is required to properly install the insert.
Following Fastwally's description of the procedure given his Yamaha dealer, we
have all kind of been hung up on the riv-nut idea, myself included.
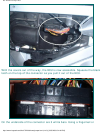
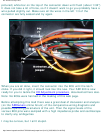
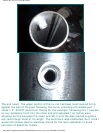
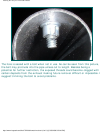
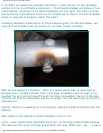
With all due respect to Yamaha, I offer this option which has no restriction to
exhaust flow. I drilled a 33/64" hole in the pipe, threaded a bolt through a nut,
inserted the protruding thread through the hole, and welded the nut to the pipe.
The bolt can then be withdrawn and cut to length. For the real thing, spring for a
stainless nut.
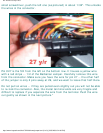
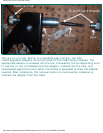
Caution: before arc welding on a motorcycle, unplug the ECU and disconnect the
battery!
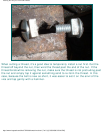
Also visible in this picture is a bolt installed in the riv-nut.
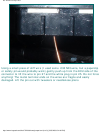
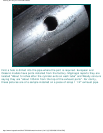
(note: I also recommend remembering to turn on the argon before MIG welding!
The result will be much stronger and prettier that way. What can I say -- it was a
http://www.micapeak.com/bike/FJR1300/howto/rivnut.html (9 of 10) [15/05/2003 5:56:43 PM]