


10.40
ELECTRICAL
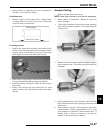
Work Light Switch
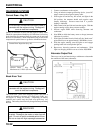
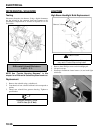
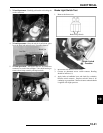
Remove the headlight pod cover to locate the switch wires. The
switch (A) snaps out by pushing in on the tabs on both sides of
the switch.
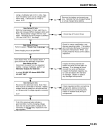
• Check for continuity between the switch contacts -
Place meter leads between two contacts with switch in
ON position.
• Probe the worklight plug wires at back of vehicle, there
should be at least 12V at the plug.
• Check for 12 volt power at the blue wire.
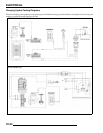
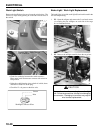
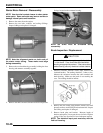
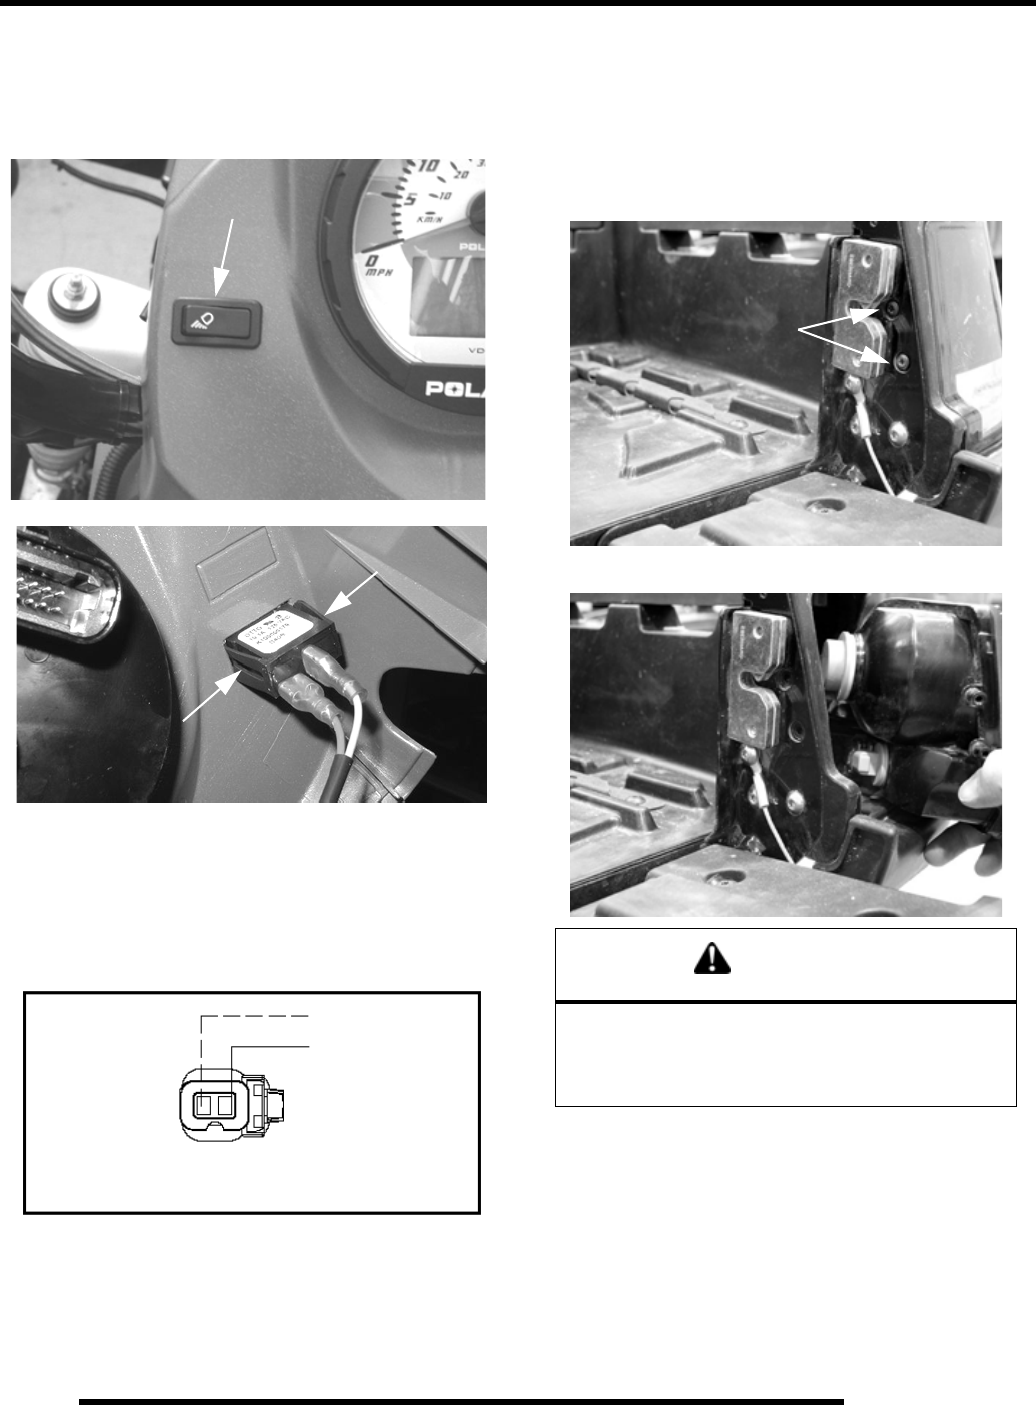
Brake Light / Work Light Replacement
The brake light (A) and the work light (B) are both located in the
rear tail lamp housing.
1. X2 - Open the tailgate and remove the 2 torx head screws
(A) securing the rear taillights on each side of the cargo
box as illustrated below.
2. X2 - Remove the taillight assembly from the cargo box.
A
Squeeze Tabs - Push Through
Pod To Remove
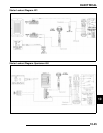
Brown
Blue
Worklight Connector Wires
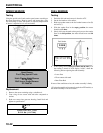
CAUTION
Use caution when disconnecting the smaller light
bulb. Follow the procedures to keep from damaging
the connector. Damaging a connector may require
wire harness replacement.
A