


4.41
CARBURETOR - SPORTSMAN 450
4
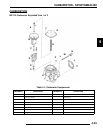
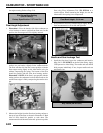
Carburetor Inspection
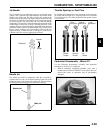
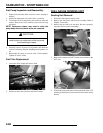
1. Inspect jet needle and needle jet for wear. Look for
discoloration, shiny spots, or an area that looks different
than the rest of the needle. The middle to upper portion of
the needle contacts the needle jet and is the most likely
wear point. If jet needle shows signs of wear replace both
the needle and needle jet to prevent a rich condition. TIP:
A worn needle jet is difficult to spot. To check, slide a
slightly larger new jet needle into the needle jet and hold it
to a light source. Light will be visible between the needle
and needle jet if it is worn.
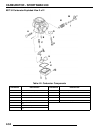
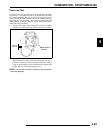
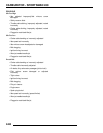
2. Inspect the inlet needle tapered surface for any sign of wear
or damage. Be sure the spring loaded pin is free moving and
returns freely when pushed. The inlet needle and seat
should be pressure tested after assembly.
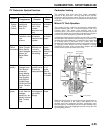
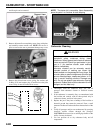
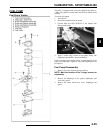
Carburetor Assembly
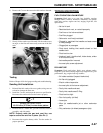
Inspect the diaphragm (A) for holes, deterioration, or damage.
Make sure the diaphragm is pliable but not swollen. The
diaphragm should fit properly in the carburetor body. Replace
diaphragm assembly if diaphragm is damaged.
1. Replace parts in proper order. The spring seat (B) is
stepped and must be placed on TOP of “E” Clip (C).
Spacer washer (D) must be installed below the E–Clip.
Refer to parts manual for more information.
2. Be sure the tab (E) on outer edge of diaphragm is positioned
properly in the carburetor body.
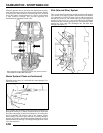
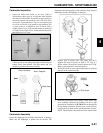
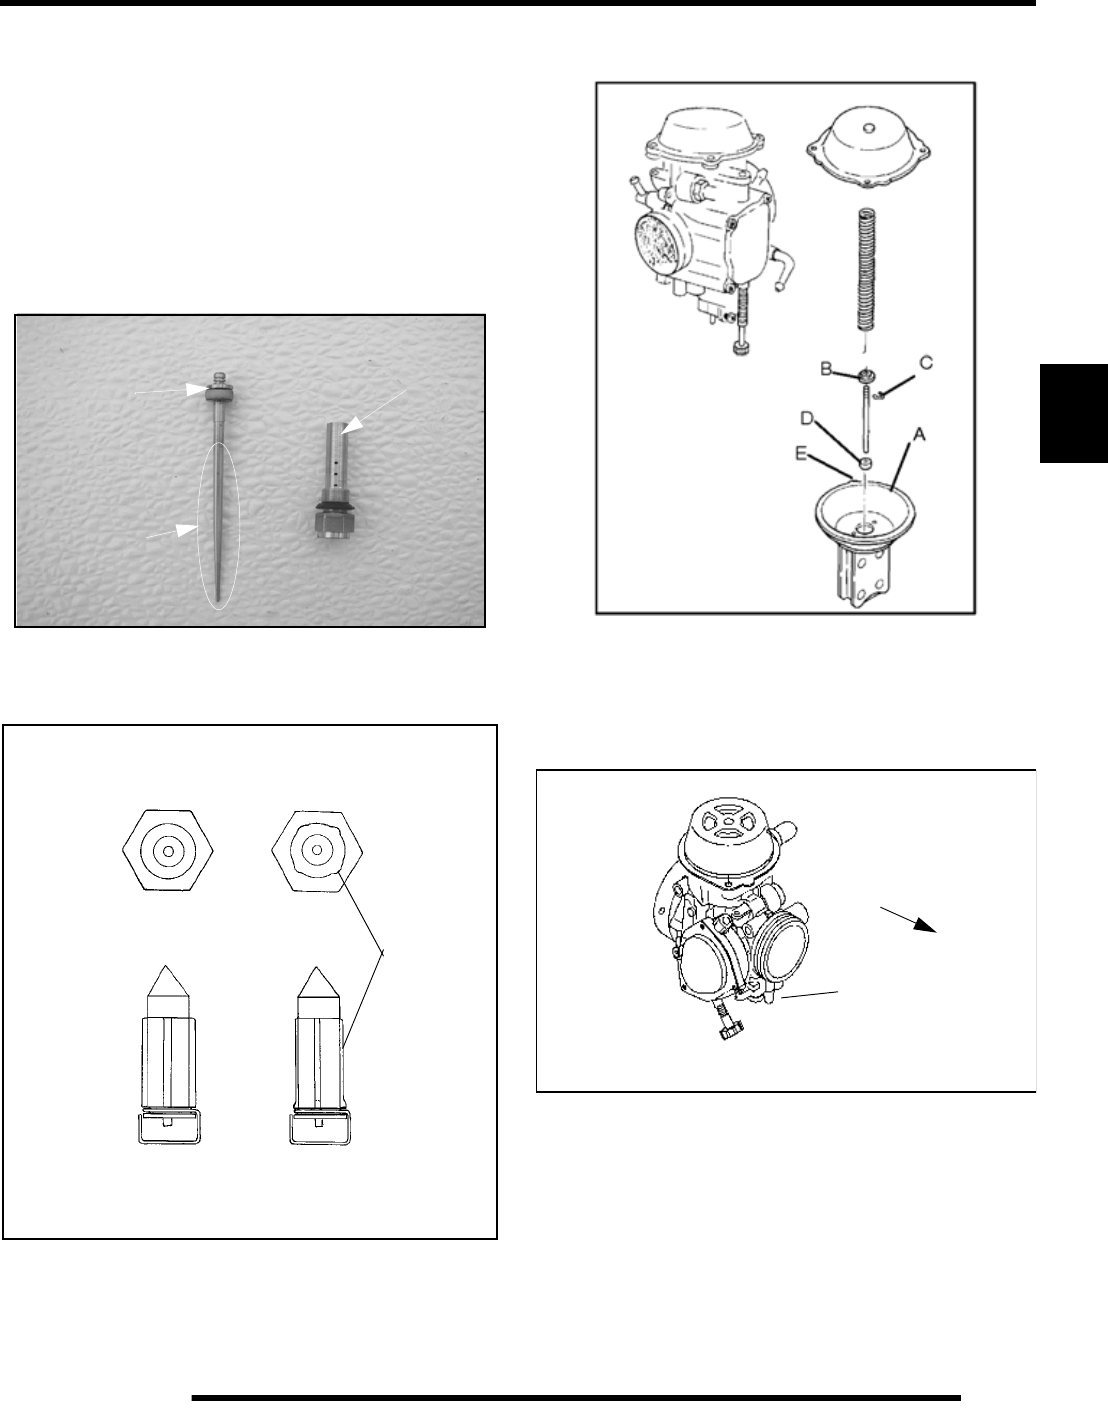
3. Install the pilot mixture screw, spring, washer, and O–ring
as an assembly. Lubricate the O–Ring with oil or light
grease before installation. CAUTION: Do not damage the
O–ring during installation. Turn the screw in until it lightly
contacts the seat. Back out the specified number of turns.
NOTE: The final pilot (idle) mixture must be adjusted with
Inspect this
area
Jet Needle
Needle Jet
Good Condition
Worn, Deposits
Seat
Needle
Wear areas
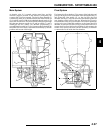
FRONT
(Engine)
Pilot Screw