


6.22
CLUTCH SYSTEM
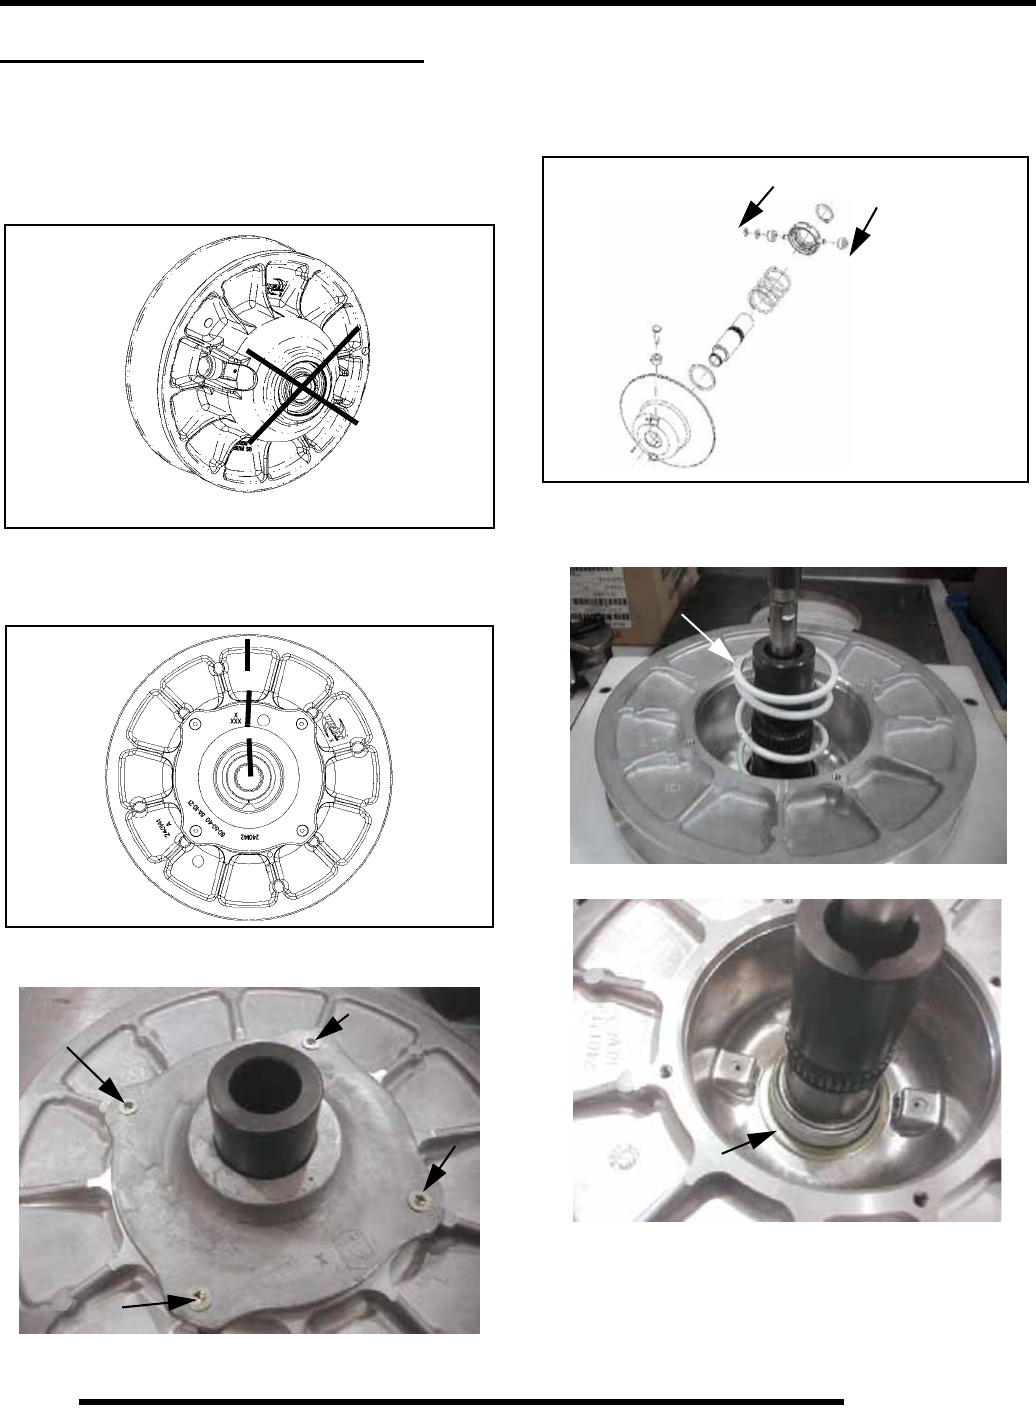
EBS DRIVEN CLUTCH SERVICE
Driven Clutch Disassembly
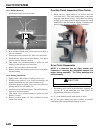
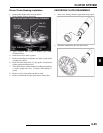
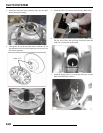
1. Remove driven clutch from the transmission input shaft.
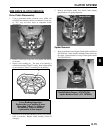
Do not attempt disassembly of the driven clutch from the
outside snap ring. The driven clutch must be disassembled
from the helix side.
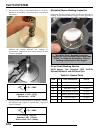
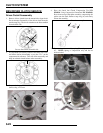
2. It is important to mark the position of the shaft, cam cover,
and sheave before disassembly or use the “X’s” on the
components for reference. This will aid in reassembly and
helps to maintain clutch balance after reassembly.
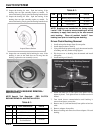
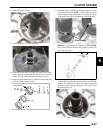
3. Remove the four torx screws that secure the cam assembly
(helix) using a T25 torx.
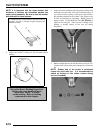
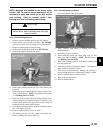
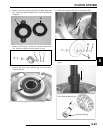
4. Place the clutch into Clutch Compression Tool PN
8700220. Using Compression Extensions PN PS-45909,
Press down on top of the spider assembly, compressing the
spider onto the shaft. Remove snap ring (A) and slowly
release the assembly.
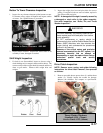
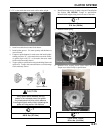
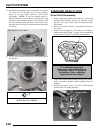
5. Remove the spider assembly, spring (B), and spacer washer
(C). NOTE: Spring is compression only and has no
torsional wind
Do not disassemble from this side
Press down on spider
B
C