


7.38
FINAL DRIVE
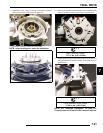
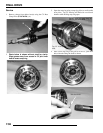
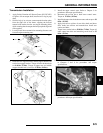
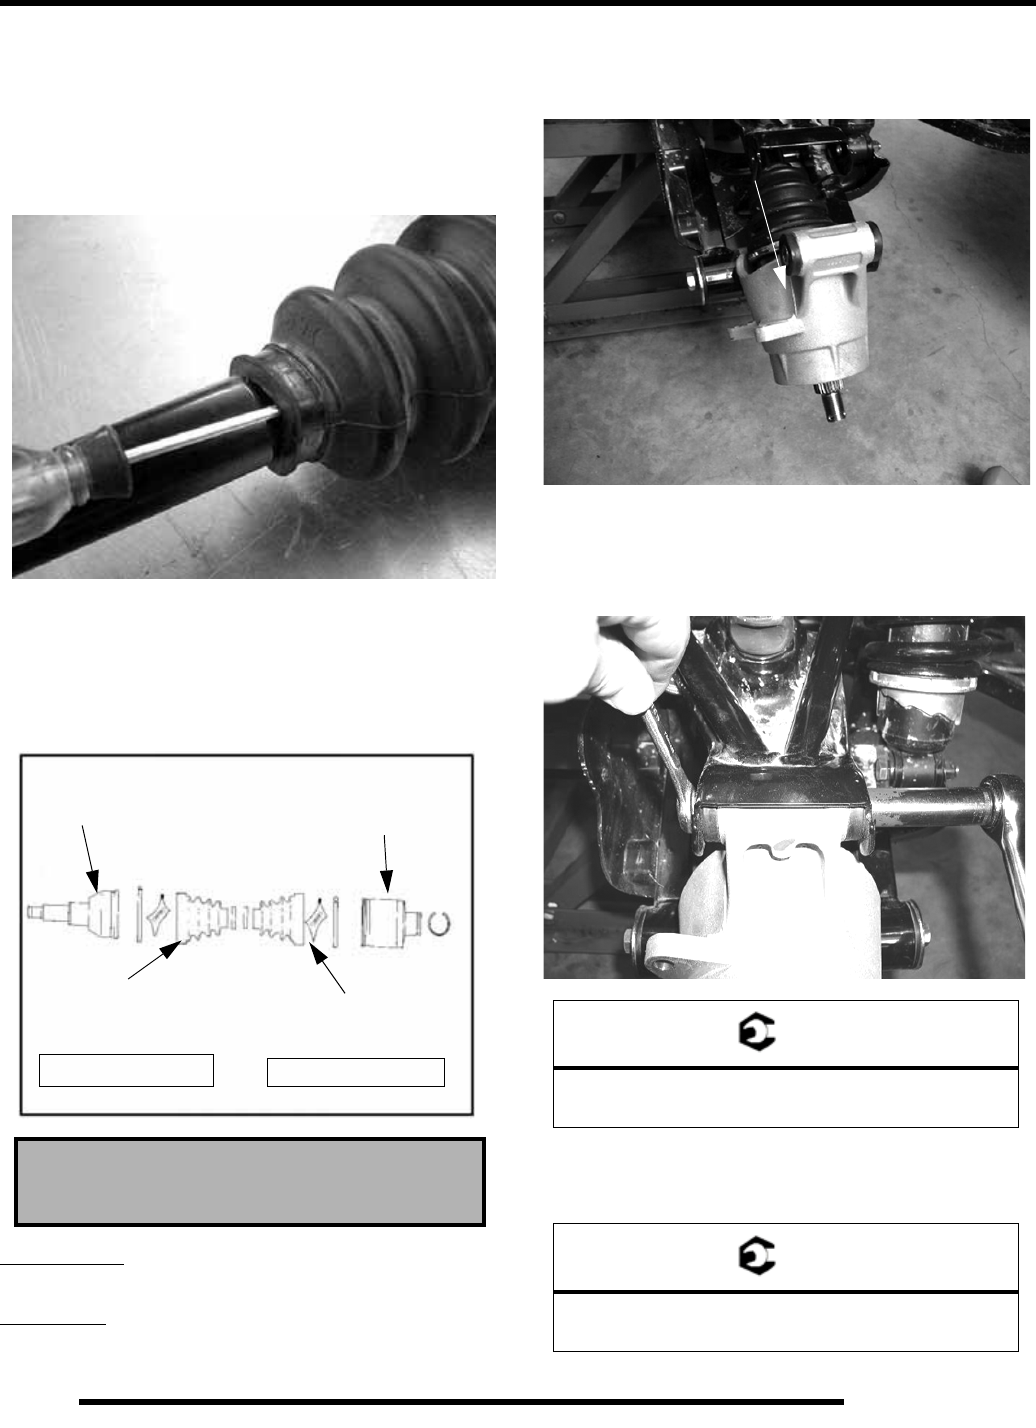
8. While pulling out on the CV shaft, fully extend the CV joint
and slide a straight O-ring pick or a small slotted screw
driver between the small end of the boot and the shaft. This
will allow the air pressure to equalize in the CV boot in the
position that the joint will spend most of its life. Before you
remove your instrument, be sure the small end of the boot
is in its correct location on the axle.
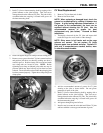
9. Install the small clamp on the boot.
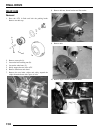
10. Be sure to use only the Constant Velocity Joint grease
supplied with boot service kit. IF CV JOINT WAS
CLEANED, add the recommended amount of grease to the
joint in addition to the grease pack supplied with boot kit.
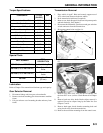
NOTE: CV Joint Grease Capacity:
Outboard Joint
- 30g if boot is replaced only. Another 50g (80
total) if joint is cleaned.
Inboard Joint
- 50g if boot is replaced only. Another 50g (100
total) if joint is cleaned.
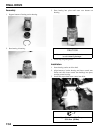
INSTALLATION
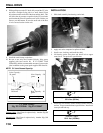
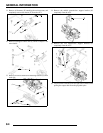
1. Slide shaft assembly into bearing carrier hub.
2. Apply anti-seize compound to splines of shaft.
3. Install a new lock ring and install the shaft.
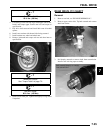
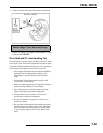
4. Lift bearing carrier into place and install bolt to upper
control arm. Torque bolt to specification.
5. Install hub, flat washer, domed washer (domed side out)
and nut. Torque center hub nut to specification. Install new
cotter pin and hub cap.
CV Joint Grease:
30g PN 1350046 50g PN 1350047
Joint Capacity -
50 grams
Boot Capacity -
30 Grams
Outboard - 80g Total
Joint Capacity - 50
grams
Boot Capacity - 50
grams
Inboard - 100g Total
= T
Upper Hub Carrier Bolt Torque:
35 ft. lbs. (48 Nm)
= T
Hub Nut Torque:
80 ft. lbs. (109 Nm)