


6.29
CLUTCH SYSTEM
6
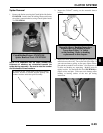
Spider Removal
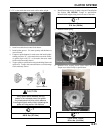
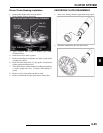
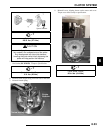
1. Remove the limiter nut using the Clutch Spider Nut Socket
PN 2870338. Install clutch in holding fixture and loosen
the spider (counterclockwise) using Clutch Spider Install
Tool PN 2870341.
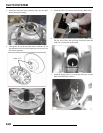
NOTE: It is important that the same number and
thickness of washers are reinstalled beneath the
spider during assembly. Be sure to note the number
and thickness of these washers.
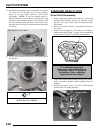
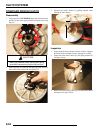
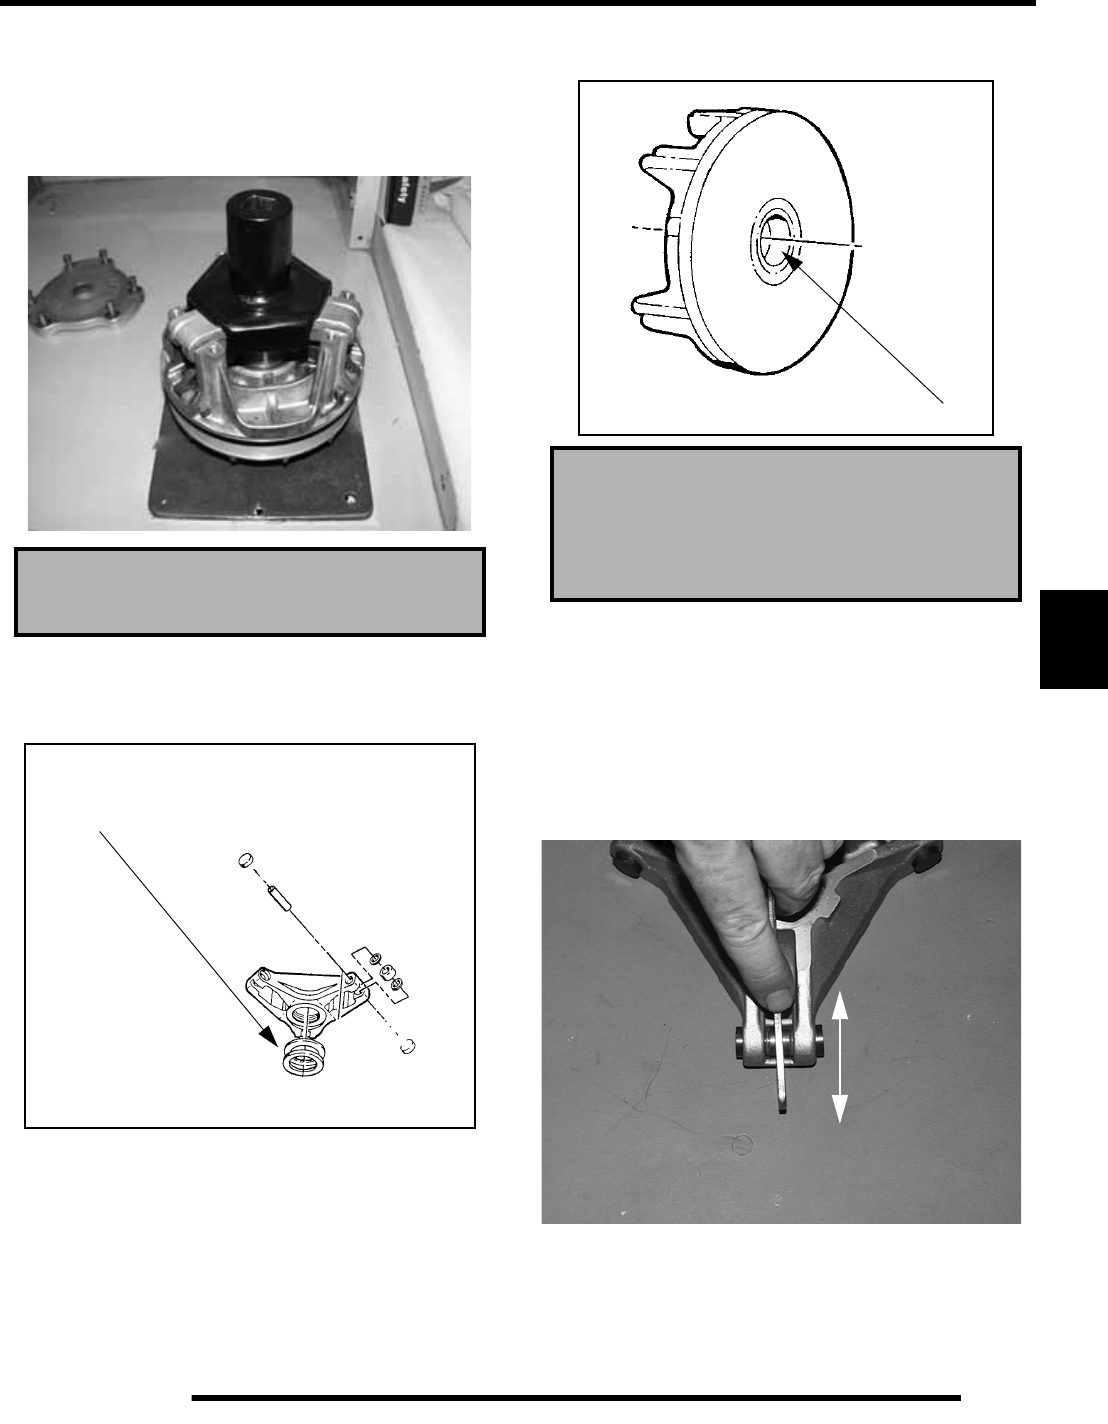
2. Inspect the Teflon
coating on the moveable sheave
bushing.
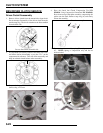
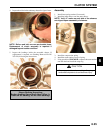
3. Inspect all rollers, bushings and roller pins by pulling a flat
metal rod across the roller. Turn roller with your finger. If
you notice resistance, galling, or flat spots, replace rollers,
pins and thrust washers in sets of three. Also inspect to see
if roller and bushing are separating. Bushing must fit
tightly in roller. Use the Roller Pin Tool (PN 2870910) to
replace rollers and pins. Take care not to damage roller
bushing or bearing surface of the new pin during
installation.
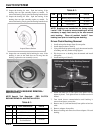
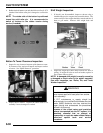
Clutch Holding Fixture: PN 2871358
Spider Removal Tool: PN 2870341
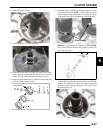
To maintain proper clutch balance and belt-to-sheave
clearance, be sure to reinstall original quantity and
thickness washers under the spider assembly.
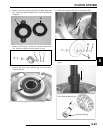
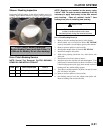
Moveable Sheave Bushing Inspection:
Replace the cover bushing if more
brass than Teflon is visible
on the bushing. Refer to bushing
replacement in this chapter.