


4.40
CARBURETOR - SPORTSMAN 450
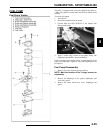
and float pin can be removed.
3. Remove inlet needle seat retaining screw along with plate,
and carefully remove needle seat. NOTE: Do not use a
pliers to remove the seat or permanent damage may occur.
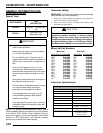
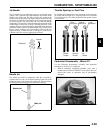
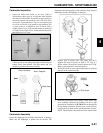
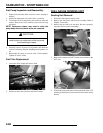
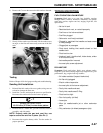
4. Remove the pilot mixture screw, spring, flat washer, and
O–Ring. If an anti–tamper plug is installed over the pilot
screw cavity, it must be removed for access.
NOTE: The starter jet is removable. Upon disassembly,
place the parts in a container for safe keeping.
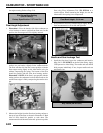
Carburetor Cleaning
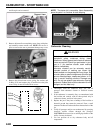
1. Thoroughly clean the carburetor body, jets, and all
passages with carburetor cleaner or electrical contact
cleaner.
2. If the carburetor is extremely dirty or contaminated with
fuel residue and varnish, soak for short periods only in
carburetor cleaner, and rinse in hot water.
3. Replace the jets if they have a buildup of fuel residue or
bacterial growth that cannot be removed. Even a small
amount of residue will reduce the flow characteristics of the
jet.
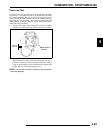
4. Verify all passages and jets are unobstructed by spraying
electrical contact cleaner through the passages.
CAUTION: Do not use wire or welding tip cleaners as the
orifice size may be altered.
5. Use low pressure air to dry carburetor body and all
components.
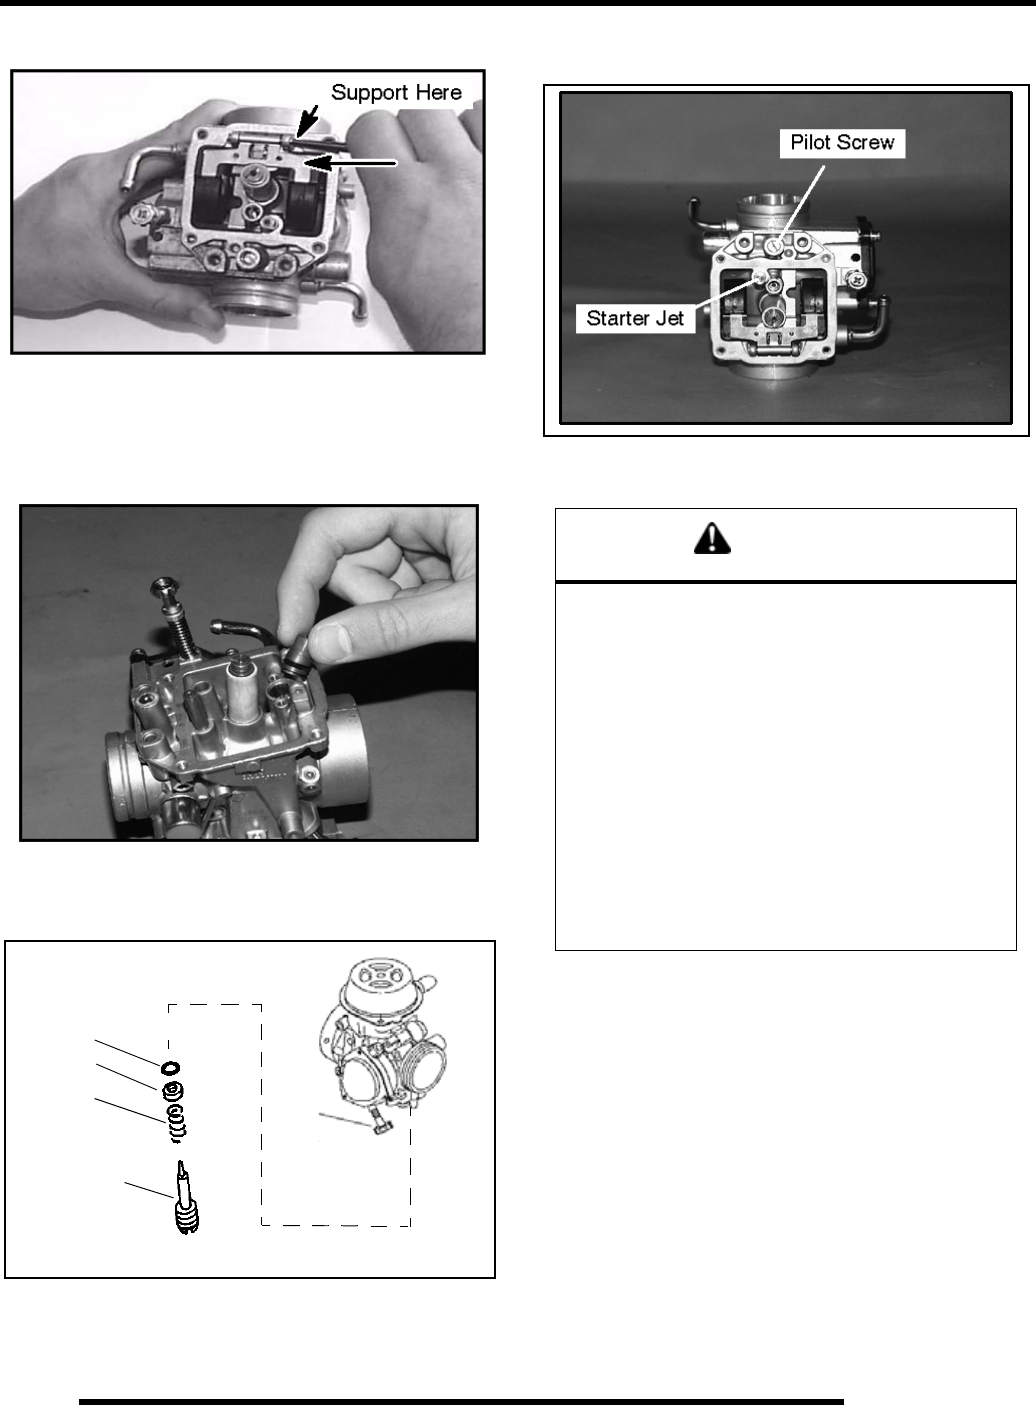
Remove Screw
O-Ring
Washer
Spring
Pilot Screw
WARNING
Protect eyes from contact with cleaner. Take
appropriate safety measures during these
procedures. Safety glasses and chemical resistant
gloves are required. Should you get cleaner in your
eyes or if you swallow cleaner, seek medical
attention immediately.
Carburetor cleaners can be extremely caustic.
Extended periods of soaking can loosen the
adhesive sealer on the passage drill-way plugs. Do
not soak rubber or plastic components (such as the
vacuum slide diaphragm, needle seat screen, or O-
Rings in caustic cleaning solutions. Damage may
occur. Do not use agitator-type carburetor cleaning
equipment. Rubber parts must be cleaned with mild
detergent and hot water only.