vented from contacting areas of the oil pan
flange that are inside the raised bead of the
flange.
NOTE: Do not use gasket-type sealing com-
pounds or cement anywhere inside the trans-
mission or where they might get washed into
the transmission. Non-soluble vegetable-base
cooking compounds or fibrous grease must not
be used inside the transmission.
12. Install the oil pan and gasket onto the transmis-
sion. Check that no dirt or debris enters the pan.
Secure the pan to the transmission housing with
four 5/16–18 washer-head capscrews, installed
into the corners of the oil pan, but do not tighten.
13. Install the remaining 17 washer-head capscrews
by hand. Check that all of the capscrews are
hand-tight.
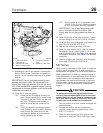
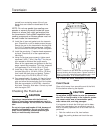
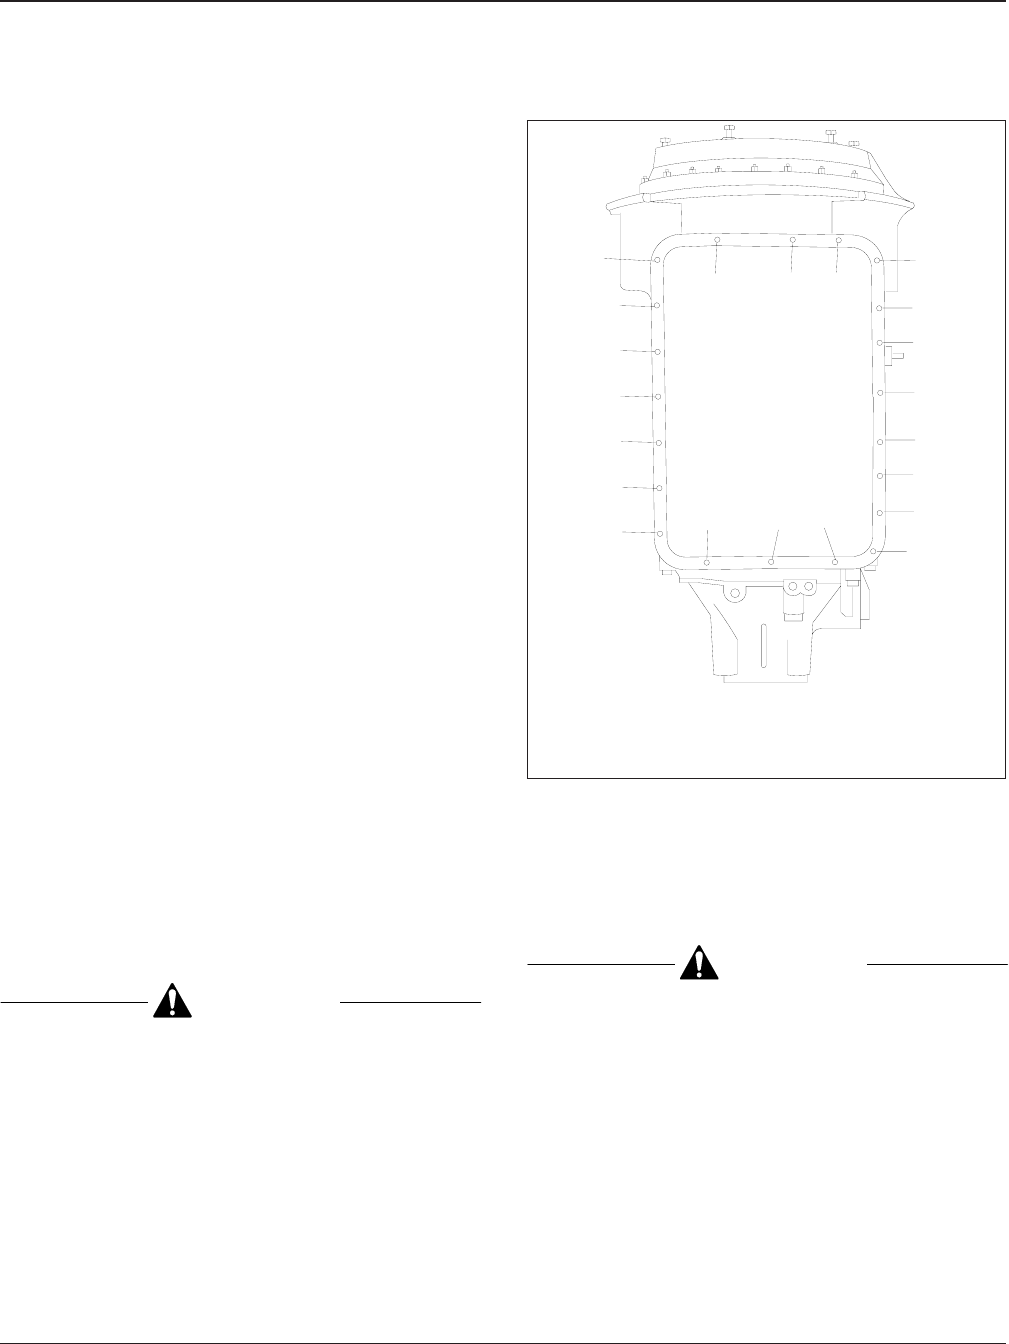
14. Using a click-type torque wrench, tighten each
capscrew 5 lbf·ft (7 N·m). See Fig. 7 for the pat-
tern needed to distribute the torque evenly.
When all the capscrews are tightened to the first
stage, repeat this procedure. This time, torque all
the capscrews 15 to 20 lbf·ft (20 to 27 N·m).
15. Install the oil filler tube on the oil pan. Tighten
the tube fitting 90 to 100 lbf·ft (122 to 136 N·m),
then install the drain plug and gasket. Tighten
the drain plug 15 to 20 lbf·ft (20 to 27 N·m).
16. Pour approximately 15 quarts (14 liters) of trans-
mission fluid into the transmission. Start the en-
gine and allow the transmission fluid to circulate.
With the transmission in NEUTRAL, check the
fluid level. Check for fluid leaks. Correct any leak
with the engine OFF.
Checking the Fluid Level
CAUTION
Operating a transmission with the fluid level
higher or lower than recommended can result in
transmission damage. Do not overfill the transmis-
sion.
Do not mix types and brands of fluid, because of
possible incompatibility. Do not use fluid addi-
tives, friction modifiers, extreme-pressure gear
fluids, or multiviscosity lubricants.
Cold Check
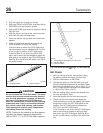
Clean all dirt away from around the end of the fluid
fill tube before removing the dipstick.
CAUTION
Do not allow foreign matter to enter the transmis-
sion. Dirt or foreign matter in the hydraulic system
may cause undue wear of transmission parts,
make valves stick, and clog passages.
It is important to check the fluid level cold to deter-
mine if the transmission has a sufficient amount of
fluid to be safely operated until a hot check can be
performed.
1. Park the vehicle on a flat, level surface.
2. Apply the parking brakes and chock the rear
tires.
09/24/96
f260396
1
13
17
19
15
11
3
5
9
7
6108
4
12
16
20
21
18
14
2
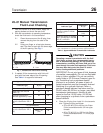
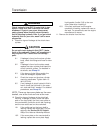
NOTE: Torque the oil pan bolts with a click-type torque
wrench following this torque pattern. Tighten the bolts 5
lbf·ft (7 N·m), then repeat the torque pattern with a click-
type torque wrench 15 to 20 lbf·ft (20 to 27 N·m).
Fig. 7, Allison MT Series Transmission, Oil Pan Torque
Pattern
Transmission 26
Acterra Maintenance Manual, March 2005 26/9


